Description
Transcript
Read Full Transcript
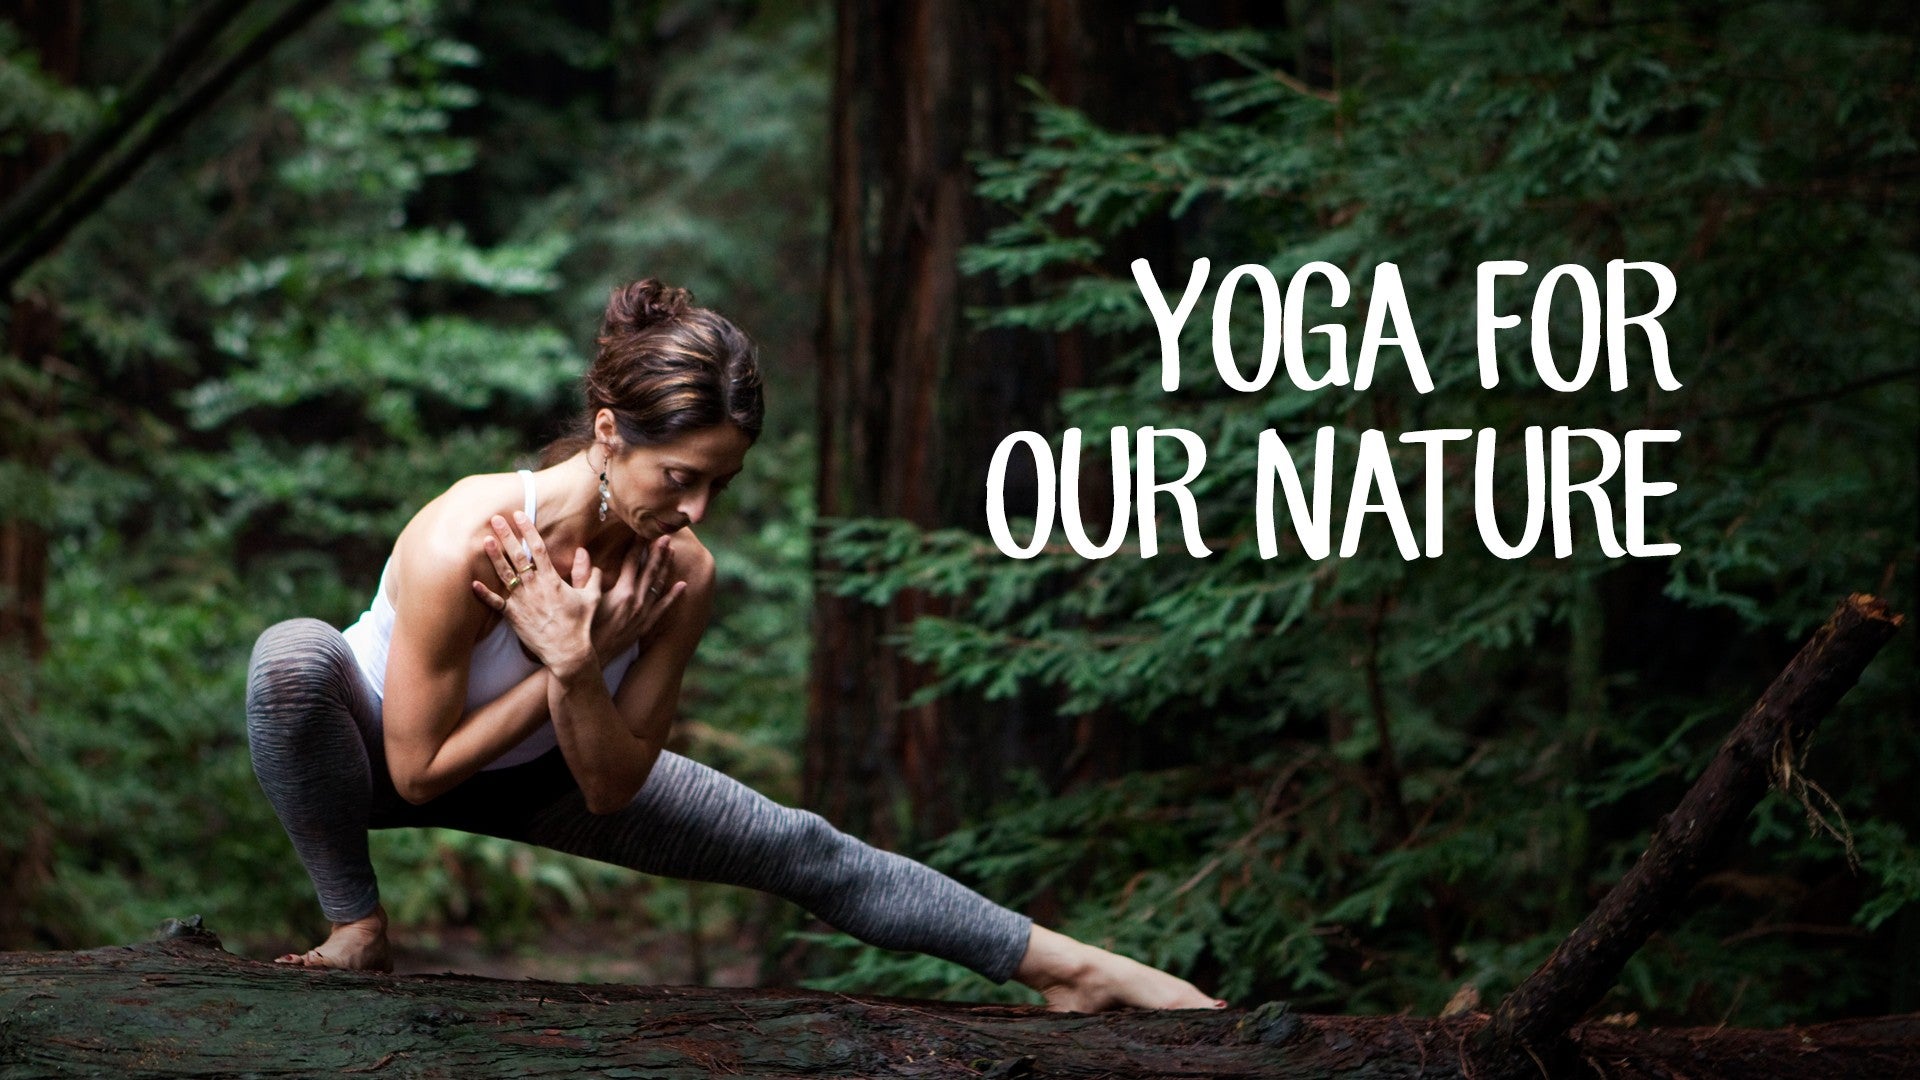
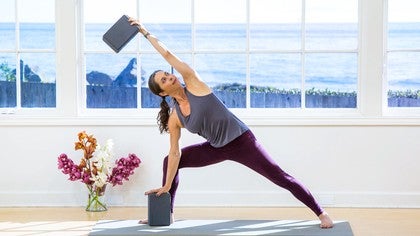
Hello and welcome back to the practice. I look forward to sharing my favorite earth, wind, and fire moves with you in this class that requires two blocks for all of the poses. So if you'll grab two blocks and it will come to stand for this practice. And the foam blocks are a great place to start with if you want to work at incorporating more of the fire elements into this class, you want to grab the cork blocks. They're a little bit heavier. So I'm going to start with the foam ones for this practice. And if you'll take the two blocks side by side, squeeze them together and take a moment to lower them down right in front of your thighs. Just try to find your feet on the ground here, standing nice and even, rooted by pressing the feet into the floor, firming the legs, and just feeling that connection to the earth as your feet move down. Okay, now standing nice and tall in this way, keep squeezing the blocks and we're going to go a little bit into that spacious place as we raise the arms up overhead and just increase that range of motion through the shoulder joints. From here let's tip over to the right side while squeezing the blocks with your hands and not only squeezing them but try to lift the blocks away from your head. So we create a little bit more wind, a little bit more air. Come on up to center and let your body arch over to the left side and squeeze the blocks and lift them away from your head to make more space. We're going to lift up to center position and hold a block with each hand and reach them all the way behind your back and then let the block squeeze together for a moment behind your back. You feel what that's doing up between your shoulder blades. First time around will go a little slow. Then take the arms and the blocks all the way back up overhead and there's no need to look up but if you want to look up and even them out, the pitas in the crowd will do that. Squeeze the blocks and then bring them back down in front of your legs. Okay, so let's try that now with your breath and try to find that easy wind of the breath to take the blocks up. Arch over to your right side on exhale. Come up to center position. Squeeze the blocks. Arch to your left side. Come on back up to center and hold the blocks. Reach them behind your back and squeeze them together. Inhale, take them back up overhead and then lower them all the way back down. Okay, one more time. Inhale, squeeze the blocks and lift up. Shoulder blades are lifting with your hands. Lean over to your right sides. Come on back up to center and then reach over to your left sides. Come on back to center. Hold the blocks. Reach behind your back. Squeeze them together to touch. Take them all the way up above your head. Squeeze them together and then we'll lower them straight down. Alright, now let's turn and face that small edge of your mat and put the blocks in that tall position to begin with so that you can work into straight legs into a half forward fold. For just a moment now with your spine lengthening forwards as if your spine is coming up to be parallel with the floor. And just feel again what muscles you're using in your legs and feet to ground while we're engaging the core and floating the ribs away from the ground. Take one more moment here and then maybe taking the blocks to the lower position and we start to tip maybe more forward. I'm a huge fan of giving your knees permission to bend so that the pelvis is moving forward. You're hinging from the hips as we come over the legs. Okay, so we can make this pose not only about the hamstrings but also a place to release the spine. Now as we come up halfway turn your blocks the tall height, slide them right out to the edges of your yoga mat and then come up to stand. Now from here if you take your left foot to the inside edge of the block on the right and take your right leg to the left edge of your mat. So you have to balance as your legs criss-cross. Again, left leg is in front, right leg is behind. I take my hands to my hips and I try to lean back so I'm standing well in both feet to both legs and my upper thighs are squeezing together. From here I'm going to move my hips back again hinge at the hips and reach for the blocks and place them underneath my shoulder line as I squeeze my upper left thigh into my upper right thigh. Hopefully we'll feel my left hip pull back away from the shoulder. If you need to use your hand to pull that left hip away from your shoulder. So we might stay on tall blocks in order to keep your back heel on the floor. We might go to medium blocks with your legs criss-crossed and with medium height we might release the head the neck a little bit more forward and down. Maybe even going to flat blocks but make sure that your back heel stays completely connected to the floor. And then feeling again what you feel through your outer hips or inner upper thighs. Typically I'll feel this in the outer hip on the left side and then come on up take those blocks turn at the tall height and then do your favorite earthwind fire move and spin all the way around and you'll be ready for the other side. So your right foot forward and your left leg back. How is that for my earthwind fire move? Boogie nights all around. So as you're standing maybe hold your hips and lean a little bit back so that you're aware of weight in your back foot and both feet connected to the earth. Now let's think about that wind mobility part. The flexibility part is you hinge from the hips and adjust the blocks under your shoulder line. Squeeze your upper left thigh into your upper right thigh. So vice versa we're squeezing the thighs in. Right hip pulls back away from right shoulder. Lengthen the spine. Major outer hip stretch for some. Hands come to the blocks maybe a lower height and the more you're folding over the legs the more you're going to feel in the legs. So if things are moving into what we would call dukkha or suffering come back up to taller blocks or stay as you are with lower blocks. Maybe take one more moment coming into that cross-legged shape. Alright then we're going to turn the blocks to the tall position. Take the blocks with you as you come on up and we're going to turn and face the long edge of the mat. Okay with your feet your legs moving wider out to the sides. Okay so think about entering into warrior two leg width and if you'll take the blocks in your palm so the hands are holding blocks, blocks are tall. Let's turn your right foot out to the side first. Bend your right knee toward 90 degrees and let your arms hold those blocks facing up towards the ceiling and try to imagine for a moment that you actually could move the blocks further away from your head. So if you imagine you were using the cork blocks or wooden blocks how much you'd be strengthening your shoulders and this is the fire part. Okay so as we start with the foam blocks the lighter blocks try to feel that you could expand across your chest expand in between your shoulder blades and try to have that that wonderful room to breathe a little bit more easily inward and downward. Another moment blocks moving away from your head. Now try to let your body when you tip over to the right will put the block the tall height and the inside of your right ankle and stretch the block on the left over your head and point the block towards the floor so you have a straight left wrist. And notice if you're if you have an object like this block to move away from your head that it might clarify that stretch a little bit for you and we're staying high enough with your right hand that you can lengthen both waist. Okay so we're not completely doing a crescent lunge we're lengthening both waist as we stretch the block away from your hands. Again also adds a little more strength work in that left shoulder. Grab your blocks come on up and turn your right foot in turn your left foot out bend your left knee toward 90 degrees. Again hold the blocks in your hands palms face up and try to feel again for that moment that you could try to move the blocks away from your head. It creates hopefully some new space in the shoulder joints and then the weight of the blocks acts as a little bit of a weight to build a little more strength. So we're both stretching and strengthening as I mentioned before that's my favorite combo. So take maybe another moment appreciating what new space is arising while holding the blocks. And then from here tilt over to the left and turn the block tall and then reach the right arm across the room and angle the block to point at the floor so you have a straight right wrist as you're reaching across the room. And then high enough on the left fingertips that your left waist is lengthening as you try to move the block further away from your head. Same time pressing your right foot completely into the floor. Take one more feeling the strength or you're creating in that right shoulder by holding that block and come on up keep the blocks in your hands turn both feet forward. Okay so just a moment a little transition with your feet towards the back edge of your mat hands holding the blocks and take a moment to do my favorite version of Downward Dogs these days with blocks under your hands and just for a moment let your head drop between your arms stretch your hips back away from your hands. Alright so that's our little in-between part and walk the blocks back in take them with you as you come up to stand. Okay as we come on up we'll turn your right foot again out to the side and this time as we come out to the side let's bend your right knee take your arms out and get ready to drop the right block to the floor at least a foot out in front of your right foot step in with your left and then we'll step fully into that right foot for half moon with your right hand on the block and press that left hand block towards the sky. So we have two points again to try to widen through the upper body as you maintain your balance and keep lifting through that left leg and heel. Maybe from here it's possible to turn your body open towards the long edge of your mat while reaching the top block towards the ceiling. Balance is going to be different every day. Bend your right knee try to come up mindfully as your arms come down adjust your feet so that you can turn your left foot out take your arms out to the side bend your front left knee and place the block out in front of your foot right foot comes in adjust the block step into that left foot take the right leg up and now try to reach the right hand block closer to the ceiling and just try to practice working on that spaciousness through the chest and then the ease and breathing all the way through the spine all the way into your legs as you consider turning your body a little forward. The blocks make it a little easier to hold the pose hopefully slightly longer that's the fire part.
Bend your front knee let's work our way out and have both feet on the floor as you come up one more time our transition with bent knees and we'll take that downward dog shape with your blocks in front anchor your heels and slide your hips back away from your shoulders let the head hang between your arms and then from that shape we'll walk the blocks in let's turn towards your left foot we're going to end up in a high lunge facing the small short edge of your yoga mat again so being in that lunge with tall blocks from our lunge position see if you can connect to your legs a little bit more press them down into the floor so your hands are just lightly resting on the block so we're not putting too much weight on the blocks now see what it feels like to lift your pelvis an inch or two closer to the sky and then sink your pelvis an inch or two or three towards the floor press into your feet lift your hips two or three inches up and lower your hips two or four inches down going back up with very little weight on the hands bring your hips back down one more time bringing your hips a little higher than your knee height and come towards neutral and we'll slide that right leg back and bring that left foot forward so left leg is now in the lunge the right heel right above the ball of the right foot check back in that the hands are barely touching the blocks access your legs and lift your pelvis inch or two closer to the ceiling let your pelvis sink an inch or three or four towards the earth press into the feet lift your hips without putting more weight on your hands come on back down with the hips press into your feet again lift the pelvis up maybe a little higher than knee height and then one more time going down and as we step back through we'll be plank for a moment put your knees down and then take your hands and slide the blocks in maybe a couple of inches so that you can frame your thumb and index finger around the outer edge of the block we're gonna do a chaturanga a little practice here with your knees down this is also the fire part when your elbows bend we try to land with the blocks right on the front of your arm bones and sometimes we need to adjust the blocks a little bit more to make them support the arm bones so you could actually be hands-free here but the hands are framing the blocks when you're ready now try lifting your knees up with your eyes slightly looking down and try to keep floating your pelvis up towards the height of your shoulders feel like you're right on the ball of the foot and with the support for the arms you can really stretch your spine stretch into your legs in a way that might be really difficult if we were just holding this pose so let your knees come down push off the blocks for a moment straight arms and just get comfortable with landing as you bring your elbows in come to land right at the front of your arm bones the sides of your chest and then maybe lift your knees up and just try to bake this impression of chaturanga into your muscle memory so if you do chaturanga in the middle of the room it might feel a little bit easier next time you tune back into this alignment knees down push back one more time trying to get comfortable with elbows sliding in arm bones landing on the blocks and then lift your knees up feel how much you're working your legs how much you're working your core as you maintain again the extension through your spine okay take another moment there and that chaturanga variation and these down oh push yourself back grab those blocks and we'll sit over onto your outer right hip let's take your left leg straight out to the side and pull that right knee back as far as you're comfortable I'm going to stack the blocks flat on top of each other and maybe you slide towards your calf or your inner left knee and then from here like you just see how far the blocks need to be to catch your left elbow and with the elbows on the blocks that's your head tilt to the left while your right hand presses that right knee down towards the floor so you're kind of leaning over to your left side and emphasizing that stretch in your inner left leg now we're back to some more work on flexibility and mobility and wind as we take a moment to maybe slow down the breath after our fiery chaturangas so as you work in that shape this might be the best position for you or your right arm comes up overhead and we simply reach down and maybe catch a hold of your left wrist and then with your arm pressing against the top of the head we might turn that right chest just a little bit more forward or towards the ceiling can you continue to feel like you're leaning over to your left side so you're emphasizing grounding of left leg and potentially feeling left hamstring area stretching the arms moving slightly back into the space behind you let's release your right arm back down so hand to the knee come on up and then we'll take your right leg out to the side slide the blocks over and then bring your left foot to the inner right upper thigh and with your blocks maybe inner knee or toward inner calf see how far you come to your side here with your right elbow on the blocks make a fist left hand press his left knee towards the floor as you tilt to your right the right hamstring right leg pressing into the floor and try to keep some steady grounding in that right thigh in the right femur to me I always think of flexing my right ankle to help anchor the head of my right femur down okay so this might be a good place for your left arm for your left shoulder if you're curious about coming up and over please reach towards your right fist or your wrist and in reaching in that direction can we open that left chest towards the space in front of you can we allow your head to help press into your left arm enough that you can turn and open a little more towards the ceiling perhaps all the while slightly tilting over to your right and diving a little deeper into that hamstring stretch take in just another moment just allowing your left chest area to turn a little bit more up towards the ceiling we'll take your left arm down first and then the head comes on up and after the asymmetrical ones I always like to do a little symmetrical one with both of the legs out to the side and we might need to make a different design of blocks so we might start one flat one medium and come forward some might go with a taller version and some might go flats okay so if you will in this way focus on the grounding of your upper thighs by flexing your ankles and then try to squeeze what might feel like the origin of the hamstring to the sit bone to try to decrease any tension in the back of your knees so keep your legs really engaged rather than passive and consider bringing your blocks a little bit more forwards if you feel like you can keep working your legs and like we might do in a yin class we might hold the head with the hands just so that you're aware of maintaining a nice long spine see if you can find that comfortable spot like you're in a yin pose where your hands reach up and catch your heads and while you hold your head with your hands still grounding your legs still lifting your chest up away from the belly and we keep the length in the front of the spine we keep the anchoring of the legs so that maybe we have more ease and breathing through that entire length of the spine creating that sense of space in the hips all right after giving a little bit of time for the hamstrings that way let's go ahead and walk your hands back to the blocks set up nice and tall and use your hands to help you lift your legs up off the floor and bring your legs slowly slowly in and then we'll make a new arrangement for the blocks as we come to the floor so I typically have one block a higher height I'll call that the medium height and I personally like my second block to be the flat height for under my shoulder blade area so we might need to adjust it a little bit based on your torso length so what I'll do is come back down to the floor with my elbows on the ground I slide the block way up around my shoulder blade area so not under my neck and it's not in my lower back and then I pause here and I take the second block and I put it underneath my head so it's supporting the occipital ridge supporting my head enough where I've got room for my shoulder blades to fall back so they're not hitting the blocks then I stretch the legs out and it hopefully feels like a nice specific post to open the upper chest and open the front of the diaphragm it's okay if you like the orientation of a narrow lower second block okay so what works for you in your body the arms out to your sides someplace comfortable and after all that standing work and creating some space after working some muscles holding poses longer holding props longer we try to let go of engaging muscles in the shoulders and chest let go of engaging your legs so that we can drop into a little bit more of a restorative shape the blocks can be really helpful for that and try to feel that place where your head is touching the tallest block and try to encourage more of the weight of your head to release back into that specific point where your head is making contact with the block as soon as the head goes back just notice how that affects all the little muscles in your face from your forehead through your eyes the temples cheeks I release in the head back how does that affect your jaw the tongue the throat with that lift underneath your chest area just notice again how you respond and can we let go of any habitual tightening or gripping might live in that upper chest and trying to sense that there's this cascading feeling of the breath flowing down the front body toward the navel eventually toward the hips and even though we're really only breathing into the lungs just if you can imagine the essence of the breath going further down toward your navel and your hips and the essence of the breath coming from the hips all the way back up towards the nose and try to follow that wind of the breath up and down a few more times try to keep your head where it is the upper back where it is and take a little bit of take a moment to let your arms slowly come up away from the ground up towards the ceiling and crisscross so your right arm is over the left arm and give yourself a hug for a moment so you've got that space to reach back between the shoulder blades or to your shoulder blades and try to feel here your elbows starting to lift away from your chest might be nice now to draw your legs in together like you're in Tadasana elbows lifting arms open out and cross so your left arm is on top and giving yourself this hug as we finish this practice and after walking the hands back towards your shoulder blades that's your elbows potentially lift a little bit away from your chest take a fuller breath and to where that block is making contact with the back of the heart let's release that clasp of the arms go ahead bend your legs and with as soon as your feet are on the ground let's drop the knees over to a side and then come up slowly carefully off your blocks and coming around into a stable seats it's easier for you to sit up on a block we've got blocks right there sit up on a block so the knees are down lower than your hips take a moment to find your center eyes open or closed big breath in big breath out and just observing the effect of that practice your body your mind your heart and in closing the practice maybe with the hands in front of the heart center may others always benefit from our practice thanks so much for being here namaste
Yoga for Our Nature: Vitality Boost
Comments
Elissa, I'm both a collector of yoga moves from various teachers I've studied with over the years and someone who makes up new shapes for students all week long in my classes. Here you get to see them come together.
You need to be a subscriber to post a comment.
Please Log In or Create an Account to start your free trial.
