Description
About This Video
Transcript
Read Full Transcript
Welcome in to day 11 on our 30-day challenge. This will be a big balance challenge for us today. We're going to add in a few new poses again and take some of the poses we've been working on a little bit deeper. And we have a whole new perspective to start from today. We're going to start standing on some traditional sun salutations. Let's step to the front edge of the mat and we'll start with sun salutation A. We'll even start with the feet a little bit apart to give the body a little bit of space. And a breath in to start. Inhale the arms overhead. Exhale, bend your knees on this first round and let your body just hang down. Take some time. Arms are soft. Knees a little bent. Hips soft. And allowing the breath to open up your back.
And then hands to the floor. Left leg back first and lower the knee. Point the toes. Come into a kneeling lunge. Arms up. Hips a little bit forward. Nothing too far too fast. Hands to the ground. Step back to plank. Bend the knees. Bend the elbows. Baby Cobra. Let the chest down. Curl under the toes. Dog pose. How about we pedal out those legs just a little bit on this very first dog pose.
And then one more time each leg. To high heels. Left leg forward. Lower the right knee. Point the toes. Arms up. Breath in and exhale as you sink a little forward. Again, just a little bit forward. Not too far too fast. Set the hands down on the ground. Curl under the back toes and step forward. Feet still a little bit apart. Bend the knees. Hang the trunk down. Soft arms. Soft neck. Back releasing. And then inhale. Coming all the way up to standing. Let's raise the arms to get a full lift through the body.
And release the arms. A little bit more traditional version this time. Arms up. Inhale. Exhale. Forward fold. You can keep the legs bent or challenge straight legs. Hands on the ground. Inhale. Look forward. Step back to a full plank and exhaling Chaturanga. You can do Up Dog with me or an easy baby Cobra if you're still warming up. And down facing dog. Take a few breaths here. Checking in on the body. Feeling the leg energy to hold and support the spine.
Inhale. Look forward. Raise your heels. Step the feet to the front. We'll bring the feet together. Inhale and exhale into your forward fold. And inhale all the way up. Arms over the top. Exhale your hands down to your sides. Surya Namaskar B. Here we go. Inhale. Squat down. Arms up. Exhale. Forward fold. Inhale and look forward. You can step or jump back to Chaturanga. Upward facing dog. Downward facing dog. Raise your heels. Look forward. Right foot between the hands and left heel rolls down to the mat. This is our first traditional Warrior I.
And then hands to the floor. Step back. Bend the elbows. Choose the depth that you want to go through this Vinyasa. Inhale and exhale. Raise the heels. Look forward and left foot forward. Right heel rolls down to the mat. Warrior Pose. And release the hands down. Step back. Exhale as you come down. Up dog. Inhale. Down dog. Exhale. A few breaths here. And then raise your heels up. Look forward. Inhale. You can step or jump to the front edge of your mat. Feet together. Inhale and exhale. Forward fold. Inhale. Squat down. Arms up. And exhale. Come all the way out.
One more time through. Surya Namaskar A B. Inhale. Squat down. Arms up. Exhale. Forward fold. Inhale. Look forward. Exhale. Step or jump back. And bend the elbows. Up dog. Inhale. Down dog. Exhale. Right foot forward. Left heel to the mat. Warrior I. And hands down to the floor. Step back. Bend the elbows. Remember using the pose that you need to use. And exhale. Dog pose. Raise the heels. Look forward. Left foot between the hands. Right heel down.
Arms come up. Again, Warrior I. And then hands back down. About a breath per pose. Bending the elbows. Up dog. And down dog. We take a little extra time in the final dog pose of each of the rounds of sun salutations. Moment to reflect. Feel into the physical body. And then raise the heels. Look forward. Jump or step to the front of the mat. Fold over the legs. Inhale. Squat down. Arms up. Utkatasana. Chair pose. Knees strongly together. Come all the way out. Take a breath in mountain pose. For our next pose, we'll face front. We'll start with the feet just slightly apart for a first round.
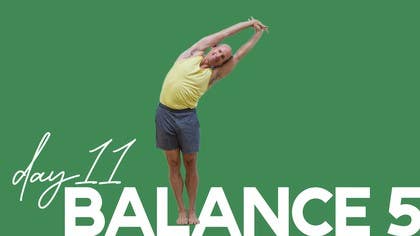
We'll take the arms up nice and high. Right hand grabs left wrist. Big breath in. And exhale your way to the right side. We're opening up the side of the body. Side of the spine. And coming up. Change. Left hand grabs right wrist. Inhale for space. Exhale. And coming up. Release the hands. This time feet together. A little bit more challenging. Adds a little bit more balance. Arms up. Right hand grabs left wrist. Inhale. And exhale over. Moving that air in the body. And inhale up. Change the grip. Left grabs right. Inhale and exhale.
And all the way up. And release your pose. We're going to work on some hip mobility here. We'll start out with the feet about hip width. And I'll show this from the side. We'll work on a little sequence, like I say, to open up the hips. We'll start by coming down into a pose known as malasana. For now, the toes could be slightly out. Knees wider than the torso. And just holding here, allowing the body to conform to this shape. Next, press straight into a forward fold. You can catch the elbows.
Into chair pose. Mountain pose. If when you go down into malasana you find your heels won't stay on the ground, you might take a nice thick folded edge of a blanket, place it under the heels. So we'll do this round with our feet together. Let's go arms up. Exhale. Bend the knees. Malasana. Again, the knees will be wider than the torso. And we're holding here. See if that's a little easier for you to do with a blanket underneath the heels. This time let's add just a little bit of a reach. Walk the hands back toward the feet. Press the legs to straight. Uttanasana.
You even get a little more freedom with the heels on a height in your forward fold. Take some of the tension out of the calf muscles. Chair pose. Arms up. Mountain pose. Last time through. A little bit deeper. Arms up. Malasana. Learning to fold at the hips. Fold at the knees. We'll reach. And for a little bit greater depth, we might try reaching around the sides of the legs.
Just here. Release the head and neck down. And we want to squeeze the sides of the body with the inner legs. Hands to the feet. Press the legs straight for Uttanasana. Forward fold. Chair pose. Knees together. Arms up. And mountain pose. Let's take a little pause there. We can move the blanket out of the way and grab a block for a version of goddess pose. We'll put the block at its tallest setting and sit right on it.
It takes the hard work out of this pose. We're just starting here to begin to open up the groins. First move, we'll take the elbow to the inside of the right leg. I push against the knee. The knee pushes against the arm. And I'm going to make a little turn here. As I make this turn, I'm rolling all the way from the right side and right side pelvis, turning with me around to the left. Holding here. Release. Second side. Left arm on the inside.
Push the arm to the leg. Leg to the arm so that I can bring around a left side trunk. And release. We take it a little deeper. First, one quick stand up and back down. So we can reset the body there. Take the right hand, the cup of the thumb and index finger. We'll put it right behind the right heel. Same with the left. We're working towards a pose called bhujapadasana, where we balance on the backs of the arms.
From here, I'm going to be bending the elbows and I push the elbows into the underside of the leg strongly. As though I'm even trying to push my bottom up off the block. Can you bring your bottom up? And hold here. And then release. Come on up to standing for a reset. Now you could either repeat that variation there, the prep for bhujapadasana, or let's challenge it together.
Feet wider than hips, toes pointed slightly out. Bend the knees, come down. In the same way we just practiced, I'm going to take the cup of the thumb and index finger right behind the heel. Bend the elbows and have a seat. Try to lean back just a little. Can you free one foot? Can you free two feet? This is a strong version of the pose, like in malasana, squeeze your body, bhujapadasana's arm pressure pose.
Holding there, three, two, touchdown. Bear the weight on the feet. Come up. How'd it feel? It's possible you could have toppled back, but we'll try it one more time, one more time. Right into it. Come on down, this time left hand first. Right hand. Sitting down toward the arms, you have to bend your elbows for this. Lean back, weight into the hands.
This could be as far as you go, or here's the first foot. Here's the second foot. Squeeze your arms strongly. Hold there. Three, two, touchdown. Come up. Shake out the legs. Let that blood flow. We've got another balancing pose for you that we've been working up to in these last few practices.
I'm going to bring a block back into play again. As promised, bhagasana, crow pose. We're going to take it nice and slow. We'll start by bringing the hands down to the mat, then stepping up on the block. Now the block gives us a little bit of height, so we don't have to try to get ourselves up and over the arms. We'll start here, knees wide, palms on the mat. Then walk those palms and arms. See what I did there? I took the tricep underneath, hand back. Tricep of the right, underneath, and hand back.
Raise your hips high, high, high, and bring as much of your body weight to your knees and press into the backs of the arms, the triceps. Just here, round one. Holding here. Then lower your bottom back a little bit. Step off the block. Unwind yourself. Let that blood flow. Let's try again. First, hands to the floor. Then step up on the block. Wide knees, and look at high heels, how I do there. Lift those heels.
I walk the hand back and lock the tricep against the shin. Walk the other hand back. Lock the tricep against the shin. Pinch the body with the inner legs again and begin to lean that body weight forward. Lift your hips. Lean the body weight. Here we go. Big challenge. One foot. Put that foot down.
Second foot lifting. Touch down. Lean back. Step off. One more time. We're going to hover. We can do this. Here we go. Hands to the floor. Step up on the block. Wide knees. Let's walk the right hand and tricep back this time. First, we walk it back. Lock it against the shin.
Walk it back on the left. Lock it against the shin. Raise your hips and squeeze those knees into the body. Then bring the body weight onto those knees so you can press the backs of the arms. One foot up. Two feet up. We did it. Hold for five, four, three.
Careful landing. Nice. How did you do? I want to hear from you about that pose. For now, we'll take the block away. Come to the front edge of your mat. Let's move a little. Open up the body. Arms up. Inhale. Get that needed stretch. Forward fold. Exhale.
Step back to a plank. Bend your elbows. Come all the way down to the floor. Let's just take this easy. Body's looking for a little counter posing now. Just for a second there. Little baby cobra. Curl under the toes. Press back. Holding for just one second. And we're going to do that one more time.
Come forward plank. Bend the elbows all the way down. Hands alongside the chest. Point the toes. Little baby cobra. Let the tailbone reach towards the heels for a moment. And we're using those back muscles now as a counter pose. And then once again, dog pose.
Let's move into some counter posing now. Bringing the knees down to the floor. Keep the knees wide as the mat slides your big toes together. We've touched in on thread the needle before. Let's do it again here.
Raise the right arm up first to start. Open the body with a little bit of back bending here. Using those spinal muscles. Big breath in. And now thread that right arm through the left side. Rest your right shoulder on the ground. Right side of the head on the ground. Now for this particular thread the needle, I'm going to push my left hip toward the left a little.
Toward the left. This helps me get a little extra rotation through the pelvis. And unwind some of the spinal muscles from the arm balances today. Let's add to the thread the needle by raising the top arm up. You can even challenge looking up to the ceiling if your neck permits. And then release the hand down and unwind.
We'll do the other side. Left arm high to the sky. Remember a little bit of back bending energy. Those lumbar and mid back muscles gently firming. And now we'll thread through. Left arm comes through to the right side. Let that left shoulder down. Left side of the head down.
And in this case I'm pushing my right hip further to the right. This gives a nice lateral release to the spinal muscles. We can take the right arm up if that is available. If you have the freedom to do that. And I'm pushing the back of my left arm into the ground to create a little extra rotation.
And shift of the hips. And then release. Bring two hands to the mat. Let's move through a dog pose just briefly. Come forward to a plank and down to the mat once again.
We'll touch that baby cobra holding here. Lift of the chest, tailbone rolling toward the heels. Holding this pose, shoulders rolling back, elbows narrowing toward the body. See if you can bring your awareness to those lumbar muscles and feel them work for you. And then release down the chest. Let's take it a little bit further now.
Arms alongside you, palms up toward the ceiling and walk the legs together. Keep the front of the thighs nice and long. Locust pose now, roll the shoulders up, chest comes up and two legs lifting. We can finish with the arms just a bit off the floor. Holding, three, two, one and rest.
Bring your hands forward to support you for just a moment. One note about these types of backbends, we don't want them to exclusively be the glutes pinching together. It's actually the deep muscles of the hips and the inner thigh muscles that are working equally in a balanced way. That's part of what we're learning in this particular theme, how to balance the body. Legs together, bring your awareness to the inner thighs and arms alongside your body.
We lift the chest, inner thigh lifting and arms up. If you want, at some time you could experiment what it's like to grip the hips and lift versus lifting with the inner thighs. It's a very different experience. And then release. Hands, press up to a few movements in cat and cow and variations.
Side to side, rolling up, rolling down, rolling up and rolling down. From here we will grab a block and place the block underneath your hips. And we'll start with the left leg bent, right leg straight. This is Marichyasana number one, or A, if you are more of an ashtangi. We'll start by turning away from the bent leg.
And I'm turning from way down here at that left hip. Lean forward and wrap the left arm around the shin. Holding there, I push my shoulder against the knee to create that twist. Right hand comes around to catch. Now if that catching does not happen easily for you, you might use a strap when you come around holding the strap.
Place it in the left hand and you have a nice lock there. A few more breaths. And release. And second side. Left leg is straight, right leg bent.
I'll start with a turn. Reach a little forward and around that right shin, pressing the shoulder against the leg to turn the body. And I'll catch. A few more breaths. Deep turn of the spine here.
And then release. Let the leg out. We'll take the block away as we turn around onto the back. And we're going to touch Viparita Karani for just a moment and offer this as an option. If you are not choosing to go into the inversion today.
Again, with the block support, we're looking for that nice little arc. Tailbone a little down as opposed to rolling up away from the floor. Abdomen nice and soft. Then if you'd like to go further with me into the inversion, you could either stay or remove the block. Hands alongside you, curl up.
Into a modified shoulder stand. Gently tuck the shoulders underneath you. We'll hover for just a moment. Stretch one leg up. Let's do both today.
I want to remind you that we're not trying to make our trunk vertical in this pose. Because we don't have the blanket support for the neck. If you'd like to go a little further with me. We'll keep the hips high and bring the legs down to a comfortable controllable depth. If they touch the floor, fine.
If not, you can still hover the legs at any position that you feel safe. And without any overpressure into the neck. Legs should be active. If your flexibility doesn't permit the feet to go to the floor, you could bend your knees. In a version of karnipidasana.
Let's take the legs back up again, one at a time. Allow the knees to bend in towards you. Release the hands. And coming down. Pause with the feet on the ground.
And let's come up to sitting for just a moment. We'll take the hands behind and interlace the legs. Turn the fingertips out. Press down through the floor. Lift your chest.
And look up to the ceiling as a little counter pose for shoulder stand. Release, cross the legs the other way. Again, press the floor. Lift the chest. And release.
Roll the back down. Let's find shavasana. Extend the legs out. Tuck the shoulders. Release the legs.
Let the breath settle. And releasing all the physical sensations that present to the awareness. And releasing any unnecessary tension. Legs, abdomen, shoulders, hands. And release.
If you would like to stay longer, I invite you to do that. It's a challenging routine. You might need a little extra rest. If you'd like to come out with me, place your hands on your tummy. Bend the knees one at a time.
And turn over onto your right side for just a breath or two. And then using your hands, press yourself up to a comfortable seated position. A challenging balance practice today. Something that can be revisited often to build the arm strength and core strength. Help to open up the hips.
I've got some great news. Our next practice is going to be much more of a restore practice. We've been working hard, so we're going to bring down the energy way down. And really help calm the nervous system, quiet the mind, and get ourselves ready for the next theme, which is power. We're going to be moving with a lot of strength and movement.
Can't wait to see you. Have a great day. Take care.
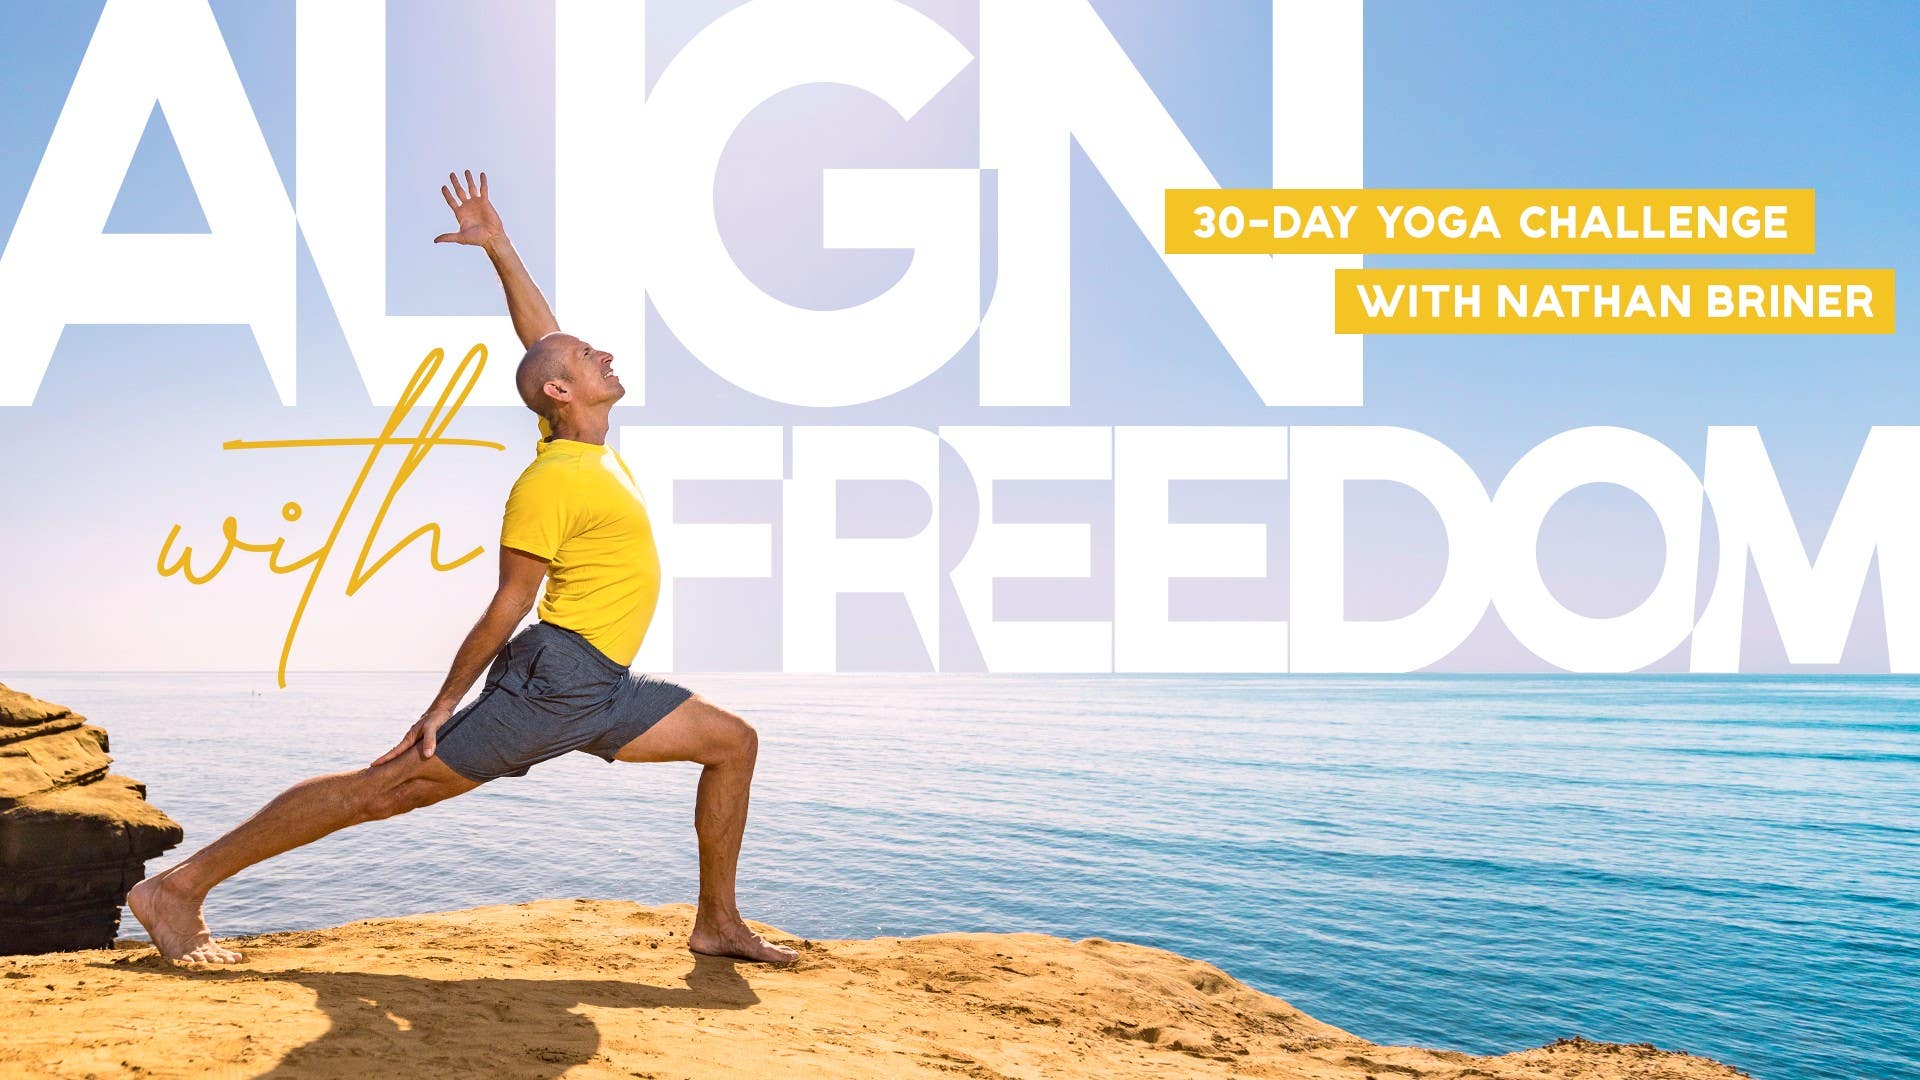
Align with Freedom: 30-Day Yoga Challenge
Comments
You need to be a subscriber to post a comment.
Please Log In or Create an Account to start your free trial.


