Description
About This Video
Transcript
Read Full Transcript
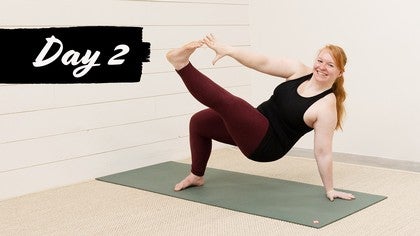
Welcome back to day two of your handstand challenge. In this practice, we'll explore creative ways to get on our hands to improve your handstands and your comfortability being on your hands. So let's get started. You can sit however is comfortable for you. Take your hands out in front of you, bring your fingertips and your thumbs together and press your wrists up towards the ceiling. So your wrists are inflection. And then as you exhale, open up your fingertips like handstand pulling the fingertips back towards your shoulders and glide the hands back down towards the floor, grasp the fingertips, press up. And then as you exhale, you'll bring the hands back down. It's almost like if you were painting right with a brush like karate kid hands, right? So draw up and release back down. Do that a few times. Then we can take this action to the signs. So the next time your hands come down, turn your arms about a quarter of the way out, bring the fingertips back and bend your elbows and create flexion in your wrists. Then from there, open up the hands and bring the backs of your wrists closer together. Pull the fingertips in like you're pulling on a piece of taffy. And then shorten the distance between your inner wrists. Just to get a little more mobility and ease before we start to weight bear. Then let's take the backs of our hands and bring them together. Bend your elbows out to the signs and gently press the backs of your wrists together. Turn your fingertips so they face down towards your lap, then to your heart, then up towards the ceiling. And if you're familiar with mayurasana, the arm balance, this is like mayurasana hands, pull the inner elbows in towards each other, pull your fingertips down towards the floor, mayurasana hands. Then curl the arms back, bending at the elbows, press the backs of your hands together as your elbows slide out to the sides. Face the fingertips in towards your heart, down towards your thighs, and straighten your arms in front of you. And do that again, bend the elbows, point the fingertips up, fan the hands forward into mayurasana arms, stretch the arms forward. And one more time. And so over time in practice, this movement gets a little more fluid. So as you come into the mayurasana arms, now we'll weight bear a little bit, bring your fingertips to the floor, followed by the thumbs, give more weight into the hands. So now as you lean forward, you're actually coming out of wrist extension. And then as you bring your hips back towards your heels any amount, you'll create more wrist extension, come forward and shift back out. When you take your time, and be easy, especially since we will be weight bearing quite a bit in this class, because the only way to get more familiar, more comfortable on your hands is being on your hands. Good. Okay, and then peel the fingertips away from the floor, grab a block. And you'll place your block between your inner form. So I like to take the block onto my thigh, and then pin it against my forearms with my palms facing up for right now. So we'll come into shoulder circles. And what I want you to concentrate on are your shoulder blades moving. So it's not the hands, it's not necessarily the block, though I will cue to that. But it's really this movement of introducing more shoulder protraction where your shoulder blades are coming away from your back, elevating or lifting your shoulders up towards your ears. There's not so much here because the block is in front of you and your arms are in front of you. But retraction pulling your shoulder blades closer together, and then depressing or bringing the shoulder blades down the back. Okay, so it's very easy to get caught up in what we see, which is in front of us, rather than feeling and sensing what's behind us. But the shoulder blades truly are our best friends when we are in our handstand practice. So present the block forward, shoulder blades are moving away from the spine, lift the shoulders up towards the ears, then pull the block back towards you, bring the block down towards the floor, present the block forward, lift up, draw back and down. And as you're doing this, you may feel this intensity of bending the elbows, but try to keep the elbows pretty straight, there might be a little bend to it because you're holding on to the block. But try not to bring the block towards you by fully bending out the elbows. Now we're going to go in the opposite direction. So draw the block closer to you without bending the elbows, lift the shoulders up, present the block forward, back down and around. And we're going to revisit this a couple of times. So if it feels very new to you, it's okay, we'll practice it a lot. Okay, good. Now release the block will keep building there in your shoulders, grab your blanket and create a blanket roll. Now if the blanket roll is too high, you can always decrease the amount that you roll the blanket. Okay, but I'm going to roll my blanket all the way. And now we'll get some tactile feedback for the shoulder blades, which are quite high on the back. Sometimes we think that they're a bit lower, but they are not. So come to rest your shoulder blades on to the blanket. And it's nice, this rocking side to side action, because we, we feel a little bit more we perceive more. Okay, once you have them in place, bring your arms out to the side, so the upper arms go up and over the blanket. And then you rest the back of the head down. So if you find that, right, you're crunching up in the neck, and you're looking behind you, that might indicate that your role needs to be a little lower. From here, roll to your left side, coming into a fetal position. So my right arm is going to come on top of my left arm, relax your head down. Now if the head doesn't come all the way down, you can also take a block and place your block underneath the head. From here, the right shoulder blade is moving away from your spine. So you're in protraction. As you take your right arm up and overhead, that right shoulder blade is going to come closer to your spine. And you're not squeezing it, you're not trying to pull the shoulder blades together, but rather experiencing how they move on your upper back. And as you bring the right arm back up and overhead, the shoulder blade protracts and moves away from the spine.
So you'll open up, feel what the right shoulder blade does. And then cuddle back into the fetal position and feel how it widens. And so it can be a very soothing practice, especially before we get on to that energizing practice of being on our hands. And the next time you open up into that spinal twist position, you'll roll over onto your right side. So feel the shoulder blades as they make contact, maybe even contact against the blanket. If you need to shift, like you feel like you've moved a little bit, you need to realign, go ahead and do that. And then you'll bring your left arm on top of your right arm. And so let the head release, feel the position of the left shoulder blade moving away from the spine. And then from there, so to open the left arm out, feel how the left shoulder blade moves closer to the spine, that's called retraction. And then when the arm comes back up and overhead, shoulder blade moves away from the spine, that inner border of the shoulder blade moves away from the spine into protraction. The next time you open out into that twist, come back through center, feel the left shoulder blade make more contact with the blanket. And you'll come out, so roll on over to one side. Come onto all fours, can place your blanket aside. And we'll come back to it in a moment. So have your hands, the distance that you need, that might be shoulder width apart, it might be a little bit wider, maybe a little narrower, grip your fingertips into the mat. And then from here, we'll come into those same shoulder blade circles. So drop the chest down between your upper arms. And that might mean opening up a little bit wider, see how that works for you. Then from there, draw the shoulder blades down the back, protract, spread them apart, elevate, bring the shoulders up towards your ears. So nice and slow. And noticing, right, your body might prohibit you from doing an action, which might mean opening up your hands wider. Or we've created this connection where every time you bring your shoulder blades together, you always bend the elbows. So we're trying to disconnect some of those movement patterns that we've created in the past, and not to eradicate them, but rather to give us more options. You're going to change the direction of the shoulder circles. So drawing them down the back, squeeze, draw the shoulders up towards the ears, and lengthen them apart. Then can do this again, but you can tuck your toes under and hover your knees. So that's going to add another layer, but also get you onto your hands. So shoulders up towards the ears, drop down, circle back, just do two or three in one direction, and then another two or three in the opposite direction. And then lower your knees back down to the floor. Give yourself a little rest, you come off of your hands, bring the backs of the hands together like we did before, pull the fingertips now towards the sides. And then from there, bend your elbows out to the sides, press the backs of the hands together as you straighten your arms, then the elbows curl the fingertips back. And one more time. Good. Then from here, grab your blanket, take the blanket in front of you and place your hands in front of the blanket but try not to touch the back of your forearm to the blanket. Come forward just a little bit. And now, a little bit higher up, you might feel some support of the blanket, let that happen. But now try to shift your weight into your fingertips. And when you start to do that, you'll feel either no contact or less contact of your forearm against the blanket roll. And then drop back into the heels of your hands. Then grip into the mat, bring your weight forward into the fingertips, almost as if you were going to lift the heels of your hands away from the floor. And then relax back into the blanket. Do it one more time. And can you feel how the shoulder blades integrate into the upper back like we saw yesterday a little bit more. And the muscles of the forearms engage, they get excited that we're using them instead of just placing our hands on the floor and kind of collapsing into the wrists. There's more global support around the wrists. Then as you exhale, come on down, move your blanket aside. From here, the knees can stay down, or you can hover them. So however you choose, I'm going to hover my knees, and then like a cat, right? It needs okay. So you're going to need your mat gripping and shifting your weight from side to side. And then you can get a little creative, moving your hands to one side of the mat, a little side bends, and then pawing your way back through center and over to the other side.
Try to keep your knees relatively close to the floor. So more like tabletop and less like downward facing dog, then you might try walking your hands out in front of you. And then maybe a little bit closer to you. Good. And from there, lower the knees down, shift back into child's pose, your hands can be out in front of you or down along the sides of your hips. Let your wrists relax a little bit. If you're feeling intensity in the muscles of the forearm, to soften that intensity, allow yourself as many pauses as you need, especially if you're newer to being on your hands for as long. And then from there, walk on up. So we're going to take a similar approach, we're going to try shifting side to side. But this time, we're gonna add a little more of a twist and a little more balance. Okay, so give yourself grace as we come into this. So from here, lift your knees up and away from the floor a little bit, shift onto your feet, see if you can pick that right hand up, and then come back through center, shift to the other side. So the right outer edge of my foot is on the floor, the left inner edge of my foot is on the floor, left hand comes up, and you rock side to side. So a little bit bigger than the cat kneading, as we just came from. Now that's going swell. As you rotate, if you're on your left hand, can you pick your left foot up and away from the floor? And then come on over to the other side, feel your weight shift into that right hand, push away, so a little bit of that protraction. Lift the right foot, lift the left foot, left hand, maybe pull the right hand, pull that right elbow back. Okay, then shift to the other side, right foot comes up, pull the left elbow back, as you pull your left elbow back, push away with the right hand, try not to sink down, press up and away. Okay, maybe you're like, Oh, I want to get a little fancy. Lift the left knee up, straighten, tap that toe. Okay, and then we do the other side. Okay, lift the right leg, push away with the right hand, maybe straighten, maybe tap and shift back. And then maybe you go a little faster. So lots of ways to play, maybe you walk out a little bit more. Walk the hands closer. So you're traveling and you're enjoying it rather than it being very systematic, in a sense. Okay, enough of that, we've done enough of that. So roll your wrist out a little bit. But the point is, have fun, right? Give yourself grace, have fun. From here, let's come back into downward facing dog. And then when you feel a little closer together, or you can have them apart and stagger them like we did before, we'll come into side plank. So roll over onto the outer edge of your left leg, get light with the right hand, bring your right arm up and overhead, squeeze your inner legs together. If you're stocking, make sure that the legs are flat or the feet are flexed. Then from there, turn your thumb to face down towards the floor, pull your fingertips back, push through the heel of your hand, side plank can stand that you didn't see that one coming. Okay, then take the right hand back down, switch over to the other side, switch onto the outer edge of the right foot. Okay, lift the left hand up, push away with the right arm, lift the left arm overhead, thumb faces down, pull the fingertips back, push through the heel of the hand, push through the heels of the feet. And then lower the left hand down, swirl back onto the balls of your feet, come into downward facing dog.
Walk your hands back towards your feet. Give yourself a little pause here hold on to opposite elbows, let the head hang. Take a deep slow steady breath in, followed by a long slow steady breath out. Give yourself a little sway side to side, maybe open up your feet a little bit wider, they're closer together. And then take your hands to your hips, push down through your feet, come all the way up to stand. You'll turn sideways. So we're coming to press sorry to power to not center a wide leg forward bend, spread open the feet, take your hands, place them down onto the floor on chair blocks. And again, find that alignment that works for you. When you put your hands on the floor, where do you feel the most stable the most secure on your hands? Then bend your elbows. And then as you bend your elbows, connect again with your shoulder blades, feel how they're slightly closer together. Now as you straighten your arms, try to draw the shoulder blades away from each other. Bend the elbows, then spread the shoulder blades apart. That is bending action can be very spring like. So see what it feels like in your body. Think of a spring as you bend your elbows. Does the movement get a little bit lighter, a little more playful. And now we'll translate that springing action into our feet. So instead of the elbows bending, the arms will stay straight, the shoulder blades protracted, you can bring your feet in a little bit closer, and we'll try a little hops. So you'll bend your knees, push down through the floor, lift up onto the balls of the feet heels raise up, and maybe that's your spring, bend the knees, lift up onto the balls of the feet. Maybe the spring is a little bit bouncier, and you hop up, press down through the hands, pop up, and maybe a little bit more pop up, and maybe a little bit more and pop up. Okay, so another way for you to play and explore and spring. Okay, take your hands to your hips, come on up to stand. So we're going to work on that a little bit with the springing action. So come further towards the back of your mat. What you have to think about hands, feet, hands, feet, hands, feet, okay, so squat on down, place your hands on the mat, and then spring forward, little hop, hands down, spring forward, little hop, hands down, spring forward, little hop, okay, stand back up, walk yourself back. From here, we're going to add that spring hop with our little kicks to the sides. So squat on down, place your hands forward, hands, feet, okay, take your right hand forward, swivel to the left, lift your right knee up, tap that right toe, place the right foot back down, swivel to the right, lift the left knee up, tap that toe, swivel back to center, shift back into your feet, hands, feet, hop, then swivel to the left, tap the right foot, swivel to the other side, tap the foot, and back through center, shift back to your feet. So you're welcome to continue to play with that if you thought that that was a really playful way to be on your hands, but not necessarily go entirely upside down. If you'd like to go upside down, we're going to come back into the L shape. If you want to practice a different handstand, then you can revisit one of the handstands that you did for day one. So if you're coming into your L handstand, shift on back to the wall and start in tabletop with your toes tucked under. So here, what's nice about having the wall, if you're not really sure where you feel steady with your hands, you can try going a little bit closer, going a little bit wider, maybe even wider, because you have the support of the wall, and you're sort of wedged in between the floor and the wall. And then you're also not completely inverting, bringing the feet overhead, you are inverting just not with the feet overhead. Okay, then from here, push down into the toes, press through the hands, broaden the shoulder blades, then lift the hips up and let your shoulders rise. So this is called upward rotation of the shoulder blades. Take one foot to the wall, take the other foot to the wall. And then see if you can walk your feet so that your heels are about in line with your hips, they may be a little bit higher, a little bit lower, then push through the hands, spin the biceps just a little forward. So you feel some action at the shoulder blade region. Can you feel them spreading nice and broadly on the upper back? Take another breath here, if you need to come down for earlier, please do so. And as you're ready, walk your feet back down the wall to the floor, lower down to the knees, cross your ankles, if you want to grab something to sit on, go ahead and do that. And cross one ankle in front of the other for Sukhasana. Take your right hand and bring your right hand right underneath your right knee. So you come back into a little bit of flexion of the wrist, take your left hand to your left thigh and turn to the left. Move back to center, take your left hand underneath your left knee, right hand to the top of the thigh, turn to the right. And inhale, come back through center, press down through both eyes, lift the chest up as you exhale, walk your fingertips forward beyond the finger pads as you come forward, slide your buttocks towards the wall as you come into your fold. Then you might try taking the backs of the hands to the floor or even the pinky side of the hands to the floor. And walk your hands back up, switch, take your right ankle in front of your left, press down through your thighs, lift up. So you exhale, walk your hands forward, and then walk the hands back up. Place both of your hands on your thighs, close your eyes for a moment. Feel the shoulder blades against the upper back, the upper arms melting down from the shoulder blades and your hands resting on your thighs. Imagine a tunnel of space in your fingertips and in your wrists. And it's almost as if you could breathe through those channels that you're creating so that every time you inhale, you're breathing directly into your wrists. And every time you exhale, the wrists are able to sink into the legs. And when you're ready, open your eyes, place one hand over your heart and the other hand on top. And thank you so much for joining me for day two and getting playful with me on your hats.
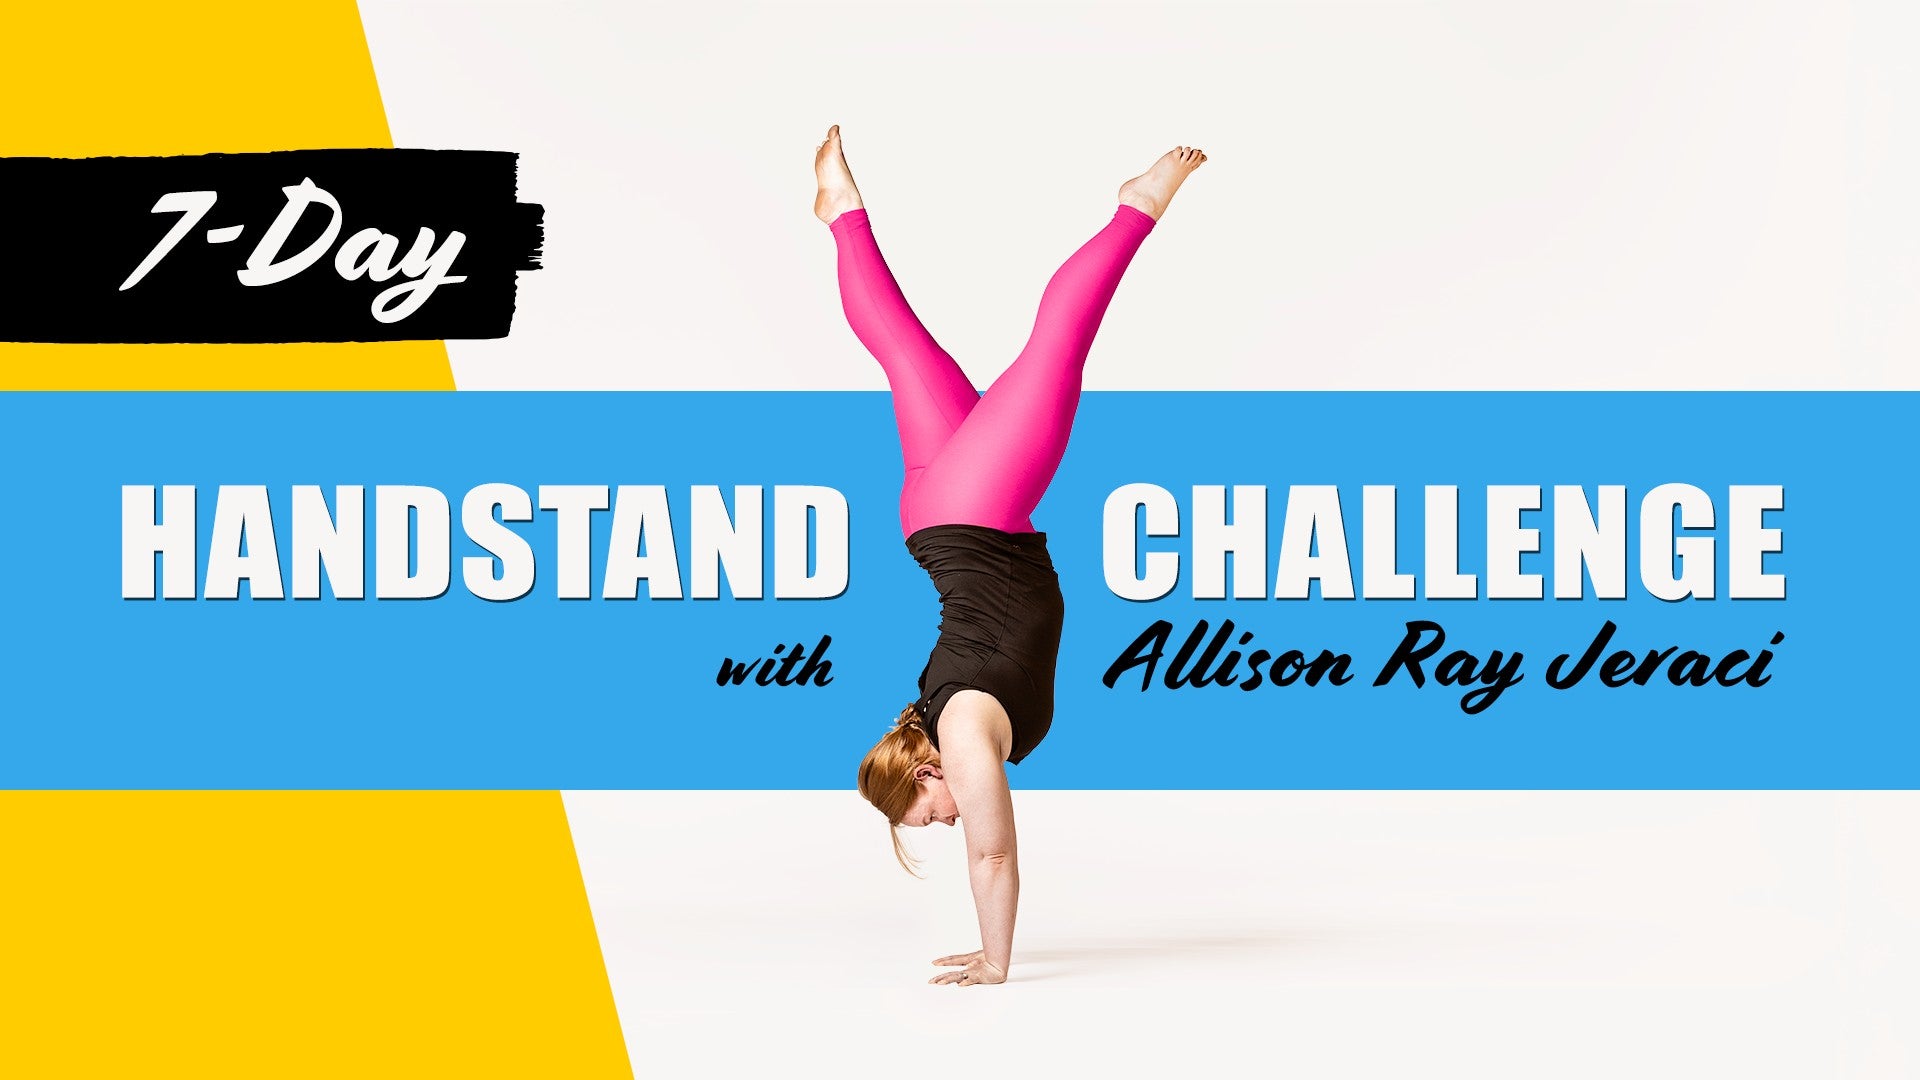
The 7-Day Handstand Challenge
Comments
You need to be a subscriber to post a comment.
Please Log In or Create an Account to start your free trial.
