Description
About This Video
Transcript
Read Full Transcript
Hello and welcome. This is a practice you can do even if your hip is bothering you. Let's start kneeling or some other comfortable position for you. Let your eyes gaze lower or even close your eyes. And release down through the upper inner thighs and see if you can soften at the front hip creases.
And gently engage the lower belly towards the lower spine. So that your abdominal muscles are supporting the spine, your posture. And the front hip crease region, the hip flexors, more relaxed. Inhale side, ribs expand and lift. Exhale soften the tops of the shoulders down.
As you're ready, gently open the eyes and come on to your hands and knees, all fours. Place your wrists underneath your shoulders and place your knees underneath your hips. Tuck your toes under and then lift your knees, float the knees a few inches. And again, firm the lower belly towards the lower back, not to round the spine, it's an elongated neutral spine. Engaging the belly to support that long spine and then lower your knees down, but keep the belly engagement.
You can release your toes back and then right leg to the side. These are fire hydrants, you can pretend you're a dog at a fire hydrant. And find your range that feels good in your hip. And once you find the height, that's good for you, hold your leg there and start to pulse the leg. Pain free range of motion, 10, 9, 8, 7, 6, 5, 4, 3, 2, 1.
Release the knee down, tuck the toes under, again float the knees. Lower abdomen engages, reconnect there. And release the knees down, left fire hydrants. Find your range of motion, take a few full cycles of the leg, finding your full. Pain free range of motion, then hold it there and pulse the leg up and down, small pulses.
Belly still engaged, 10, 9, 8, 7, 6, 5, 4, 3, 2, and 1. Release the knee down, one more time, curl the toes under and scoop the belly, scoop the knees, float. And gently lower your knees and lower your elbows. Coming down on your elbows, interlace your fingers, press down through your forearms, spread the shoulder blades somewhat. And then again with the toes tucked, scoop the knees, float.
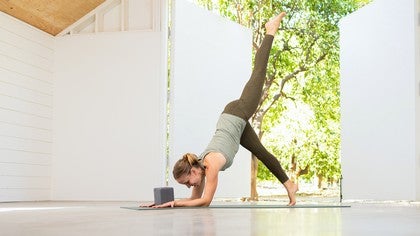
Let the shoulder blades release away from the ears, even as you engage the lower belly, hip flexors soft, front hip soft. Lower your knees, and now take the right leg back and up. So it's like a fire hydrant, but behind, foot is flexed. Find your pain free range, go up, and then pause. Strong flex at the foot, so like you're putting your heel on the ceiling.
Firm the buttock down, right leg is up, firm the right buttock down. But press the thigh up, and that's your pulse. Ten, nine, eight, seven, six, five, four, three, two, and one, release. Toes curled under, lift the knees, that little float again, hold. Release down.
Now let's take the left leg back and up, a few full arcs, exploring pain free range. Foot is flexed, pressing towards the ceiling, and then hold the leg up. Firm the buttock down, and press the thigh up. Ten, nine, eight, seven, six, five, four, three, two, and one, release. Coming back up on your hands and knees for Adho Mukha Svanasana, downward facing dog.
Take your feet a little bit wider than your hips, ankles a bit wider. If you're tight in the legs, you could go all the way to mat distance with your feet. That would be fine. And release evenly back through the inner and outer thighs. If your knee, if your hamstrings are tight, you could also bend your knees so that you can press through the hands and guide the pelvis back, long spine.
The end of your next exhale, walk your hands back to your feet, Uttanasana again, the knees could be bent or straight, release the head down, lifting the shoulder blades up. Inhale, reach your chest forward. Exhale hands on your hips and inhale stand. Okay, let's take the strap now. If you don't have a long enough strap, you could loop two together.
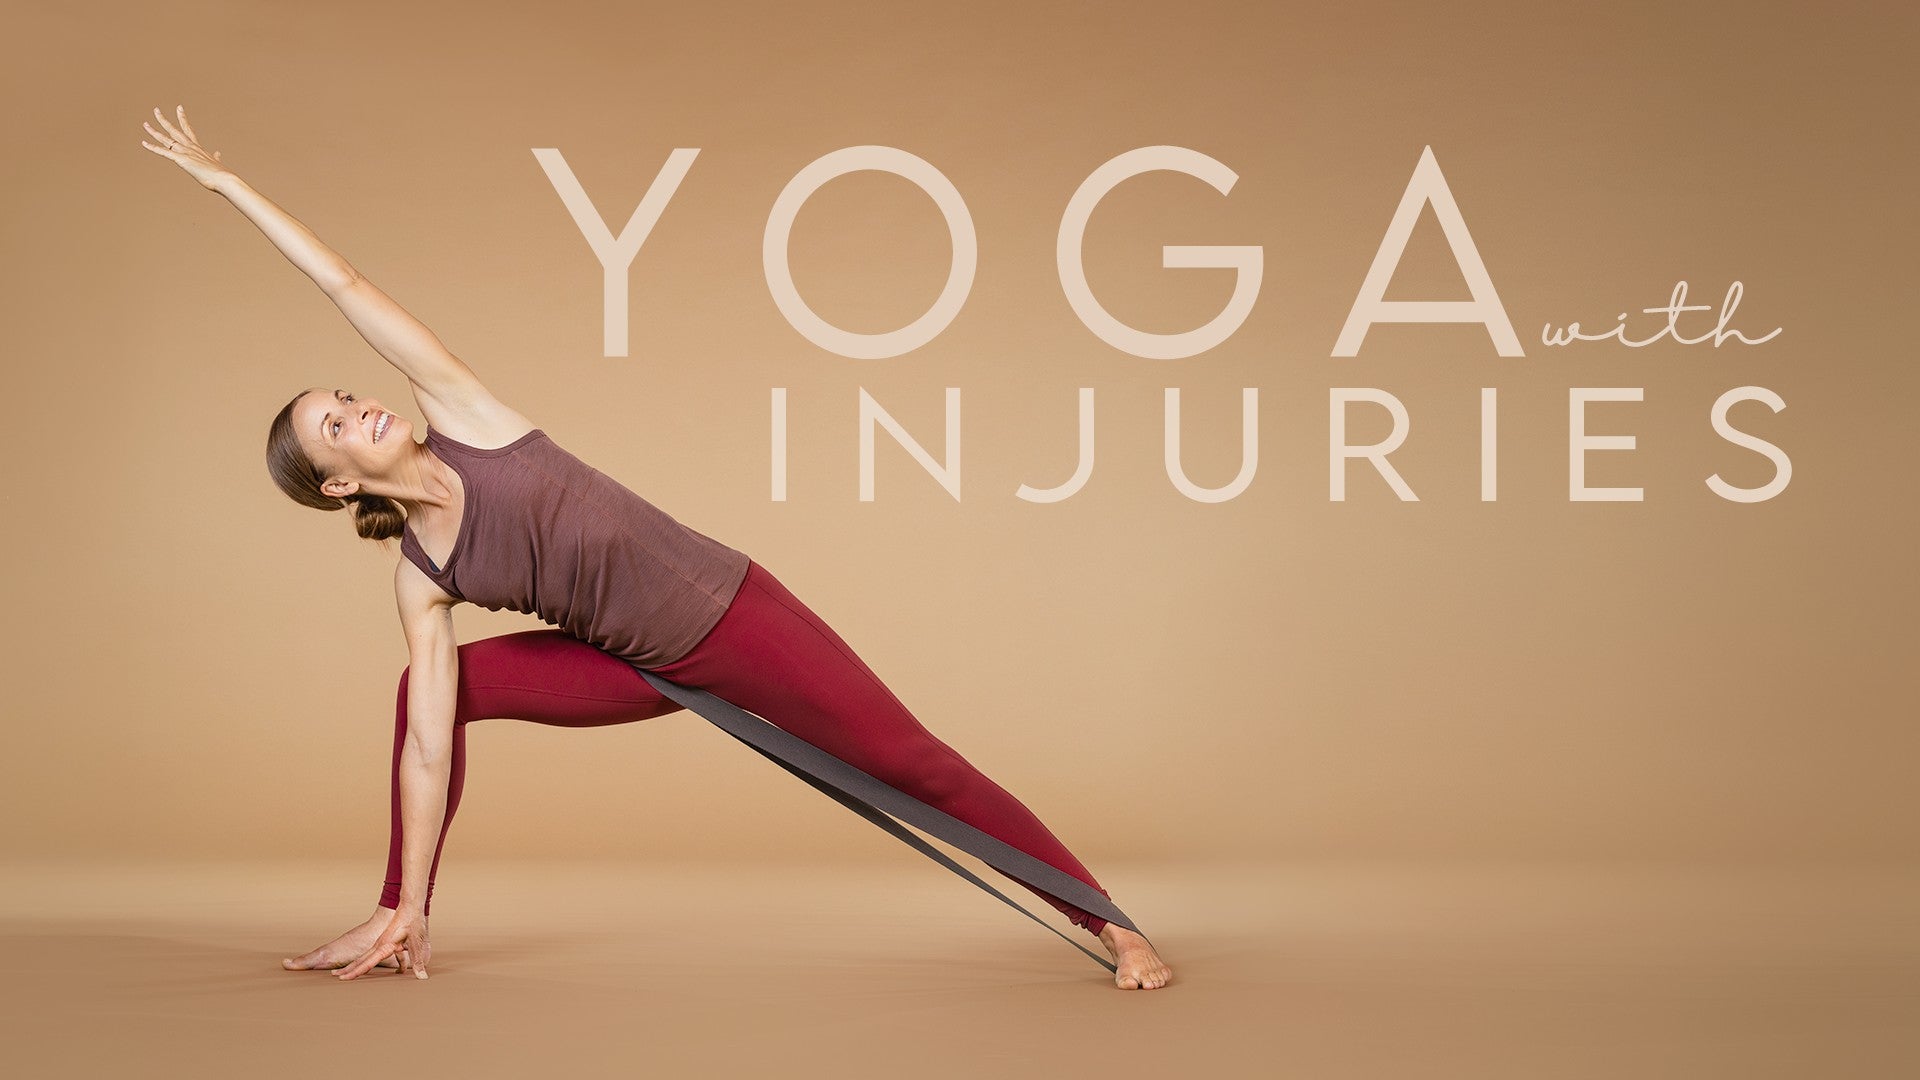
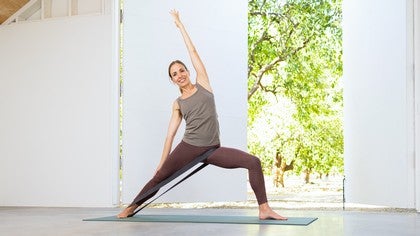
So you're gonna make a huge loop in your strap or straps. And then we're gonna take this strap around the left heel. This is for some standing poses and the top of the right hip. So you can turn your right leg out, left foot in as you put the strap on. And you'll go right away into bending into warrior two so that you can tighten the strap so that you actually feel supported by it once you're in Virabhadrasana two.
So the strap again is around your left heel or near that heel and the hip crease at the right hip. What we're trying to do here is use a lot of power through the left leg. So press the top of the thigh back, root the left heel so that it's pulling totally down on the top of the right hips, you can relax the hip flexor, and then engage your lower belly, draw the lower belly back and up. With that now, revolve the right arm, turn the palm to face the ceiling, reverse warrior. Breathing here a few breaths.
Same concept, root the left heel, release the right hip flexor. Inhale back to warrior two, and exhale side angle pose. You can take your right elbow to the right knee, or even take your hand inside the right foot to the floor. Inhale, Virabhadrasana two, revolve the right palm up, exhale reverse warrior. Inhale Virabhadrasana two, and exhale side angle pose.
One more time, inhale, arms wide, exhale, reverse, inhale, arms wide, and exhale, lean right. Inhale, coming up all the way up, now as you straighten your right leg, take your strap, turn the feet parallel, and now we'll change to the other side. Root the right heel to your left front hip crease. Turn left leg out, right foot in, extend the arms, inhale, exhale, and bend. Or as I did on the first side, get into it and then adjust the strap, but the strap should be about the same length on this side.
Pressing down through the right heel, press the right thigh back so that you can root the right heel into the floor. Turn the left palm to face the ceiling, reverse warrior. Left hip crease, yes, softening, softening, let it go. Lower belly, drop back and up, back and up. Inhale arms wide, exhale, side angle pose, maybe dropping left fingertips inside the left foot.
Inhale Virabhadrasana 2, exhale, reverse warrior. Softening at the hip crease, so often we grip in the hip flexors. So intentionally releasing there, you can find your strength in the belly, low belly. Inhale arms wide, exhale, side angle. One more time, Virabhadrasana 2, inhale, exhale, reverse warrior.
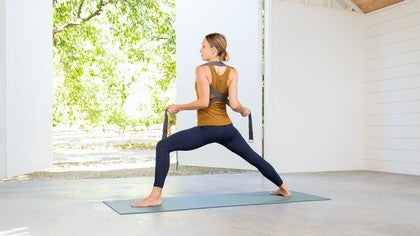
Inhale, Virabhadrasana 2, and exhale, side angle. Inhale back to warrior 2, straighten the left leg. Catch your strap as you turn your feet parallel, heel toe a little bit, feet together. You'll take your strap off, you're going to tighten it by about 2 inches. And then stepping into the front of the mat, preparing for warrior 1 with the strap, similar concept is the left heel, right hip crease.
And bending the right leg, technically same, press through the left heel, left thigh back, release the right hip flexor, and then inhale and take the arms up overhead, Virabhadrasana 1. Drawing the lower belly back and up, lengthen the tailbone down, inhale, and then exhale, bring your arms down behind you, interlace the fingers, rolling the shoulders back, press your shoulder blades into your chest, look up, inhale, exhale, holding over the right leg, humble warrior, lift the arms up towards the ceiling. Now at this point, you may be able to look back and see the strap there around your left heel. Once again, firming the left quadricep, press through the heel and see if you can soften at the front right hip crease. Meanwhile, lift the lower abdomen up towards the lower back.
Now coming up halfway, reach the crown of the head forward, arms back, inhale, releasing the clasps with the hands, exhale, right hand to the outer hip, left elbow outside the right thigh, palm to palm. If this is not good on your hip, you can take the left hand down, right arm up, and twist. Press back through your left heel, let the right hip crease be drawn back, soften the psoas, reach forward through the chest, crown of the head. Coming back up, inhale, raise the arms, and exhale, straighten the right leg. All right, we'll change sides.
Stepping your left foot forward, right foot back. Take the strap over the top of the left hip, around the right heel, as best you can get it on that heel, and then bend your left leg. Releasing the psoas, strong through the right leg, so the left psoas can let go. Lift the arms up, lengthen the tailbone down, as you press down through the right heel, also long through the back of the pelvis, draw the lower belly in and up, inhale, tall chest, exhale, lower the arms, the non-habitual, crossing the other index finger in front. Roll your shoulders back, inhale, glance up, and exhale.
Take your chest forward, and release the head down as the arms go up. Look back at the right heel, stamp it into the mat, right quadricep, lifting, so the leg is long, and in response, release at the left hip flexor. To find your strength near that left hip, firm the belly, lift your abdominal muscles towards your lower back. With that support, now lift your head, inhale, long spine, reach the crown of the head forward, arms back, and exhale, take your twist, right elbow outside the left leg, palm to palm, and turn the chest towards the ceiling. Maintain the effort through the back leg, and as you press down through the right heel, inhale the chest forward, exhale, draw the outer left hip back, firming the belly, inhale, lift your arms, exhale, straighten the left leg, step the back foot forward, remove your strap, and we'll take Tadasana at the front of the mat, feet hip distance apart, place your hands on the fronts of the thighs, and just notice the effect of the strap.
So in Tadasana, often we say draw the thighs back, and you may feel the thighs willing to move back. Let the weight shift a bit to your heels, lengthen again the tailbone down, and lift the lower belly up, arms at your sides, Tadasana, mountain pose, inhale, raise the arms, lift the chest, look up, and exhale, fold at the hips, inhale, Ardha Uttanasana, exhale, step back to plank, inhale, plank, look forward, exhale, Chaturanga Dandasana, you could also do this with the knees down, inhale either low cobra or your upward facing dog, and exhale, downward facing dog, deep breath in, long smooth exhale out, strong in the arms, shift again to plank, and drawing the right shoulder blade down the back, turn to the outer edge of the right foot, and reach up through your left arm, side plank. You can also do this of course with the left foot down, lifting the hips. Alternatively, take the left foot behind, wild thing, still drawing the right shoulder blade down the back, firm the buttocks, up go the hips, release the head back and down, coming back to plank, downward facing dog for a moment, inhale, shoulders over wrists, exhale, outer edge of the left foot, draw the left shoulder blade down the back, reach up through your right arm, now to stay up here, lift from the outer left hip, firming the outer hip in, a little support, put your right foot down in front, for a little challenge put it in back, and then firming the buttocks up, the pelvis will go up, and you can release the head back and down, inhale, exhale, make your way back to regular plank, and slowly lower to the mat. Okay, let's turn over on our backs. Find your strap again, and have a block nearby. We're going to take some variations of bridge pose now, but you could do these in Urdhva Dhanurasana if you felt so inclined. Tightening up your loop a little bit, step through the loop, and place the strap mid-thigh, tightening it so that your knees, when you press out, are held hip distance apart. Press your thighs out against the strap, so that you feel your outer hip muscles pinning in. As you do that, release your inner thighs in the direction of your feet. On an exhale, stamp the heels down and lift your hips up. So as we press out with the thighs on the strap here, you activate the outer hips pinning in, but not from the inner gluteal muscles, just the outer. So as you roll your inner thighs down and spread near the sit bones, broaden the hamstrings, you'll be able to both firm the outer hips in, but still have space around the sacrum lower back. Lengthen the buttocks also towards the backs of the knees. As you do so, press your heels down into the floor, and making a dragging action of the heels towards the shoulders so your hamstrings turn on. Exhale and roll down. Alright, now taking the block, place the block where you can, the space that's left there between the knees, narrowest width.
Inhale, exhale again, stamp the heels, lift your hips. Now this time, squeeze in on the block so your inner thighs activate. You can still release the upper groins down, but hugging the block activates the length of the adductor muscles there on the inner thigh bone. And just notice how this is on your hips or your hip that might be giving you some issues compared to pressing out the first round. And release down. Now, one of those may have felt better to you. And so you can repeat that one. If not, you can do both, you can press out on the strap and hug in on the block at the same time. Call co contraction, inhale, exhale lifting the hips. So choosing the one that's best for your hip, or hugging the block, engaging the inner thighs, pressing out on the strap to engage the outer hips in. Still releasing the groins down and lengthen the buttocks towards the backs of the knees. Stamp your heels into the mat, pull the heels towards the shoulders, hamstrings contract, and then interlace your fingers if you like underneath the hips, tuck the shoulders under and add the lift of the chest, pressing the shoulder blades into the chest with the neck soft. Breath through the nose, lips, tongue, jaw released. Inhale and exhale, lower the hips down. Remove the block. And now you're going to take your legs into the chest and slip the strap around the mid foot. So near the arches of the feet. If your hamstrings are tight, you'll take this the feet, knee height, knees bent 90 degree angle otherwise you can stretch your legs up to the ceiling. interlace your fingers underneath your head. Now wherever your legs are in space, you're going to parallel the legs, roll the inner thighs from front to back and press out on the strap. Inhale, and exhale curl up, lifting the head and shoulder blades off the floor, firm the lower belly down. And as you press out on the strap, hopefully again you're feeling the outer hips pinning in, which can take the stress once again off of the hip flexors. So if you can soften the front hip creases and let your strength come powered from your abdomen and the gluteal muscles. And then lower your head down. If you like you can pull in a little bit on the legs. Keep pressing out on the strap. Release the lower back. And then bend your knees place your feet on the floor. We're going to slide the legs to Shavasana with the strap on the feet. So flexing your feet slide, skid the heels out. And you can adjust a little more the inner thighs down broaden the hamstrings. And the idea here is this can be relieving on the hips in Shavasana, because we're not turning the legs out. So you relax the legs rely on the strap to hold the feet parallel. If the buttocks feel too high into the lower back, back is arched, just adjust buttocks flush towards the heels. If this doesn't feel better on your hips, take the strap off of course. And then tuck the shoulder blades towards one another. Close your eyes and relax. Feel free to spend more time here in your Shavasana. Otherwise, take a deeper breath in and exhale out. Wiggle your toes your fingers a bit. And then as you bend your knees, it's fine for the strap to slip off the feet. And roll to your side. And from there come up to any comfortable seated position. As you sit, again relaxing in the hip flexors any amount, finding your support from your belly, your outer hips, your palms if you like. Thank you for your practice today. Namaste.
Yoga with Injuries: Olivia Barry
Comments
You need to be a subscriber to post a comment.
Please Log In or Create an Account to start your free trial.
