Description
About This Video
Transcript
Read Full Transcript
Hi guys, in this tutorial I'm going to break down the sun salutations. So let's begin with Samastiti or Tadasana. The most important thing is you really got to find a straight line. So viewed from the side you want to be able to stack your joints over the top of each other. You know so that you don't end up standing like this or there's lots of different variations the way that people stand.
So in yoga we're trying to bring alignment to the body, breath and mind and it's very important to have good alignment when you're standing because the way that you stand affects the way that you move and you want to bring those movement patterns into your practice. Okay, so we all start just rocking back and forward a little into the heels and into the balls of the feet. Most of the weight should be in the heels and then just a little bit of the weight coming into the balls of the feet and then the toes are just there to catch you. If you start falling you use the toes to grip but mostly the weight in the heels. You can experiment with spreading the heels away from each other or squeezing the heels in towards each other.
Basically ideally when you're standing your knee caps will be pointing straight ahead so it depends a little bit on the shape of your legs for that to happen. So we lift the arches of the feet and then the knees you can lift the kneecaps up and then we move our awareness to the pelvis so basically the pubic bone is dropping down and going back. You notice as I do that it causes the lumbar spine to arch so we counter that by bringing the tailbone, the coccyx down and forward and when those two patterns meet then we come to this what's called neutral pelvis and you notice automatically the lower belly engages and there's your udiyana bandha and mula bandha right there. Okay, so now the center of the hips and knees stacked over the top of the heels. Then from here lifting up through the collar bones but without flaring the ribs so the ribs stay in, tailbone stays down.
You don't want to pull your shoulder blades together keep the shoulder blades moving down the back and slightly apart lengthening through the fingers and then ears will be over the shoulders with the sensation that you're being lifted upward through the crown of the head. Okay, so that's your samastitihi or your tadasana and you want to just keep that in mind every time you step onto your mat and then of course when you go out off the mat and you walk out into your daily life. So what I also talked about in the sun salutations is movement of your arms. So when you take your arms up if you turn your palms up like this that brings your arm into an external rotation okay. So I want you to feel that and as you take the arms up also I want you to feel like you're bringing your scapula forward into a protraction okay while keeping the collarbone lifted and then from there you take the arms up without letting your tailbone lift without swaying the hips forward.
So if your shoulders are tight then maybe you're just going to stop here you won't be able to take the arms all the way in line with the ears. If for a moment we try doing the opposite so if we internally rotate the arms retract or pull the shoulder blades together and depress the shoulder blades and try to take the arms up you're going to find it's a very awkward movement and you get blocked here. So by externally rotating and protracting it totally frees up your arms, your shoulders so you can take the arms higher. When you take your head up to look to the hands or if that doesn't feel good you just continue to look straight ahead but if you can you take the head up to look to the hands but you don't want to squash the back of your neck here so you should feel like you're stretching the front of the neck and from the side the ears don't really go back behind the shoulders too much at all. So it's not like you're going like this, you're stretching the chin forward, stretching the throat so when you take the arms up you can comfortably look to the hands, to the thumbs.
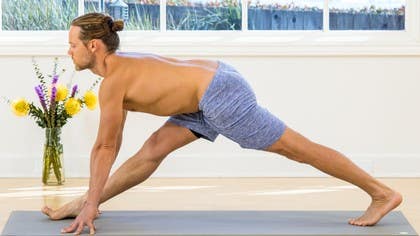
Okay so that's the first movement, the inhalation and then as we exhale we want to feel like we're going forward lengthening through the crown of the head, well at least that's the way that I like to do it. I'll show you the two main variations of bending forward so if I come into a lunge like this and so with my knee bent like this I'm taking the hamstring out of the equation and the movement is just coming from the hip and from the spine here so I'm inhaling and then exhale I flex the spine, inhale I extend the spine and then if I straighten the leg I have either the movement coming from the hip here with spinal extension and then bending forward or I can move from the spine so I draw the ribs in and just flex the spine like this. Okay so this is the hip movement and this is the spinal movement. Okay so when you bend forward what I prefer to do is make it more of a hip movement so depending on your hamstrings like if your hamstrings are tight your pelvis is being pulled like this so when you bend forward it's going to look something like this. Okay so if that's the case then bend the knees and move from the hips like this so you can keep your spine slightly extended for the first part of the movement and then at the end of the movement you start to straighten the legs and then the spine will go into a natural flexion here.
If you have the length in the hamstrings then you can keep the legs straight as you bend forward focusing more from moving from the hips and then at the end of the movement again just naturally going into that spinal flexion. What I like to focus on in my practice is always having the primary movement but also the counter movement so the movement is always balanced. Okay so for example when we lift up into this position then I'm trying to focus on lifting my sitting bones up maybe even spreading the sitting bones apart by spreading the heels apart but if I do that too much then there's a danger also of overstretching and sometimes people get injured particularly flexible people can get injured they end up hurting the hamstring where it attaches to the sitting bone so to prevent that and to bring more stability and strength to the body then focus on the opposite movement which is to drop the tailbone down so bringing some spinal flexion into your forward bends. Okay so even when I'm here and I'm lifting up like this I'm still dropping the weight down into my heels the tailbone connecting to the heels. One other thing in that second position also when we come forward like this is getting you to bring the hands either here or here.
The advantage of bringing the hands here is then it's easy to feel this movement of bringing the elbows in and pressing the hands forward and then you'll see how that creates space in my neck. So instead of being like this I bring the elbows in and press the hands forward and then that spreads the scapula away from the ears and this pattern is very important particularly as you go into your downward dog and into back bending for example. You can do the same thing with the hands on the floor it's a little more challenging the elbows come in and the hands press forward like this. And then from there we step back or you can jump back for now we'll just step back to the high plank and we come forward like this shoulders come over the top of the wrists you see various types of high plank sometimes with the heels or the feet fully flex like this other times you'll see more people on the balls of the feet like that there's even a variation where you're already on the tops of the feet okay so if you do it with your heels feet flex then when you lower down you have to just make sure that you're going to adjust the position when you go into your upward dog because if I try to go to upward dog from here the weight's too far forward okay whereas if I'm on the balls of the feet or on the tops of the feet when I lower down then the transition to the upward dog is smooth because the shoulders are over the wrists so you just have to feel what works for you but in terms of the high plank and this is probably the most important movement for you to understand is this angry cat shape okay so in the angry cat we curl the tailbone under draw the ribs in press up between the shoulder blades and pull the shoulders towards the hips okay so one way for you to find the right positioning for your plank is if you're in a child's pose like this the hand stretch forward then you come forward like this and the shoulders over the wrist and you see my knees are back now they're not directly under my hips so from here my hips are low but I'm not collapsing so my hips are low so I'll show you again you come up it's like you're curling curling curling rounding the back shoulders toward the hips set up there tuck the toes under and then you lift up and lengthen through the crown of the head then from here you want to try and keep everything engaged as you lower down squeeze the elbows in and ideally you can hold it there without the lower back arching and without your shoulders collapsing if you need to the way you would do it would be to come down and stay on your knees the whole time so you're here come forward staying on the knees shoulders toward the hips and then as you lower down you squeeze elbows in keep the tailbone down and then stop there and then lie down and then when it comes to the upward dog we want to keep the thighs hip width apart and you need to just feel the internal and external rotation of the thighs so if I bring my heels together that's an external rotation and that makes the glutes engage if I bring the big toes together and let the heels go apart this relaxes the glutes what we're looking for is a combination of both so feet pointing straight back knees lifting slight internal rotation of the thighs then you're going to tuck the tailbone under until your lower belly comes off the floor okay and just as an experiment try to lift your upper back or your chest off the floor with the lower belly off the floor at the same time okay so you feel you won't be able to lift very high because you're not allowing the lower back to bend so this should be there this feeling in your upward dog we're trying to bring more awareness into the upper back instead of only bending the lower back okay so you lift here trying to use your upper back muscles then you can bring your hands next to your lower ribs and then from there go into your upward dog and the feeling should be that you're pulling your chest through your arms as you lift the knees and pull the shoulders down and then again with the head don't just dump it back like this either stay looking straight ahead or stretch your throat chin up and then as you exhale you can either go back through this angry cat type shape or you go back like a happy cat like this back to your downward dog and so I like to especially first thing in the morning is walk the dog all dogs like to be walked first thing in the morning okay because your calf muscles handstrings probably feel quite tight especially in that first one so it's a good way just to get some movement some heat into the body and then from here I just want to look at the downward dog a little bit so we're going to go into the downward puppy toes tucked under knees over the tops sorry hips over the top of the knees and you bring your hands forward coming onto the fingertips and while you're all familiar I'm sure with the cat cow angry cat and the cow or I like to call the happy cat so we actually there's three positions there you have a neutral spine have flexed and then you have extended spine like this so we can find the same three patterns in our puppy so we're here we go first into that flexion so like the angry cat curl the tailbone under rounding the back and looking towards the navel and then coming to a neutral position and then going towards that extension of the spine back to neutral and flexion and just moving between those three and you can do the same thing with the hands flat so I'll just show you in terms of the shoulders why we do it from right on the fingertips to start with so in your downward dog we're looking to spread the shoulders away from the ears they quite often say if we have the hands flat like this when we spread the shoulders away from the ears what ends up happening is that the thumb and first finger come off the floor so we need to keep pressing down through the base of the thumb and first two fingers but quite often what happens is when we press through that part of the hand the shoulders end up here again okay so by coming into this position we're able to spread while keeping that rotation through the forearm like this okay so we just go through those positions like the flex spine angry cat back to neutral and then more of this happy cat spinal extension like that and then you can try it with the hands flat as well so spreading the grounding through the thumb and first two fingers and flexing back to neutral and then back to that happy cat position okay so we'll try to find those that shoulder position and also explore those the hip movement spinal movement in your downward dog so in order to do that you may need to bend your knees now if your hamstrings tight then what's going to happen is your spine will be pulled into this position so you won't have any freedom to explore those positions so if you need to you bend the knees actually I recommend everybody bend the knees just to feel it and so you start like this rib cage touches the thighs allow the heels to come off the floor spread the shoulders ground through the thumb and first two fingers and then curl the spine like the angry cat find a neutral position and then lift the sitting bones up extending the spine like the happy cat and then just moving between those okay then you can do the same thing with the legs straight so curling the tailbone under looking towards the navel coming back to a more of a neutral position and then really trying to lift the sitting bones up you can even take the chest toward the floor in that position and then back to neutral so we'll also look at the that movement where we lift the one leg up open the hip to the ceiling and then drop down passing through the side plank to kind of the wild thing I'll do it just on the right side first just so you see it a bit better so here and lift the left leg up and actually this movement really teaches you about the legs in downward dog also because as I lift the left leg up the right leg I'm going to squeeze the heel in towards the center of my mat so it's like when you set your feet up you want to have the outside of your foot in line with the edge of your mat and then I'm going to be squeezing my heel inwards except of course I'm facing this way so the outer edge of my foot in line with the edge of the mat and then I squeeze the heel in and what that does is it lines my the center of the hip knee and foot and puts it in perfect alignment okay so start here my foots the outer edge of the foot so it's like I'm pigeon toed a little then I squeeze in so my knees straight ahead then I lift up through the left leg and really try to find that straight line from the left foot out through the hands you can in this exact in this video series most of the time I'm spreading like I'm pointing pointing the foot and spreading the toes but you can also do it with the feet pointed like that or foot flex and then I bend the knee and open the hip up towards the ceiling and then look up under the armpit in one variation and then as I turn like this so coming to a side plank but in this side plank there's a moment where my shoulder is moving towards my hip I'm bringing the shoulder over the top of the hand some fully stable keeping the hip lifted as I drop that foot to the floor and then I'm bringing my hips to the floor my hand comes towards the chest here I'm keeping that connection between my shoulder and the hand and my shoulders not up around my ear here so I've kept the shoulder pulling down the whole time so then as I lift up shoulders pulling toward the hip opening the hip up toward the ceiling and so I'm getting this back bending movement driving the hips up and you want to just keep this arm it's free no tension here and if you want you can also take your drishti to look to that hand or keep it lifting looking down to the floor and then from here as you come out of it you're going to feel a stretch through the side body as you come back you can pass through that position and back into the downward dog and then we come into this high plank position again and then bring the knee into the chest really try and tuck it in and then from there you turn onto the inside edges of this foot make sure the shoulder stays over the wrist and shoulder depressed and you kick that foot through and then sit down shoulder toward the hip as you lift up and do the same thing on the other side and then we come out and you're going to pull that leg through keep the hips low and so you're going to test your balance here your stability and then bring the hand back to the floor as you go back into the downward dog okay so I want to also look at in there's another variation that I'm teaching with the lunges so we'll just go through a few of those the essential points there getting you to come up onto the fingertips and bring that knee into the chest okay and then so the first part of this is really just to feel the two movements of the spine flexion extension flexion and extension and then finding that with the leg straight also so flexion of the spine and then extension or moving from the hip and then there's this movement here we turn the foot out 45 degrees and bring the shoulder on the inside and so this is a great one for opening the hip bring a bit more mobility there and also becomes a kind of an upward facing dog movement while opening the hip at the same time and then from there we come to this lunge and we have these movements so just want to it's a good way just to bring a bit more strength and stability to your legs for generating some heat and then also when we're talking about lunges quite often you see this kind of pattern in the lunge where the lumbar spine really extends a lot and when that happens actually the stretch is taken off the hip flexors so what I want to emphasize here is that posterior tilt ribs in while keeping the knees straight as possible and then that way you really feel the hip flexors stretching particularly in this variation where we go to the side so rather than having the lumbar spine extension there going to posteriorly tilt and then go to the side and then in this variation here we bring the arms up and then try to bring it more into the upper back so the lumbar spine will move a little bit you're trying to move more into the upper back so slight curling under as you take the arms back and you should feel the hips the quads everything really working when you do that okay and then just a couple more points in those sun salutes so you either step or jump back step or jump forward as well when you jump touch your rib cage to your thighs bend the knees come up onto the balls of the feet look forward and then jump and don't worry I would do another tutorial just focusing on those jumps and jump backs so one thing to note in your the wood katasana position so squatting depending on your ankle mobility that's going to affect how deep you can go just to make it a bit more fair for everyone that's why I'm saying just make sure you can see your toes so then we're targeting more the hips the glutes rather than just for the ankles okay but when you're here just keep the hands out in front keep the head in neutral otherwise if you're down low like this trying to take your arms up you'll create a lot of tension okay so you stay low arms out here and then eventually you come here dropping the tailbone down you no need to tuck right under like this just drop the tailbone down and then we come back to samasthiti okay so there's a few things to think about in your sun salutes and hope that helps in the next tutorial to break down the standing sequence thank you.
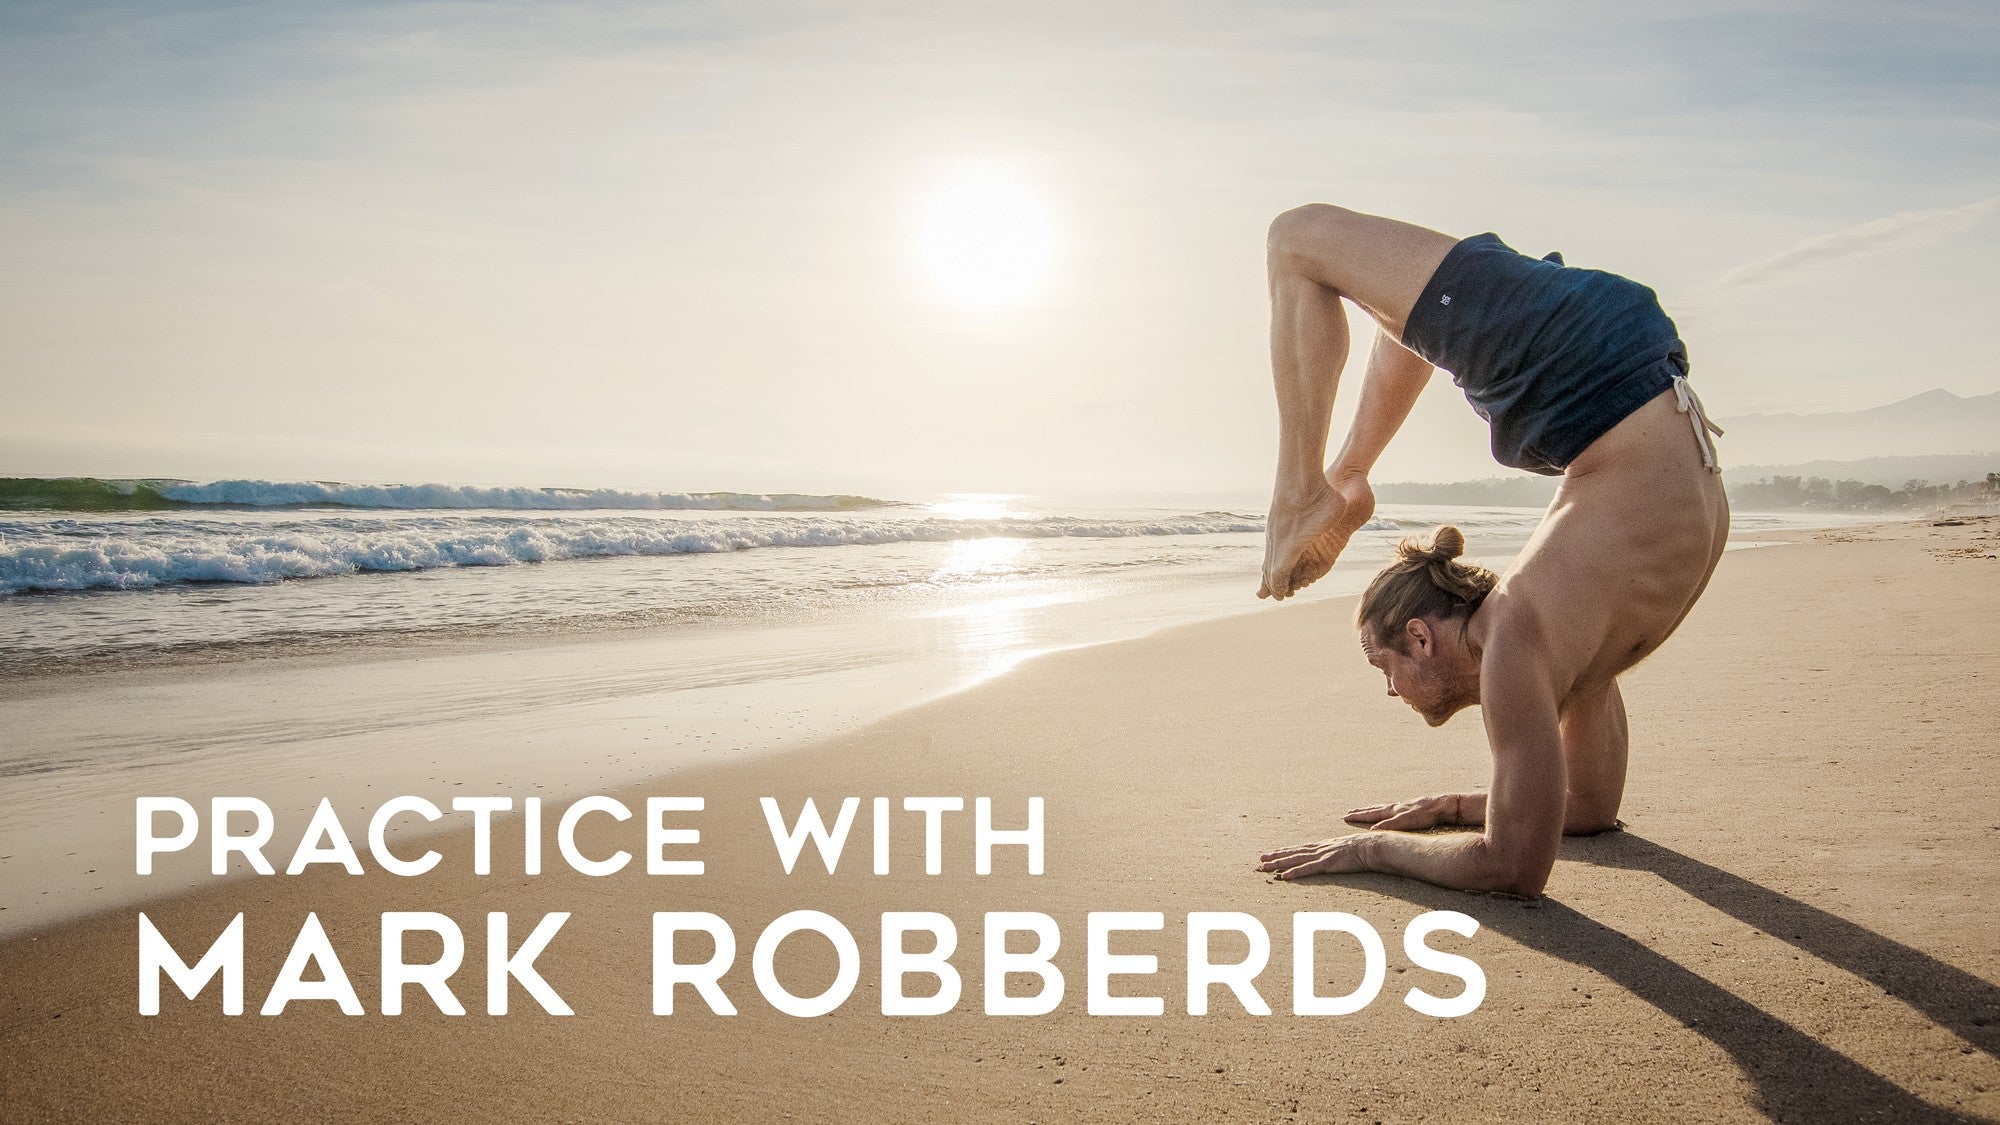
Practice with Mark Robberds
Comments
You need to be a subscriber to post a comment.
Please Log In or Create an Account to start your free trial.


