Description
About This Video
Transcript
Read Full Transcript
Let's take a look at the finishing inversions and the final finishing asanas of the Ashtanga practice. Don't hurry off your mat. These postures are just as important as the way that you begin in Ashtanga practice. And in fact, no matter how deep your practice is going, what series you're practicing, we all begin with sun salutation A and B, and we all finish with the same kinds of finishing inversions and seated postures. So they're very important, how you close a practice, how you leave your practice.
And what you take with you off the mat and into your day is really essential. So again, don't hurry off your mat and let's take some time and look at how these final finishing inversions and seated practices can be of great service to you. Find me and join me in any comfortable seated posture. In fact, let's take dandasana, put your legs straight out in front of you. Find strong legs.
It's like the neutral samastitihi of seated. Notice that both sitting bones are grounding deeply and you can find the space between the sitting bones, mula bandha rising up deeply, weight equal and even through the left and right sides of the sitting bones with the space in between lifted. And that lift continues up through the length of the spine, the shoulders rolling back and down and keeping straight strong legs as best you're able, exhale and lie down upon your back. If you can lie down with straight legs, it's really going to help you activate the core and that's going to help your entire practice. Now once you've laid down, don't come up into shoulder stand just yet.
Instead, see that you can find the shoulders reaching back and down into the mat, so left and right, equally taking weight. So the space between the shoulders is lifted up, the cervical vertebra are lifted off the mat and there's no pressure between the neck bones and the mat. If there was pressure already, you'd need to elevate the shoulders using a blanket or something but hopefully from here you can keep that space and not have the neck bones touching the mat. And then completely, ashta, inhale coming into shoulder stand, bringing the hips up high above the shoulders. And if it's not fully available to you today, you may need to use the hands to help walk the hips high and bring the legs as straight up as you can, perhaps holding the pelvis into your hands.
But with deepened and concentrated practice, you may be able to keep walking the hands down towards the shoulders themselves so that the hands take the hips, take the lumbar spine, even taking the middle back and lifting the hips above the shoulders so the legs come up straight up towards the sky, pointing the toes, taking deep full breaths here and gazing down the tip of the nose. While in shoulder stand, see if you can feel left and right shoulders still pressing into the mat so that there's some space between the neck bones and the mat. The chest moves towards the chin, however, the chin escapes the chest. So don't press, don't make a strong jalandara bandha, instead keep the chin away from the chest, a little curvature in the back of the neck, as if the back of the head was pressing ever so slightly onto the mat, lifting the cervical spine and keeping right and left shoulder wrapping under. If you're really comfortable in shoulder stand, you may be able to interlace the fingers and gently scoot the shoulders under more deeply so that there's even more space for the cervical spine to lift away from the mat.
The drishti is down the tip of the nose, so try to draw your gaze away from your toes down towards the navel or down the cheeks. Take a full inhale here and as best you can, keeping the drishti, exhale with straight legs into halasana, the plow position. If you can get the feet to rest behind the head, point the toes and interlace the fingers rolling the shoulders under, if the feet are still dangling and hanging, no problem. In that case, use the hands to support the lower back and breathe. The next posture is karna pedasana, bending the knees, ideally they come into the ears, though you may find they can just rest upon the forehead for today.
Or if they're just hanging and dangling, that's fine, keep the hands on the lumbar spine or the pelvis, the hips supporting the entire spine. If the knees come into the ears or rest upon the forehead, interlace the fingers and try to roll the shoulders under deeply, if knees are comfortable in the ears, squeeze the knees into the ears and listen to the sound of your own breath, heels are together, toes are together and breathe. Urva Padmasana is next, put the hands back on the lumbar spine and then nava, inhale and lift the legs straight up and down back to shoulder stand. If this has already been a really challenging practice for you, you can stay in shoulder stand and just breathe here. The benefits of going upside down are incredibly numerous, so this is a great place to be.
If you're still going into the finishing sequence, take lotus or half lotus, bending your right knee in first, seeing if the heel can comfortably come into the left thigh and then bending the left knee and again trying to get the left foot on the right thigh. If that's feeling uncomfortable on the knees, you could simply be in half lotus or even simply in cross leg position. From there, try experimenting with the palms onto the knees. Now, the shoulders really need to reach back and down to the mat to keep weight off of the cervical vertebrae just as you've done the entire practice, so you can be here in cross legs, you could use the hands as long as it's comfortable on the knee to draw the feet into half lotus or even into full lotus, the palms on the knees and ideally the arms lengthening, straightening, lifting the hips and knees about the same height. Breathing here, drishti down on the tip of the nose and the next pose, pindasana, exhaling, keeping the hips high, let the knees drop down towards the mat and wrap the elbows around the knees, perhaps even clasping the hands and breathe here.
Now if you weren't in full lotus, again, this posture could be done. Knees coming down, elbows wrapping around in half lotus or even simple cross legs. If you feel like the cervical spine, the neck bones are pressing in the mat, do what you can to relieve that by squeezing the shoulders back into the mat. If you still feel the cervical spine pushing down, then you can exit the posture just by rolling down, rolling the spine down the mat. Take a few more breaths here in pindasana and then we'll all release into matzyaasana, the counter pose, rolling the spine down the mat, inhaling here, if you're in lotus or simple cross legs or half lotus, push the elbows in the mat and lift the chest.
Keep your hands free, don't sit on your hands because you may feel that you want to adjust the height of the chest. You may not be able to get your head on the mat right away, in which case you'd scoot your elbows a little bit away from the head so that the chest can drop a little on top of the head, can rest comfortably on the mat. If you're in lotus, grab the feet, reach around, take the top of the feet, gently pulling on the top of the feet as the left knee moves towards the mat so that the chest opens through the shoulders and breathe. Now all these practices can be done in half lotus with the hands simply resting on the thighs, opening the chest or even simple cross legs, no problem. Your hips are down on the mat, the top of your head is resting on the mat and the entire spine is arching upwards so the center of the chest is lifted, the belly strong, and breath is long, in matyasana, fish position.
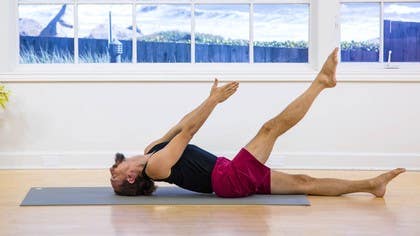
From here, udon parasana, the lifted limbs pose evolves, inhale and straighten your arms so that your hands are raising up above your pelvis, pointing towards the corner of the room and inhaling again, lengthen your legs, straight legs around the same angle. If that feels like there's too much pressure on the lumbar spine, try it with one leg straight on the ground and one leg lifted. If it's still too much pressure on the lumbar spine, you can have both legs straight on the ground and simply lift the hands. So it's either both legs down or one leg down, you could switch the leg at this point or raise both legs up together and breathe. Exhaling, keep the limbs up but release the spine down onto the mat and if you're familiar with it, inhaling, rolling back to chakrasana, exhaling to chaturanga or inhaling, rolling up to the top of the mat and dasha, exhale, jumping back to find chaturanga dandasana.
Ekarsha, inhale, upward facing dog, dvarsha, exhale, downward facing dog and from here we'll take a look at headstand, exhaling and bring the knees down onto the mat, sapta preparing. You can draw your hips down into your heels to get ready and I'll flip around so you can see a little better here. How we form the base with the hands will be truly important, so interlace the fingers and make sure we're going to remember to keep the elbows very, very close, placing the hands down upon the mat, see that you can get good pressure through both left and right hand pushing down, see that maybe even the wrists want to contact the mat and then of course the elbows are in contact with the floor. Now you can measure the elbows but truly make sure that you wrap the fingers around, don't just do sort of a mechanical flip and then go back, actually see, oh I've got to be able to wrap my fingers around, my elbows need to become closer, draw them in, hug them in and keep them there, then interlace the fingers and make sure again that you can get good pressure through both hands. You can take the hands in whatever cupping position you like, I like to have the hands slightly open so that I can roll my head into the hands and there'll be great contact between the head and the hands, as little contact with the head and the mat as possible.
Ideally, I'll have a lot of pressure between my hands, the index mound, the root knuckle of the hand pushing into the head, the head pushing back to the hand, so that will keep my head pretty much off the mat. Still in the septa count preparing, starting to walk the feet in and we'll look at four different steps to come up. If you're familiar with headstand already, you can come up with straight legs, you might want to do so or experiment with these four steps. As I walk the hips above the shoulders, I've got to remember to keep pushing the index mound, my root knuckle of the hand into the head and keep that strong connection. This is a great place to be and you're welcome to breathe here, trying to make sure that you're lengthening the arms so that maybe even your head could rise up off the mat, still some contact with the thumb and index mound and breathe.
If you can keep that good pressure happening through the hands, good length happening through the elbows and shoulders, you could experiment with position two, bending one knee, drawing the heel to the buttock and then doing the other side. When you do that, make sure that the hips still stay lifted, you might even come up onto the tippy toes of the straight leg. Try not to drop the hips and you'll come a bit towards that scary place and then try both feet at the same time, inhaling up onto the tippy toe, heel towards the butt. See if you can get both heels towards the butt, you might not come far enough and you might have to catch yourself here. This is really where the work is done because once you can balance here, your headstand is well on its way.
Even here in step two, balancing, keeping weight through the hands, through the elbows, keeping weight off of the head is best you're able. Now step three, inhaling, slowly drawing the knees up towards the sky and keeping the heels towards the buttock as you breathe. So maybe you can extend the knees up very high with the heel towards the butt, breathing here, balancing. If you need to come down, come down, otherwise most of your work has been done already and step four is simply extending the knees, lifting the pointed toes straight up towards the sky and breathing. Still great pressure, hands pushing in the mat, head pushing in the hands, but as little weight from the head into the mat as possible, as if you could almost lift your head up off of the mat.
If you're very comfortable there, you can do the halfway lift, exhaling your feet down halfway and breathing here. It may be just that the feet come down a little bit and you breathe there with straight legs and then inhaling, coming straight back up and down. If you're comfortable exhaling the feet all the way down with straight legs, go for it. If you need to bend the knees to come down, you can bend the knees as you like. And from there, keep the head down, keep the hands where they are in the mat and simply drop the head onto the mat and take rest.
Using any pressure that may have accrued through the spine or neck, simply taking rest, breathing here and then inhaling, spreading the hands at the front corners of the mat, lifting the head, lifting the chest, exhaling, stepping or jumping back to chaturanga dandasana, inhale upward facing dog, exhale downward facing dog, and we'll come into the final seated finishing postures, except to inhale jumping through to dandasana, straight legs sitting down, and barapadmasana, ashta, exhale folding the feet towards lotus or half lotus or whatever comfortable sitting posture serves you best, grabbing the tops of the toes if you're in full lotus or simply grabbing the elbows back behind you, inhaling here, raising the drishti up high and exhaling folding forward as you take deep full breaths in yoga mudra, sealing the practice in for the day and letting the awareness rise away from the physical body towards the eyebrow center, reminding yourself consciously that this practice is not merely a physical practice, padmasana dasa, inhale rising up, releasing the arms, index finger and thumb lightly touch, the other three fingers extend, and here you really get a deep breathing practice in at the end of your entire asana practice, a great chance to refine mula nudhyana vanda, breathing consciously here, every exhalation a great opportunity to really narrow the lower abdomen, even find the pelvic floor rising up and keeping the engagement so that every inhale floats breath up to the top of the chest, broadening the collar bones, measuring the breath at the back of the throat, the jaw staying soft and from this breathing practice evolves the lifting up, exhale place the hands down by the hips and with your next inhalation lift the knees up high and lift the hips up off the mat, you might be tempted to have your feet scoop behind the arms, try to avoid that, keeping the feet in front of the arms, keeping the knees moving forward and up and breathe, even if you can't hold it for the full 10 breath count, it's still worth approaching the utplutihi so that you feel your strengthening bandhas more and more with each practice and still try to find your breath deep and full, take one more full inhalation and then exhale step or jump back and find yourself to chaturanga, you may want to come down, unfold the legs and then step back, ekarsha inhale, upward facing dog, duarsha exhale, downward facing dog and now sub to inhale jump through and find a seated posture, cross the legs however you're comfortable, you may be in half lotus full lotus or simple cross legs, it really matters not as long as you're comfortable and find a way that you can sit comfortably with a spine rising up and whatever physical asana practice you've done should have aligned the body and aligned the mental consciousness in a way that allows you to find stability and harmony in a sitting practice here. So if you have time, use that great alignment of mind, of body to sit and to breathe, noticing your inhales, noticing your exhales as well as honouring and noticing the pauses that occur in between your breath, there's no need to rush the breath or force the breath, simply notice as the breath comes and as the breath goes. The physical positioning matters very little as long as you're comfortable and upright, as long as you can breathe relatively freely and the mind can centre itself around breath. So there's no concern about the previous breath, there's no anxiety about the breath that is yet to come, there's only this breath and this moment allowing your mind to be fully absorbed in the breath that is now. Should outside thoughts come into the mind, just let them arrive and let them depart as you return awareness onto the breath.
You're welcome to stay seated here and breathe or continue any other seated practice that is of service to you, using all the finishing postures to refine deep internal awareness. Whenever you're ready, you can release the hands and feet, the arms and legs and lie down and give yourself a nice deep full rest, allowing all the limbs to open, spread and release, allowing the neck and head to come to a neutral position, the head resting comfortably and the entire body absolutely letting go. The ultimate counter to the entire ashtanga practice, no drishti, eyes are closed, no physical engagement even, no bandha, and no breathing with sound instead, a silent breath here as you completely relax and release in the resting posture. You may be able to feel deeper and deeper benefits unfolding, the sense of relaxation that spreads beyond the basic surface muscles, feels like you're relaxing closer and closer to the center, closer and closer to the very bones. Take a few more deep full breaths, utterly letting go here and you could choose to stay resting, laying down, you could choose to stay in a seated posture or whenever you're ready.
Draw yourself back into an upright seated pose, ready to finish. So do try to take advantage of the space and the time that your practice creates for yourself to create a very centered and relaxing experience. Don't hurry or hustle off the mat, perhaps the finishing is just as important if not more important than the entire practice you're doing and I wish you blessings upon your path.
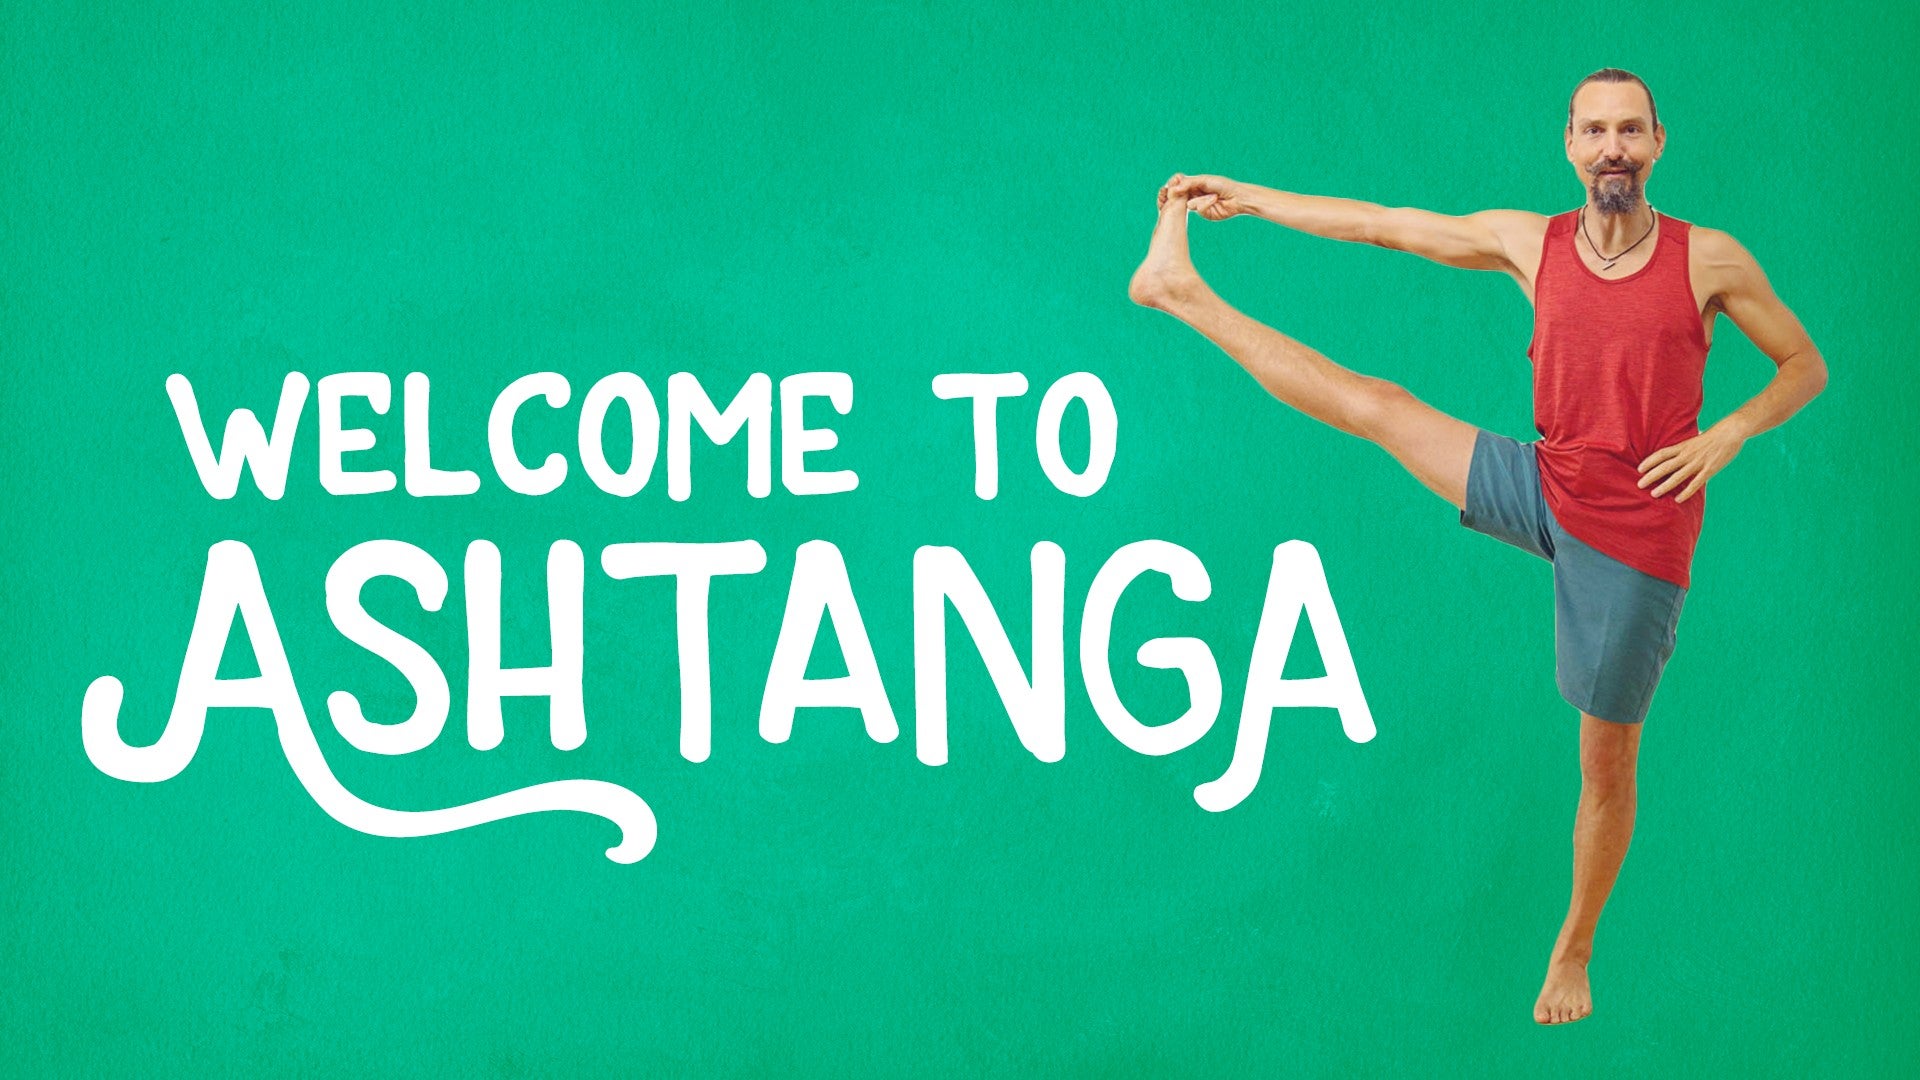
Welcome to Ashtanga
Comments
You need to be a subscriber to post a comment.
Please Log In or Create an Account to start your free trial.


