Description
About This Video
Transcript
Read Full Transcript
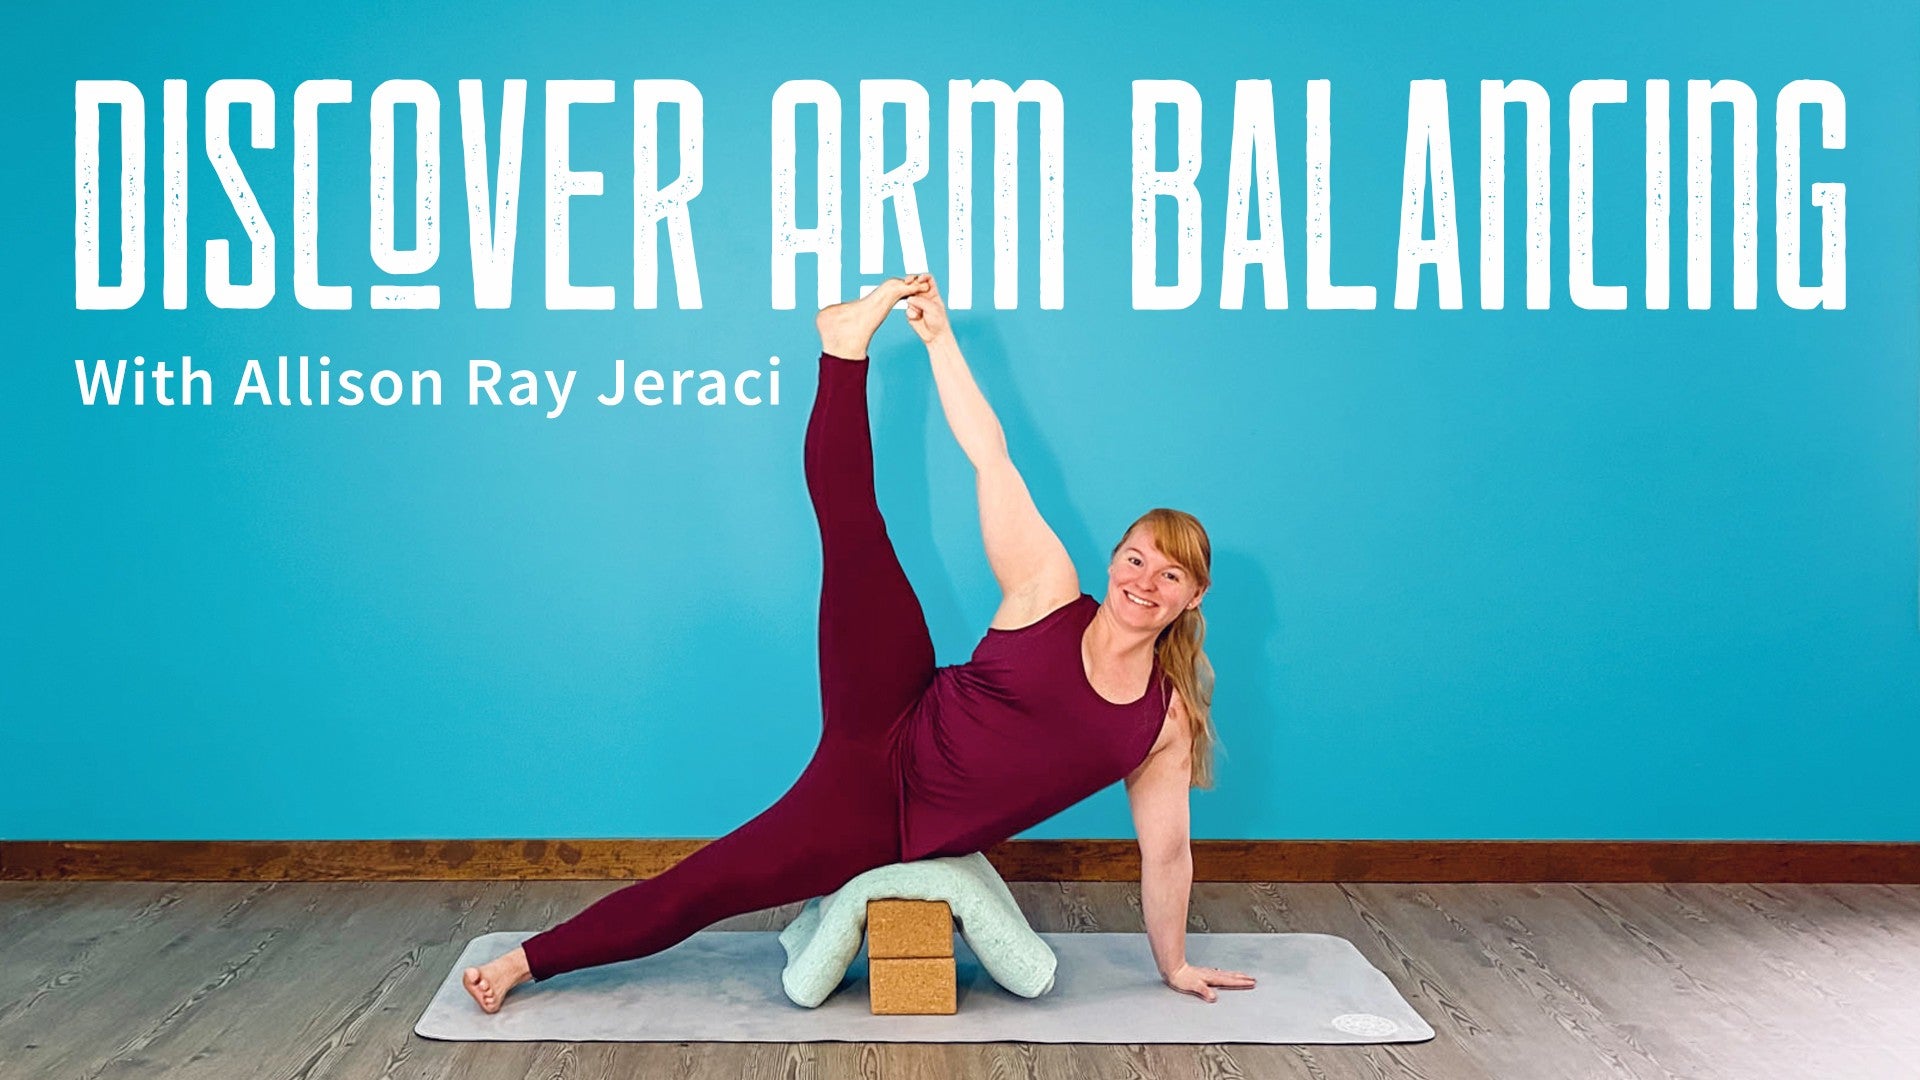
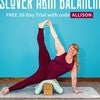
Hi, everyone. Welcome. I'm so excited that you're going to be here playing with these supportive arm balances and specifically working on Vasisthasana or side playing. So for today's class, you'll grab two blocks, a strap and a blanket. And I'll get started seated in Varasana with one block, and I'll have my strap handy. So go ahead and sit as you like to prop yourself for the Arasana. Your knees will be in line with your hips and your feet to the outside of your hips. And then take your palms to your thighs for a moment. And here you can close your eyes or keep the gaze slightly closed. And feel how your shins drop into the mat, your buttocks into the support. And the sense of your ribcage lifting up and away from your hips. And just to explore a little bit of this area of the ribcage over the hips, bring your ribs back in space and then bring them forward, back and forward, back through center. And then tip a little bit over to the right to center, to the left and center. Do that one more time to the right, center, left, center. So that we have an idea of where the ribs are in space, because as we explore Vasisthasana, we'll find that we do want to kind of keep this relationship between the ribs over the hips. And that gets tricky when we bring gravity's role into the situation. And now take your hands to your ribcage. And as you breathe, can you feel as your ribs expand, your lungs expand and then the lungs contract and the ribs move closer to one another. And now if you have your strap handy, you're going to do the same thing. You'll open your strap up. You can fold it in half so the strap is equidistant. Take it around the back of your ribcage. And then cross the strap right in front of your lower ribs, right underneath your chest. And you can pull just a little bit onto the strap, not so that you're constricting yourself, but so that it's snug enough for you to perceive the strap. And as you inhale, you'll feel that the space that still exists between the strap and your body lessens. And then as you exhale, right, you'll feel the strap getting a little bit tighter as the ribs move closer to each other. You'll inhale into the strap and exhale release. And take a few more breaths like this. And the reason why I prefer using the strap here is because with the hands, you can only feel a part of the ribcage, right? And so the strap allows you to have this three-dimensional awareness of how you breathe and how you can access your breath. And slowly open your eyes. Okay, remove your strap and place that to the side. And maintain your awareness of that three-dimensional breath. Okay, so take a breath or two on your own and see if you can feel the back ribs spreading, the side ribs spreading as you breathe in. And the circumference of the ribcage moving back and towards center as you breathe out. Okay, and now lift your arms up so that your hands are about in line with your shoulders. And peel your fingertips back so that they head towards your shoulders. So you're in wrist extension. And we'll play with some shoulder blade movements that I find to be very helpful when we come into Vasisthasana. So you'll lift your shoulders up towards your ears like you're shrugging. This is called elevation. And then its partner is depression. So you pull the shoulder blades down, pull the shoulders down and away from the ears. So lift up and drag down one more time. And then we have retraction and protraction. So retraction, you'll pull the shoulder blades towards each other so that the front of the chest broadens in no sense. And then move your shoulder blades away from your spine so that the upper back becomes broader and perhaps the front of the chest a bit narrower. And drop back and press forward. And just notice that when you bring your shoulder blades back, do the shoulders also elevate or do they depress? Usually they'll elevate. So your elbows bend. That happens too. Okay. And then push forward. And one more time. Bring them back, press them forward. And now Vasisthasana arms. So you pull the shoulder blades closer together, retract. And then press the arms away like you have elevator doors and you're pushing those elevator doors open. Hug it, push away. Hug it and push away. Good. And then release your arms. From here, let's take the hands, turn your palms to face up and then turn your palms to face down. Then take the backs of your hands together. Okay. Now as I take the backs of my hands together, I'm going to bend my elbows, pushing the backs of my hands so that my wrists come into flexion and point the fingertips down towards your lap, towards your heart. Okay.
Then hug your elbows in, bring the arms forward and pull the fingertips back. And again, bring the arms up, backs of the hands together, press the backs of the hands towards each other as your elbows slide out to the sides. And then notice if your shoulders are up towards your ears, I caught myself, right? And then bring them down a bit. Fingertips down towards your lap, press the fingertips forward. And again, here, notice if the shoulders are up or down or somewhere in the middle, and that's what we're shooting for somewhere in the middle bent, fingertips down, fingertips towards your heart, elbows towards each other, straight in the arms, pull the fingertips back, hug the inner arms. They don't have to touch. Bring them closer together. Okay. And then backs of the hands together, elbows to the sides, fingertips towards your heart, towards your lap, and then reach the fingertips forward and check and see what your shoulders are doing. Good. And then release. So remove your block and make your way onto all fours for tabletop and set yourself up so your hands are about shoulder width apart. And again, where is your rib cage? Is it moving down towards the mat? Is it pulled super up towards the ceiling, almost like you're in catback? So find somewhere in between. Then reach the right ball of the foot behind you. Spin onto the inner edge of your right foot. Start to take your right arm up towards the ceiling. On your left foot, you can press the top of the left foot down. You can also kickstand the foot a little bit out towards the outer edge of the mat. So anywhere in between. Then from there, press forward through the right heel and see if you can elevate the right legs you come into a kneeling artichandrasana. Take another breath here. Then slide the right foot back down to the floor and come into a thread the needle. So you might offset bringing the foot forward a little bit more or even the left hand to the left side of your mat. Take the right arm, bring it under, bend your left elbow, reach towards the other side without putting the shoulder all the way down. So it's a little more active. Then spin the rows back up towards the ceiling. Follow your gaze. Okay. So you'll drop your ribs down and around.
Reach through the fingertips and then take your eyes, follow your fingers as you revolve the ribcage up towards the ceiling. Do that one more time. Now maybe you add that artichandrasana leg. So as the arm comes up, so does the leg. And as your right arm comes down, the right leg with control comes back down to the floor and then reach up and then back. And one more up, thread the needle and then place the right hand back onto the mat followed by the right. So now you're going to see the back side as I come into this. So you'll reach the left ball of the foot behind you, spin onto the inner edge of the left foot and feel the left inner heel make contact with the mat. Turn the ribcage. Left arm up. Maybe the left leg is up. Then from there, lower the left foot. You can offset it a little bit. Okay. Bend the elbow. Reach through. Back up. So with these few turns, really focus on how the ribcage turns down towards the mat, not so much on the arm. And then revolve back around. So this is very much like your side plank pose. Okay. And now maybe we lift the left leg up and coordinate the left arm coming down as the left foot makes contact. And then lifting the left arm as the left leg lifts. Okay. And then release the foot, release the hand and bring your left knee back into tabletop. So you're welcome to bring your blocks over and we're going to step forward into a low lunge. Okay. So take your hands onto the floor blocks. Step your right foot to the inside or the outside of the block. Tuck the left toes under to lift your left thigh. Reach the chest forward. Okay. Then from here, spin your left heel down. Reach your left arm forward and then turn your torso to the left so that you come into extended side angle. From your extended side angle pose, now reach your left arm up towards the ceiling. Bring the left hand down as you spin onto the ball of the left foot and you switch hands. So you revolve the chest towards your left inner leg. I'm sorry your right inner leg as you turn your chest up towards the ceiling again like Vashti Sasana arms. Lower the right hand down. Spin the inner edge of your left foot down. Left arm up. Left arm down as you come onto the ball of the foot. Revolve. Lift the right arm up. Back down. One more time. Lower your right hand back down to the block. Lower the left knee. Right knee back. Left foot forward. Tuck your right toes under and lift your right knee away from the floor. Good. Pull your left outer hip back as you elongate your sternum towards the front edge of your mat. Spin the inner edge of your right foot down to the floor. Seal the outer edge of the foot. Then reach your right arm forward. Turn your chest to the right. Then from here, lower your right hand down so you sort of do this little hop with the hands as you come onto the ball of the right foot. Turn to the left. Vashti Sasana arms. Left hand down. Heel spins down. Right arm up. So you have sort of these like T like arms as you're transitioning or airplane like arms as you're transitioning. And then lower your left hand back down. Lower your right knee to the mat. Step your left foot back. Sit back. Move your blocks aside. And have your strap handy. So you come down onto the mat. You can vinyasa down. And find your strap. Take the strap behind your back. Okay, so your legs are straight. Straighten your arms. And then pull the strap. As you pull the strap, see if you can externally rotate your upper arms so that your chest is broad, even though the shoulders are retracting. Okay, then from there, lift the legs, lift the arms, pull on the strap the entire time. And on an exhalation, lower back down. Inhale, lift up, pull the strap. Notice that the shoulders are rising up towards the ears, pulling really down away from the ears somewhere in the middle. And back down. Inhale, rise up. Pull on your strap. And lower. Good. Remove your strap. Take your palms, face your palms down, but your arms lifted away. And without your palms lifting away from the floor, circle your wrists.
So this can just be like a really cool game for your brain because we can kind of want to get the whole entire arm involved. And then circle in the opposite direction with your palms always facing down towards the floor. Upper arms lifted. Tiring, right? Okay. And then lower down. Take your breath. Okay, take your elbows now, place them underneath your forearms. I'm sorry, take your elbows and place them underneath your shoulders. And instead of turning your palms to face down, let's have the backs of your forearms pressing down into the floor. So like sphinx pose. Then instead of encouraging the chest to come forward and up like you're deepening your backbend, do the opposite. So it's like a sphinx roll up. So you'll pull your front ribs away from the floor. Start to pull the abdomen away from the floor, hips away from the floor with your tail pointing towards the backs of your knees. Then maybe the tops of the thighs come away from the floor more. And then a little bit more of your thighs away from the floor. Tuck your toes under. Press down, lift up. You might need to adjust. You can walk your big toes forward a little bit. Notice the relationship between the ribs and the hips, right? So are the hips down and the ribs up or the hips up and the ribs down? Can you find somewhere in between? Okay.
And now slowly, just the knees. You can start to point your toes as you bring the tops of the thighs down, the bottom tops of the thighs, mid thighs, top tops of your thighs, hips, belly, ribs. Pull the chest forward and up sphinx. See if you can get your thumbs to reach down towards the floor. And notice how that action resonates in the upper back behind the shoulders and lower back down. Take your hands underneath your shoulders, press yourself up. Okay. Grab your blocks again. So you'll set them up so that one block is stacked on top of the other and quite close to the front, maybe one third towards the front of your mat. So your hips are going to tap down onto these blocks and it's a little visit into that low lunge twist that we were practicing a little bit earlier. So without putting your hands down, you'll step your left foot forward. Your right hand comes to the mat closer to the front right edge of your mat. Lift your right knee up. Okay. Turn your left toes to the left and then see where your right hip kind of makes contact. So my blocks are actually too far back so they could come forward and a little bit more to the right. Notice how I spin onto the outer blade of my foot and then my hips make contact. So right now my shoulder is way in front of my wrist. So I'm going to come out, readjust, spin the bicep forward so that my shoulder is slightly behind my wrist. Now I'm going to press into that outer blade of the foot and see if I can lift my hips away from the blocks and tap and lift. Okay. Notice where your ribs are. Are they pressing forward? Pull the front ribs down. Revolve. Lift the left arm up. Push the elevator doors away from each other. Okay. And then look back down at your right hand. Start to come out, come onto the ball of the right foot as you turn your left foot forward. Okay. Right hand down. You can walk your hands down onto your blocks or press yourself back up. Okay. Set your left knee next to your right knee and then shift your blocks over to the left side of the mat. So hopefully it's pretty much the same adjustment. Okay. And then you'll actually walk the right foot forward. Okay. Place the left hand towards the left top corner of the mat, maybe a little bit further forward. Lift the left knee up. Turn the right leg out. Okay. Find your outer left hip as you spin onto the outer blade of your left foot. Perhaps a little more adjusting going on. Okay. Alright. Lift your right arm up if you'd like. Then push into this left hand. Lift your left outer hip away from the blocks. Tip down. Press back up. And down. Push the elevator doors away from each other. Good. And then rest your left hip back onto the block. Take your right hand down as you spin the right foot forward and come onto the ball of your left foot. Lower the left knee down. Walk the right foot back. Okay. So that is a place that you can play with in Vasisthasana. If you want to take it a little further, take your blocks out to the center of the mat. You may have noticed that there was kind of some sensitivities perhaps on the outer hip. So if that were the case, you take your blanket and then place your blanket over your blocks. Okay. And this way you can have some padding towards the sides of the blocks or you can orient the blanket right over the blocks. And that is a little bit better in terms of distancing. You know exactly where the blocks are. I like this way. Okay. So you'll take your left hand to your outer left hip. And this is where you want to place, um, place the outer left hip onto the surface of the blanket. And it might take a little adjusting. So give yourself some time and grace with that. So I take my left hand over, take the left hip onto the blocks, walk my left hand out like I did before. I'm going to turn just a little bit more onto the outer left hip. And I slide my left leg back, slide my right leg on top. And it's okay to have some space here. Then from there, push the ribs. Are they pressing forward? Are they pulling back? Find some place in between. Turn. Reach your right arm up. Good. And then from there, push the elevator doors away from each other. Press into the outer blade of your left foot. Now you can stay there or see if you can get a little lighter and maybe you lift your hips up and away from the blocks and the blanket. And if that's the case, you're slowly lower the hips down.
Make sure they make contact before you bear your weight into them. Bend your knees. Okay. And then come into that tabletop. So it's like that thread the needle where you're going to take your hand, place it back down, lower the knees, and we'll do the other side. Okay. So I'm going to turn to my back. So you'll see the backside or this from the backside. So again, you'll touch your outer right hip. Okay. That goes on the top of the blanket. So you lean over, lift yourself up, take the outer right hip onto the blocks and make sure that they feel stable, right? That they bear your weight. And then if you need, you adjust so that your shoulder is slightly behind your wrist, grip into the mat as you stretch your right leg back, left leg back, press into your big toe mounds. Okay. Where are your ribs? Breathe three dimensionally into your rib cage, into the back ribs, turn, lift your left arm up. Okay. Press into the outer blade of the right foot as you push the elevator doors open, breathe into the back of your rib cage. And perhaps you start to squeeze the outer right hip like the top leg and kneeling artichandrasana and it becomes lighter and lighter and you push and then it gets later and then you're away from your blocks and your blanket. Okay. And then you slowly perceive and find the blocks with your hips. Okay.
Look down, can bend your knees and like thread the needle, take the left hand, return it, turn the ribs down, lower your knees down and walk yourself back. Vasi saasana side plank. Okay. So come on down to sit, bring your left leg forward and wrap your right foot to the inside of your inner left leg and the knee is out to the side like Janu Sureshasana or a seated tree. Turn your chest towards your blocks and blanket. If you need to bring them a little bit closer and you can be here. Okay. Maybe you go a little further and you rest your forehead and take a few breaths here. It doesn't have to be your deepest. Just give you a little refuge from all of the arm balancing. And then on your inhalation, press down to come on up. Okay. Walk your hands back. Take your right leg, place the right foot onto the floor and then slide the right leg forward to the outside of your, your prop set up. Bend your left knee, take the left leg out to the side. And again, you'll pull your blocks closer or keep them where they are. Take an inhale, lift the back ribs up, turn a little bit towards your right leg and then start to fold forward and support where you need. Take a few breaths here. Let your wrists soften, the forearms soften. Let your upper back be broad. On your inhalation, start to make your way up. Okay. Take the left sole of the foot to the floor and straighten the left leg forward. So now you'll remove your blocks and just take the blanket. So you'll sit on your blanket, grab your strap again and come to sit in any seated position that's comfortable for you. And once again, you'll take your strap, fold it in half and then take it around you, cross it in front of your chest and then take the tails of the strap to the thighs and use the palms of your hands to secure the strap. So it's not too tight, but just like we did at the beginning of our practice and close your eyes. And come back to this sense of a three dimensional breath as if you were still in Vasisthasana. Feeling where your ribs are in relationship to your hips and the sense of fluidity in your breath. And so if you have time today after this practice to take a Shavasana, I highly encourage you do so.
But if you're coming to the end of your practice here with me and you'll slowly remove your strap, join your hands together in front of your heart, touch your thumbs to your heart to uplift it. Feel your back ribs spread as your heart lifts. Aum Shanti, Shanti, Shanti, Shanti, towel. Peace, peace, peace. Namaste.
Discover Arm Balancing: Making Friends with Side Plank
Comments
You need to be a subscriber to post a comment.
Please Log In or Create an Account to start your free trial.
