Description
Richard shares the first asana from the Gheranda Samhita, Tadagi Mudra (Stick Pose), or Yastikasana. With the help of Alana and Betsy, he guides us into a twist variation to allow for more length from within. If you'd like to follow along, a sandbag will be helpful.
About This Video
Transcript
Read Full Transcript
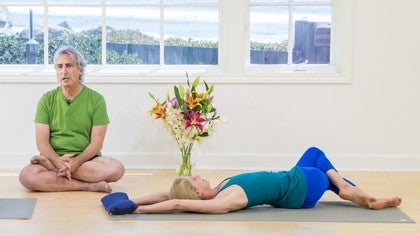
Hi, I'm here with my friends Betsy in the Lana and we're going to demonstrate what's called in Sanskrit, tadagimudra, however English word for this is tadagim means pond or a water tank and you'll see why in just a second why it's called that. So I'm going to ask them to lie back on their backs, the heads to the sandbags. Now sandbags are very useful for this exercise, you don't particularly need them but if you have one I recommend using it. I'll ask them to align their backs with their knees bent and the feet on the floor and then with an inhalation swing the arms overhead and bring the hands underneath the sandbags. Want to make sure the bases of your palms are covered and then press the bag away from the top of your head, straighten your arms as much as is possible for you.
Have your hands on the blanket under the bag. I put a blanket underneath Ilana's hands just to demonstrate what you need to do if you're not able to get your arms to stretch very much or if during the practice your fingers begin to tingle and that's not a good thing to happen so you want to raise the hands off the floor a bit. You want to be sure though that the bag covers the bases of your palms and you want to work the hands, you want to open the palms as much as you can and keep them lively. The palms are energetically or sympathetically or imaginatively if you prefer connected to the shoulder blades so that when you open the palms you also open across the back of your torso, the right hand, the right shoulder blade and the left hand, the left. Now this is something that I like to do.
It's not really part of the traditional pose but I like to start with a twist. So if you would bring your left knee on top of your right, stack it up and then with an exhalation keeping your right shoulder down on the floor, swing your legs to the left onto the inside edge of your right foot. Now be sure not to push the knees all the way down toward the floor. Just let the legs come across until you find a comfortable stretch along the right side of your torso and if you want to increase the stretch a little bit what you'll do is take your arms and swing them to the left a little bit and then you can imagine directing your inhalations right into the right side of your torso. So the inhalations create more space and the exhalations then will allow you to bring the knees a little bit closer to the floor but again not to push the knees down toward the floor.
What I like to pretend is that my belly is sitting inside of my pelvis like an egg in an egg cup. In other words when the pelvis is turning to the left as it is here and here I want to pretend that I'm able to pull my belly out of that depth of the pelvis and turn it to the right. So the belly is actually turning in the opposite direction of the pelvis and you get this really very deep twist that is rooted in the groins. And I would stay here for a minute or two on each side. Making sure though that you don't push the knee, I'm going to emphasize this one more time not to push the knees down toward the floor but you can take the outer calf and push the knee away from the pelvis a little bit but not down toward the floor and then come up with an inhalation and unstack the knees, put the left foot down on the floor.
We'll just do the right leg very quickly so bring the right knee over the left and swing the legs across to the side. Again this time keep the left shoulder down on the floor and again not pushing the knees down we don't want to force anything in these exercises and then you want to be sure that you have a timer of some sort that you stay on both sides at the same length of time but we won't. Inhale bring the legs up, inhale up and stand both feet on the floor. Now the pelvis may come slightly askew as you're doing this so be sure the pelvis is lined up with the rest of the torso before you proceed. Now this is actually the exercise.
So I'm going to ask them to do this first and that is to stretch the right leg out with an inhalation and hold the heel about six inches above the floor. You want to elevate the foot a little bit to start. What this allows you to do is get a little bit more reach through the heel and a little bit better rotation. I'm going to ask them to turn the leg in. There's a tendency to turn from the ankle so your foot does something crazy like this.
Push through the inner foot here at the base of the big toe and be sure that you turn from the head of the femur bone not from the ankle and then with that reach and that turn press the leg down firmly into the floor keeping the leg active as you do and then reach out through the second leg through the left leg with an inhalation and again you want to reach out from the tailbone so that you're stretching along the back of the leg and again turn and then press the leg down. You can get a little bit more rotation here and press the leg down. You want to be sure that you maintain that internal rotation of the thighs throughout the entire exercise. That creates a broadening across the back of the pelvis and a narrowing across the front and that creates in turn a slight hollow in the lower belly between the pubic bone and the navel which gives this exercise its traditional name which is tadagi mudra. There is one thing I think that you have to really watch out for and that is the tendency to push the ribs up toward the ceiling so for her what I would have her do is take these ribs down a little bit into the torso and then move from the back ribs a little faster through the arms.
That will create more length along the lumbar spine. You do want to lift the ribs straight off the pelvis but in effect you want to lift the back ribs faster than the front and as you lift the back ribs you want that corresponding release down the back of the pelvis through the tail. So the lumbar spine stretches out. It gets a little bit closer between the pubis and the lower ribs along the belly. Now this pose later on as it developed also took on an asana name which is yashtakasana which I like to call it now which means the stick pose and you can see why this looks like a stick.
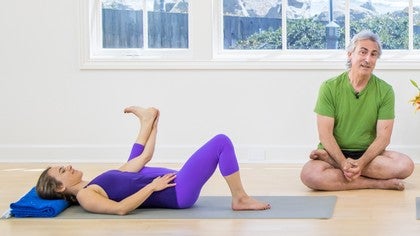
Now to come out what I'd like them to do is to release the hands exhale and bend the knees bring the feet on the floor and let's take the thighs up into the belly with an exhalation and wrap the hands around the shins or the backs of the thighs as you prefer and squeeze the thighs into the belly and this will release the lower back onto the floor and then what I'll ask them to do is rock a little bit from side to side but you want to do this very slowly and very consciously so that you use the floor to spread and open the back across the back of the torso. Now there's a number of things you can do further on this exercise. This is called by the way pavana muktasana which means the wind freeing pose. Pava is a Sanskrit word it means to purify and so pavana is the purifying wind. It's one of the many names that they have in the old text for prana, for breath.
The next thing you can do is take an exhalation and raise your head towards your knees so you curl up into a little ball and not coincidentally this is called kandukasana, the ball pose and then if you like you can go a little bit farther by reaching out with your arms and grabbing onto the sides of your feet and then you can pull your knees a little bit closer to your nose very nice and then you can go a little bit farther and you can reach the hands out alongside the legs but not holding on to the feet anymore like as Betsy's doing and then if you want to take it all the way you can clasp your hands on the back of your head and then squeeze your elbows between your knees and see if you can do that. Ah yes, very nice and these all have Sanskrit names but I can't remember them right now and in fact I can never remember them. Well done and then exhale release and let the feet come down onto the floor and again as always when you come out of these exercises it's generally recommended to roll to the right in other words rolling away from the side of the heart so go ahead and exhale roll to the side and again when you come up out of the pose you want to push your hand against the floor lift your torso and let your head hang and drag up after the torso and then come and sit. That's Taddagi Mudra also known as Yashta Kasana, the stick pose. Thank you.
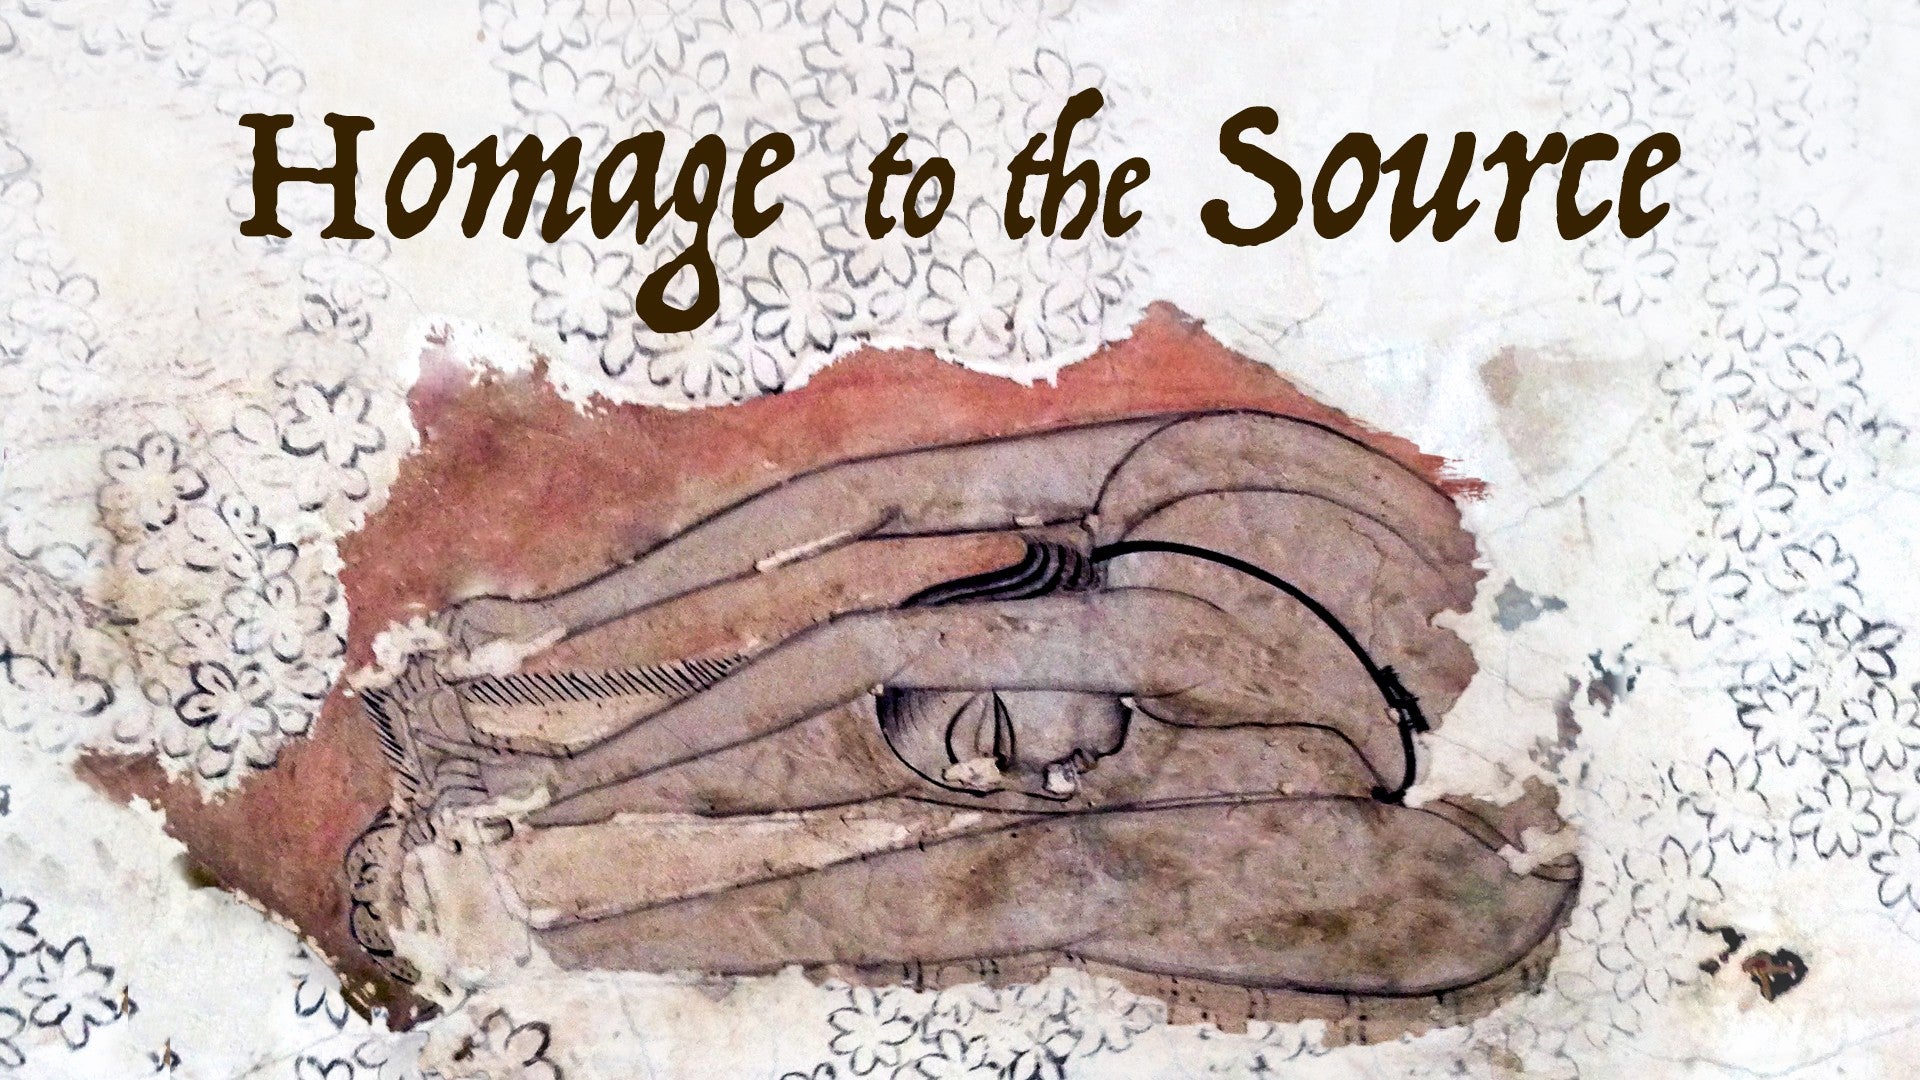
Homage to the Source
Comments
You need to be a subscriber to post a comment.
Please Log In or Create an Account to start your free trial.


