Description
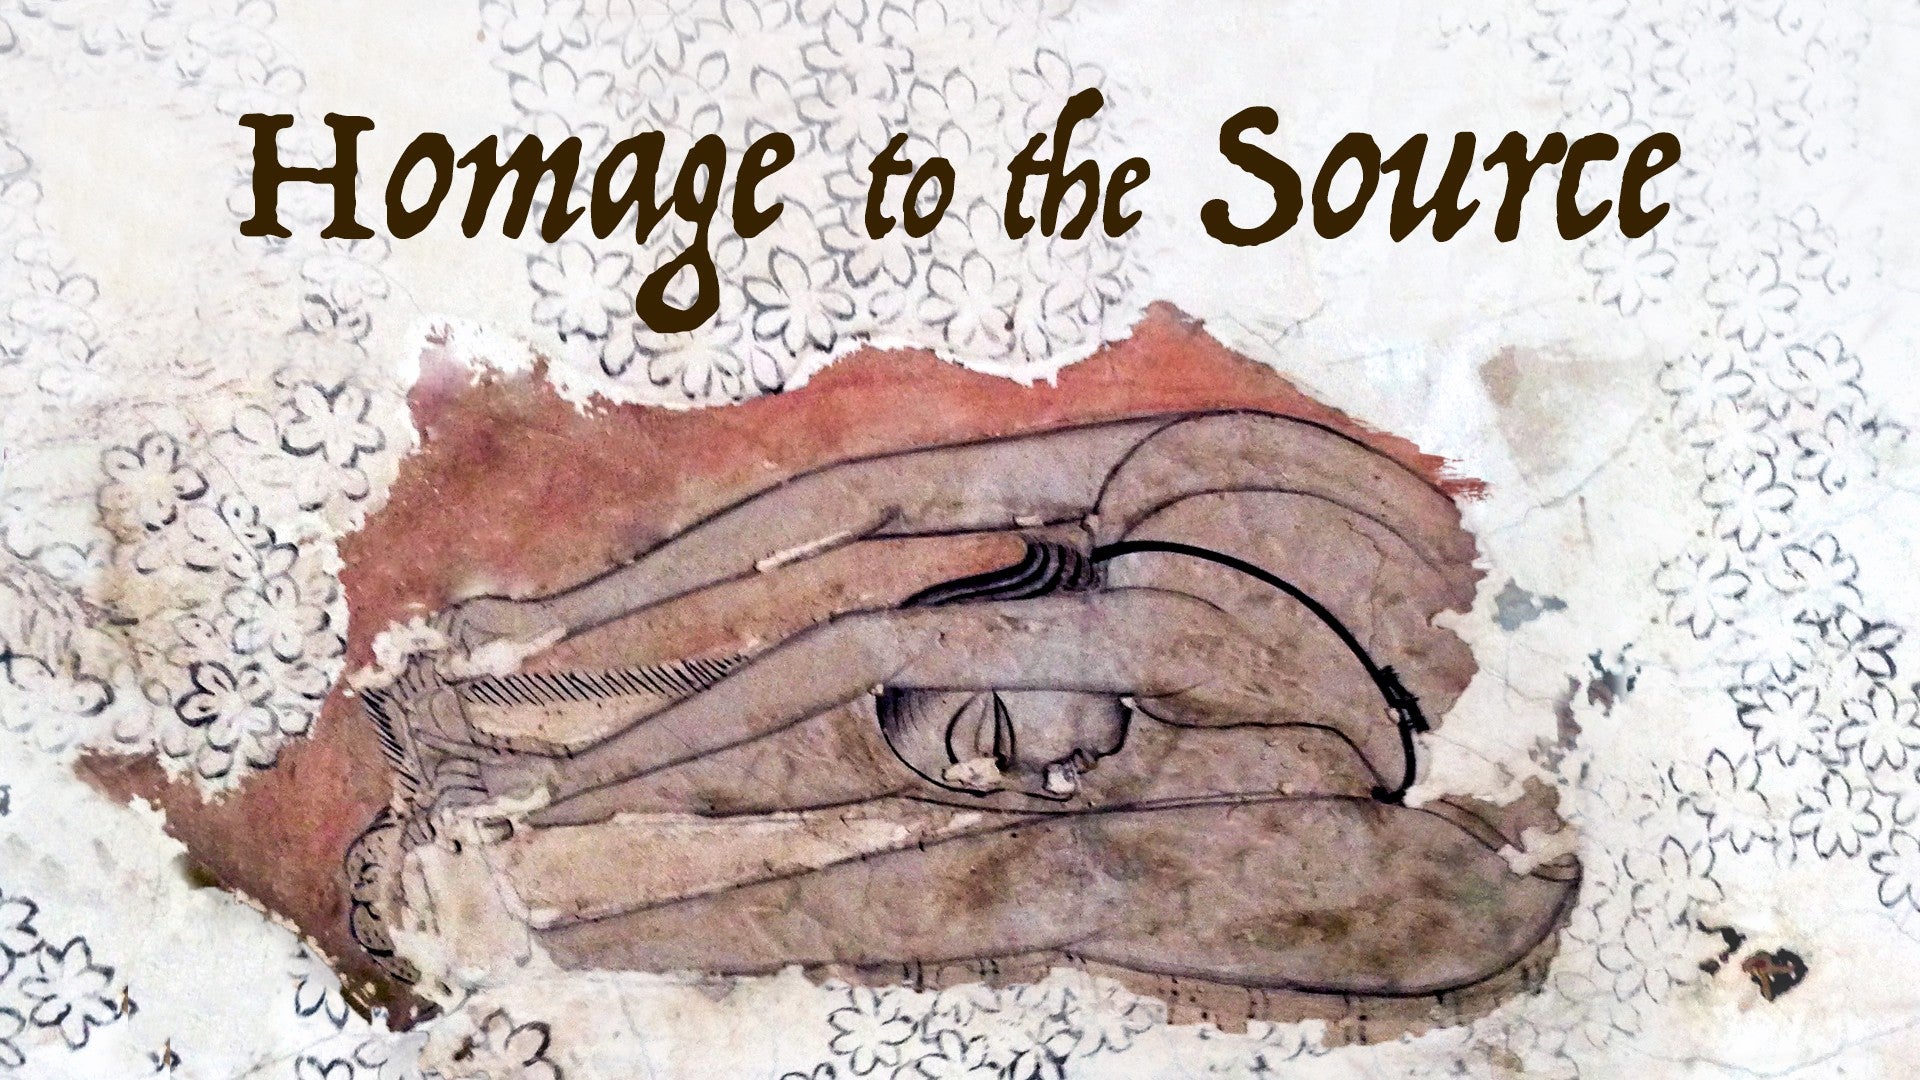
There is still debate over whether Viparita Karani Mudra originally looked like Supported Shoulderstand or the Supported Headstand we explored earlier this season. Both have their benefits, and Richard takes us in and out of this posture with care and rigorous attention to our alignment.
About This Video
Transcript
Read Full Transcript
Hi, we're here with Ilana and Bessie to do the second version of Viparita Karani Mudra, which is interpreted this time as being a shoulder stand. In the old texts, what they say is the head and the hands go on the floor, the head and the arms go on the floor, and some people interpret it as being headstand. Most people, though, interpret it as being what we call shoulder stand today, or Salamba, Sarvangasana I. And as always, we're going to have two different versions of the practice. We'll ask Ilana to be the stand-in for the less flexible, less experienced student, and we'll do the simpler version with a little bit more support, and we'll ask then Bessie to do the more challenging position in just a bit.
So for Ilana, we have three blankets placed in preparation for her practice, and we have to be sure that the firm edges of the blankets are stacked one atop the other like this. And what I also like to do is take a block, if you move off to the side, and we'll put the block here so she can sit on the block in preparation of coming up into the pose. The block is there so she doesn't have to push hard off the floor and roll up heavy onto her neck to begin with. So she'll lie back and have her shoulders in a little bit from the edges of the blanket, become just a little bit more in this direction toward me, like that. Now, she'll curl up with an exhalation and swing her legs back onto the chair.
We always have the less experienced students use a chair for their feet rather than bringing them onto the floor. Now, a lot of people, when they prepare for shoulder stand, reach their arms behind their torso, clasp their hands and sort of squeeze their shoulders under. I prefer to do it a slightly different way, and that is to bring the arms straight out to the sides, bend the elbows, and then turn the palms up and then turn the palms back and around so the fingertips come onto the floor in this way. And then what you do is you sort of roll the shoulders under and widen the scapulas across the back as you do that, very nicely done. And then bring the hands onto the back of the torso, firming the ring fingers and the pinkies in much more than the indexes in the middle fingers.
And then you can bring the legs up either one at a time or both together as you prefer. Now, when we were doing headstand earlier, if you remember, we had the inner elbows and inner wrists down very firm to the floor. Shoulder stand is the opposite. You want the outer elbows to be very actively pressed into the floor here. And the legs, very firm, pressing up to the heels and the bases of the big toes, that's exactly right.
Let's bring the legs a little bit apart, please, and turn the legs radically inward, lateral rotation, yes. Now squeeze the legs together as if you were squeezing that imaginary block. Very nicely done. And the tailbone a little bit higher up toward the heels, yes. Beautiful.
And then bring the legs back a bit. Well done. This is Sarvangasana for a more beginning student, although she's making this look a little bit easier than it actually is for beginners. Betsy, if she would get ready to go, she'll also lie with her shoulders a little bit in from the firm edges of the blankets. And I'll ask her, rather than bring your feet up onto a chair, to roll back, exhale up, and bring your feet on the floor above her head in a modified Halasana plow.
I'll ask you to do the same thing with her hands and arms. Roll them out to the sides and under. And I'll show you something slightly different for Betsy, and that is we'll use this folded-up sticky mat to support her elbows, give her a little bit more opportunity to open the chest. Then she can bring her hands onto the back of her torso, elbows on the sticky mat. I prefer a sticky mat over using a strap to bind the elbows together.
And she needs to walk her hands a little bit higher up onto her back, index the middle fingers firm, and then she can take an inhalation and lift the legs smoothly up. Very nicely done. Again, the ring fingers and the pinkies are the important fingers to press. Outer elbows, outer shoulders pressing down. Yes, bring the legs back just a little bit toward the tail and lift the tailbone up.
Very nice. And again, could you push through the heels first, please, and then the bases of the big toes? And could you soften your toes a little bit so you make a yoga rainbow with your toes? That's right. Very nicely done.
Beautifully done. So there should be a little bit of softness in the throat and a little bit of release in the back of the neck. If you see a student with a really flat back neck, you need to bring that person down immediately and add another blanket or two onto the stack. Very well done. The eyes soften and release to the backs of the sockets.
The legs stay very strong throughout the entire exercise, very pressing up through the heels and soften the toes again, please. Not so much action with the toes. And it looks very nice. We'll have Betsy come down back into Halasana, please, with an exhalation. Lay the feet lightly down the floor.
Now, when she rolls out, I'm going to ask you to be very careful to keep her head turned back to look toward the back of her sticky mat so that when she brings her torso down onto the support, her head doesn't whiplash forward. Very nice. Good. And then Ilana can bring her feet down onto the chair. Exhale. And then again, she also wants to keep her head turned back a bit to protect the neck as she comes out.
She can roll down. Now, for shoulder stand, again, you want to start out very carefully, only maybe a minute or so at the most to start, just to see how it works for you. And like headstand, it is also pretty much an everyday pose. It's not recommended to practice this once a week or so. It's just not enough work to get in to make the pose safe and sound.
Nowadays, this is called Salamba Sarvangasana I. In the old days, it was known as Viparita Karani Mudra. Okay, let's have both of the helpers roll very gently over to the side with an exhalation, as always. Wait a little bit on your side. And then when you're ready, as always, you want to push your torso, exhale away from the floor, letting the head trail.
Very good. And then you come and sit. Very good. And again, this is Salamba Sarvangasana I in the modern version. In the old days, it was called Viparita Karani Mudra, known as the reverse action seal.
Very well done. And thank you.


You need to be a subscriber to post a comment.
Please Log In or Create an Account to start your free trial.