Description
About This Video
Transcript
Read Full Transcript
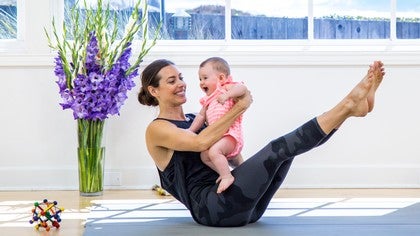
Welcome. So today's sequence is for upper back pain or tension. And it's designed for new mamas because we spend so much time either breastfeeding or holding the baby, picking the baby up, and we wind up really hunching our back. And what I found from my own experience and just working with a lot of women who are pregnant is that that tension often accumulates and then we wind up getting migraines or headaches. So this is a sequence that you can use therapeutically just to start to undo that pattern of hunching forward and accumulating tension in the, mainly it's the trapezius muscle, but just to start opening up the back and opening the front body in this direction. Not a lot of movement, just a lot of opening into backbends today. You'll probably want a couple blocks, a blanket and a bolster, and we'll get started on our knees. So we're just going to start in a low lunge. Let's take the right foot forward and let's heel-toe the foot out to the right a little bit and bring the hands inside the foot. If this is too much, bring your hands onto blocks and keep the knee above the ankle. We don't want it to go beyond the ankle and you can start to scoot your left knee back a bit and just sink the hips down. Just let the weight of the pelvis kind of take you to your edge and be in a place where you can breathe, where you can relax. And already here, just noticing if your shoulders are up by the ears or if you're collapsing the chest and see if you can start to undo that pattern, pull the shoulders back, reach the chest forward, and most importantly, breathe. And as you sink into this shape, just start to let gravity help you and guide the breath to any areas that are tense. And then go ahead and set the hands flat. We're going to curl the back toes under, straighten the back leg, and if your right knee starts to turn out a bit, that's okay. Just turn the foot out as well so that the knee can point to the second toe. And again, just let the weight of the hips drop as your left leg stays strong. So it's kind of like on the left side of the body, we're almost in an upward dog shape. And if this gets too intense, just drop the knee.
Pull the shoulders back, chest forward, and breathe. And then drop the knee down. You can stay with this variation. Or if you'd like, bend the knee, reach back with your right hand, and just start to pull the heel in, opening the chest again, relax the shoulders. If it's too intense, come up and release your foot. Otherwise, sink in. And really pull the shoulders back, let the chest open. And then release that leg, bring the hands down to the floor. And let's take the right leg back. Just for a moment, point your toes and let the hips drop. Come into kind of a sloppy little up dog or cobra and just feel the difference, left side versus right of your hip flexors.
Left side should feel a little more open. We'll come back onto hands and knees. Take the left foot forward and we'll just come into our low lunge. So we'll heel toe the left foot to the left, hands inside the feet. Again, you can either keep the knee directly over the ankle and the toes pointing forward, or if you want the knee to drop out to the side, if that feels natural and like you have the range of motion in your hips, then go ahead and do that. Just turn the toes out with it so your knee is pointing to the second toe. And just let the weight of the hips drop down. So of course there's a stretch in the right hip flexor, but the left side is stretching as well. You may even feel this in your outer glute. You may feel nothing. Maybe you're so open there and then just enjoy that and breathe. And then we'll place the hands flat, curl the back toes under and straighten the back leg. Again, keeping the back leg nice and strong, press out through the heel, but then let the hips hang and the chest pull through the upper arms. So you're almost in an upward facing dog, but with the back foot, the toes curled under and just get comfortable breathing into the shape. If it's too intense, back off and drop the right knee down. And then we'll take the right knee down, bend the right knee. If it's available to you, you'll reach back with the left hand and pull the heel in. And again, continue breathing. And the shape may look more like this, completely fine. The foot may stay on the floor. All different ranges of motion. It's important to respect where you're at today.
And then we'll release that back leg, spin around to the front and just take the left leg back. Let's just come into a little downward facing dog, opening up the backs of the legs. Now, relax the head and neck, pedal the feet out. And then let's come to plank and exhale, lower all the way down to our tummies, point the toes and bring the hands a little forward right now. Roll the shoulders down the back and press the hands. Just start to peel the chest forward and breathe here, press the tops of the feet and lift the kneecaps up off the floor. And maybe some of you will want to bring the hands a little further back, peel up a little higher. As you lift the chest up, really press the pubic bone down, start to drop the shoulders down the back and just let the head and neck be an extension of the rest of the spine. So we don't want to just drop the head back and we certainly don't want to leave it forward. Just let it lift up as the rest of the spine lifts up and then we'll release. Let's take the hands a little further back. You may want to stay with cobra or we'll take it into a full up dog. In up dog, the hips and the knees come off the floor. So press the hands, pull the shoulders back, press the hands to the floor, lift the chest up, inner thighs lift up, tops of the feet press down, knees nice and straight and then exhale. Let's take it to downward facing dog and let's just walk the hands back to the feet for one little uttanasana. You can reach for your elbows or just let the arms dangle. This is really just to open up the back body. Even though you're coming into a forward fold, see if you can start to open the chest so you're getting more length through the crown of the head as opposed to rounding.
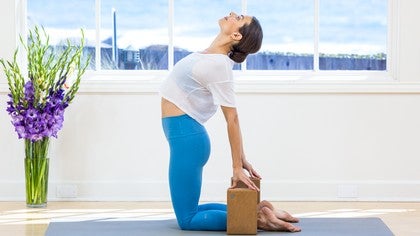
And then release the hands, walk the hands forward again and from downward facing dog, we're going to come forward to plank and exhale lower all the way down to our bellies. Locust pose or shalabhasana. We'll straighten the arms down alongside the body. This time we'll take the feet together, ankles and big toes touching. Then let the inner thighs lift up towards the ceiling so it's a sense of internal rotation even though in reality all that's happening is the legs are staying in neutral. And then on an inhalation we're going to lift the shoulders and the feet up off the floor. Five breaths here looking at the tip of the nose. It's one, two, three, four and five and release. And just turn the head to either direction and we're going to do that again on an inhale, come up, shalabhasana. This time we'll change hand position setting the hands flat by your lower ribs. Keep lifting the shoulders up and back, lifting the legs up, press the pubic bone and the front hip bones down to the floor. That's one, two, three, shoulders down and back, four and five. Separate your feet, hip distance apart, press the tops of the feet down to the floor, kneecaps lifting up off the floor. We'll take it into a cobra or an up dog. Should feel a lot more open than the previous ones and exhale downward facing dog. Press the roots of the fingers, extend lots of length through the back and then we'll inhale, come forward again to plank, exhale lower down, dhanurasana. So for some of us, if reaching back for your ankles isn't available, you're just going to stay here and we're going to practice like a a sphinx pose with the arms. So hands are going to be shoulder distance, forearms parallel and you'll just start to sink your ribs to the floor and pull your upper arms back and there's like you're tractioning the arms back, upper arms pulling back, hands dragging back, forearms dragging back and then the chest pulling forward. Then you'll lift and reach your chest forward. If you can, you'll press the pubic bone down and start to lift the legs up. This might be where you're at. Another option is you reach back for your ankles. I put a slight bend in my elbows just because I have a tendency to hyperextend and in bending my elbows, I'm able to lift my shoulder blades up, my shoulders up and back and then it's just like I'm starting to straighten the legs to lift the chest and then the knees. One, two, three, four and five and then releasing out of whichever variation you're in, set the hands down by your lower ribs, point the toes back, inhale cobra or up dog. By now, these should be feeling a lot more open and exhale back to downward facing dog. Press the hands, push the hips up and back and then exhale, let's come down to the knees. For Ustrasana, you may wish to work with blocks, so let's grab our blocks. We'll set them right by the feet, by the ankles and come to our knees. Feet and knees are hip distance apart. We press the tops of the feet down, roll the shoulders down the back, lift the chest up. You can take the hands behind your back and use that for support. So just like when we're in cobra, we're pulling the shoulders back and opening up through the collarbones. We're going to do the same thing here as we prep to go into Ustrasana, camel's pose. So squeeze the elbows back and lift the chest up and let the head and neck follow the curve of the rest of the spine. So we don't want to hold the head up too high. If anything, let it drop back more, but then really lift the chest towards the ceiling and then some of you will then reach back to the blocks, fingertips on the blocks or hands flat. A few of you may be able to reach for your ankles. If toes pointed back is too much, you can also do this with the toes curled under. Hips pretty much over the knees or pressing forward a bit, chest lifting up. One, two, three, four, and five. Inhale, come on up and exhale. Let's sit down onto the heels. We have lots of variations for Ustrasana. Take a moment here, hands on your knees, just neutral spine, lifting up through the crown of the head.
And then we're going to take the feet out in front of us, legs straight. You might want to sit up on a blanket here if it's really hard to get out of your low back. So if you're dumping a lot in the low back, then you'll want to elevate the hips. Otherwise we'll inhale, reach the arms up overhead, lift lots of length through the side bodies and exhale, hinge at the hips and reach forward, hooking your big toes or the outer edges of your feet. Inhale, re-lengthen through the crown of the head and exhale, fold forward. And you might just be here. Maybe today this is where it's at.
What's most important is that you can breathe and you're not over overstretching. And if you can come all the way down and you want to try and reach for your wrist, that's also an option. And now just breathe into the back body. So between the shoulder blades into your mid-back and low back. Inhale, look up and lengthen, exhale and release. So we'll set up for Reclined Vada Konasana and we're going to use two blocks of bolster and a blanket, make it very comfortable. So we'll grab one block at its highest height and then the second block at its lowest height. You'll take your bolster and you'll make a ramp. Then take your blanket, it'll be folded in half and then we'll make a nice mat blanket roll and you'll sit your hips right up against the bolster. Take your legs in Bada Konasana, so your feet together and your knees apart. Then take the blanket on top of your feet and underneath your legs and then we'll lie back onto our ramp, our bolster. So comfortable. You'll take your hands, palms open to the ceiling, snuggle your shoulders underneath you, let your chest be nice and open and relax and breathe. So just paying attention to how your body feels right now. Be a little more vibrant, a little more awake. And really breathing into the front of the chest, letting the jaw and cheeks relax, the eyebrows widen.
And if your mind is racing and you're having lots of thoughts, just focus it on the sound of your breath. As you become more relaxed, your breath will become more relaxed. You may even find that you're hardly breathing. And that's okay. It's different than holding the breath. Holding the breath happens in tension, but relaxed breathing happens because your body doesn't need that much. And you're completely in your rest and recover parasympathetic function.
So you start to deepen the breath and take your hands to the outside of your knees, gently guide them together. Just move the blanket off to the side, roll over to your right elbow. Now press yourself up two seated. Come to a comfortable cross-legged position, bring the hands together, gently bow the head and thank you. Namaste.
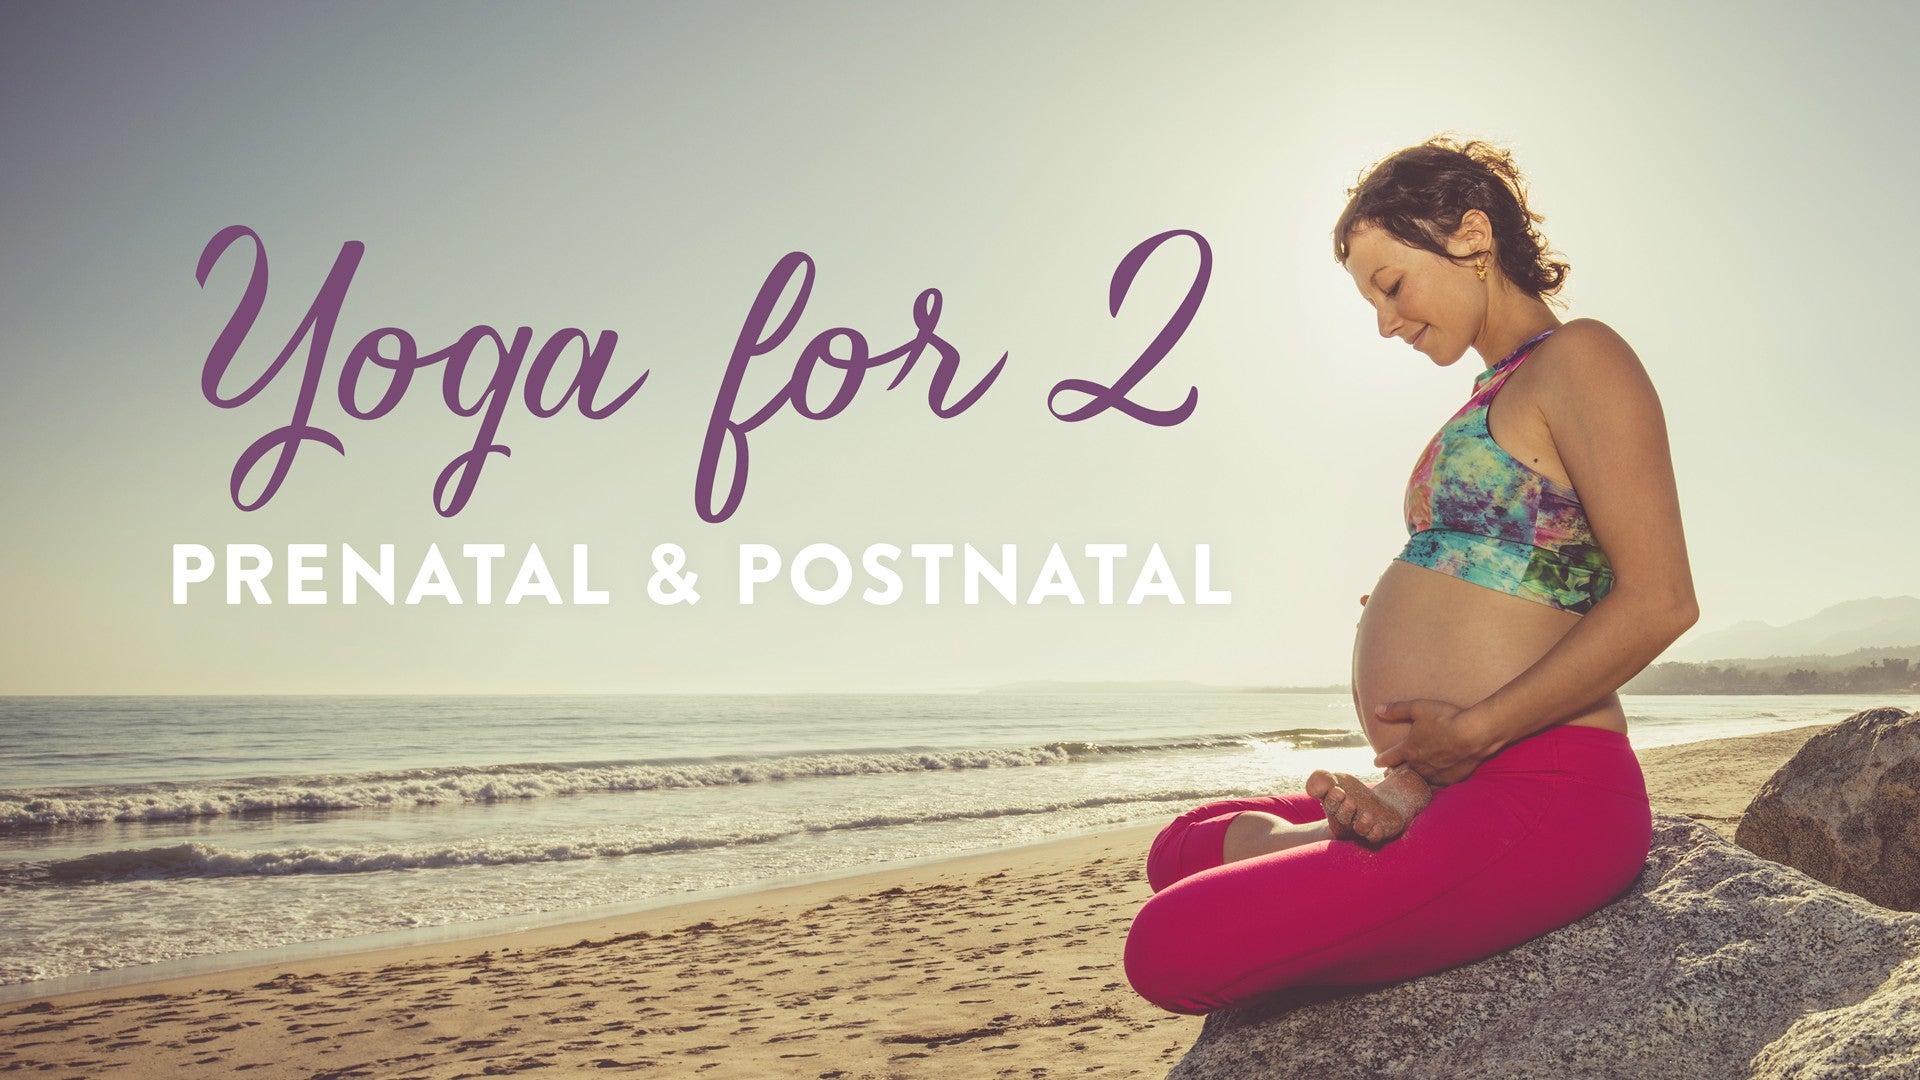
Yoga for 2: Prenatal and Postnatal: Active Postnatal
Comments
You need to be a subscriber to post a comment.
Please Log In or Create an Account to start your free trial.
