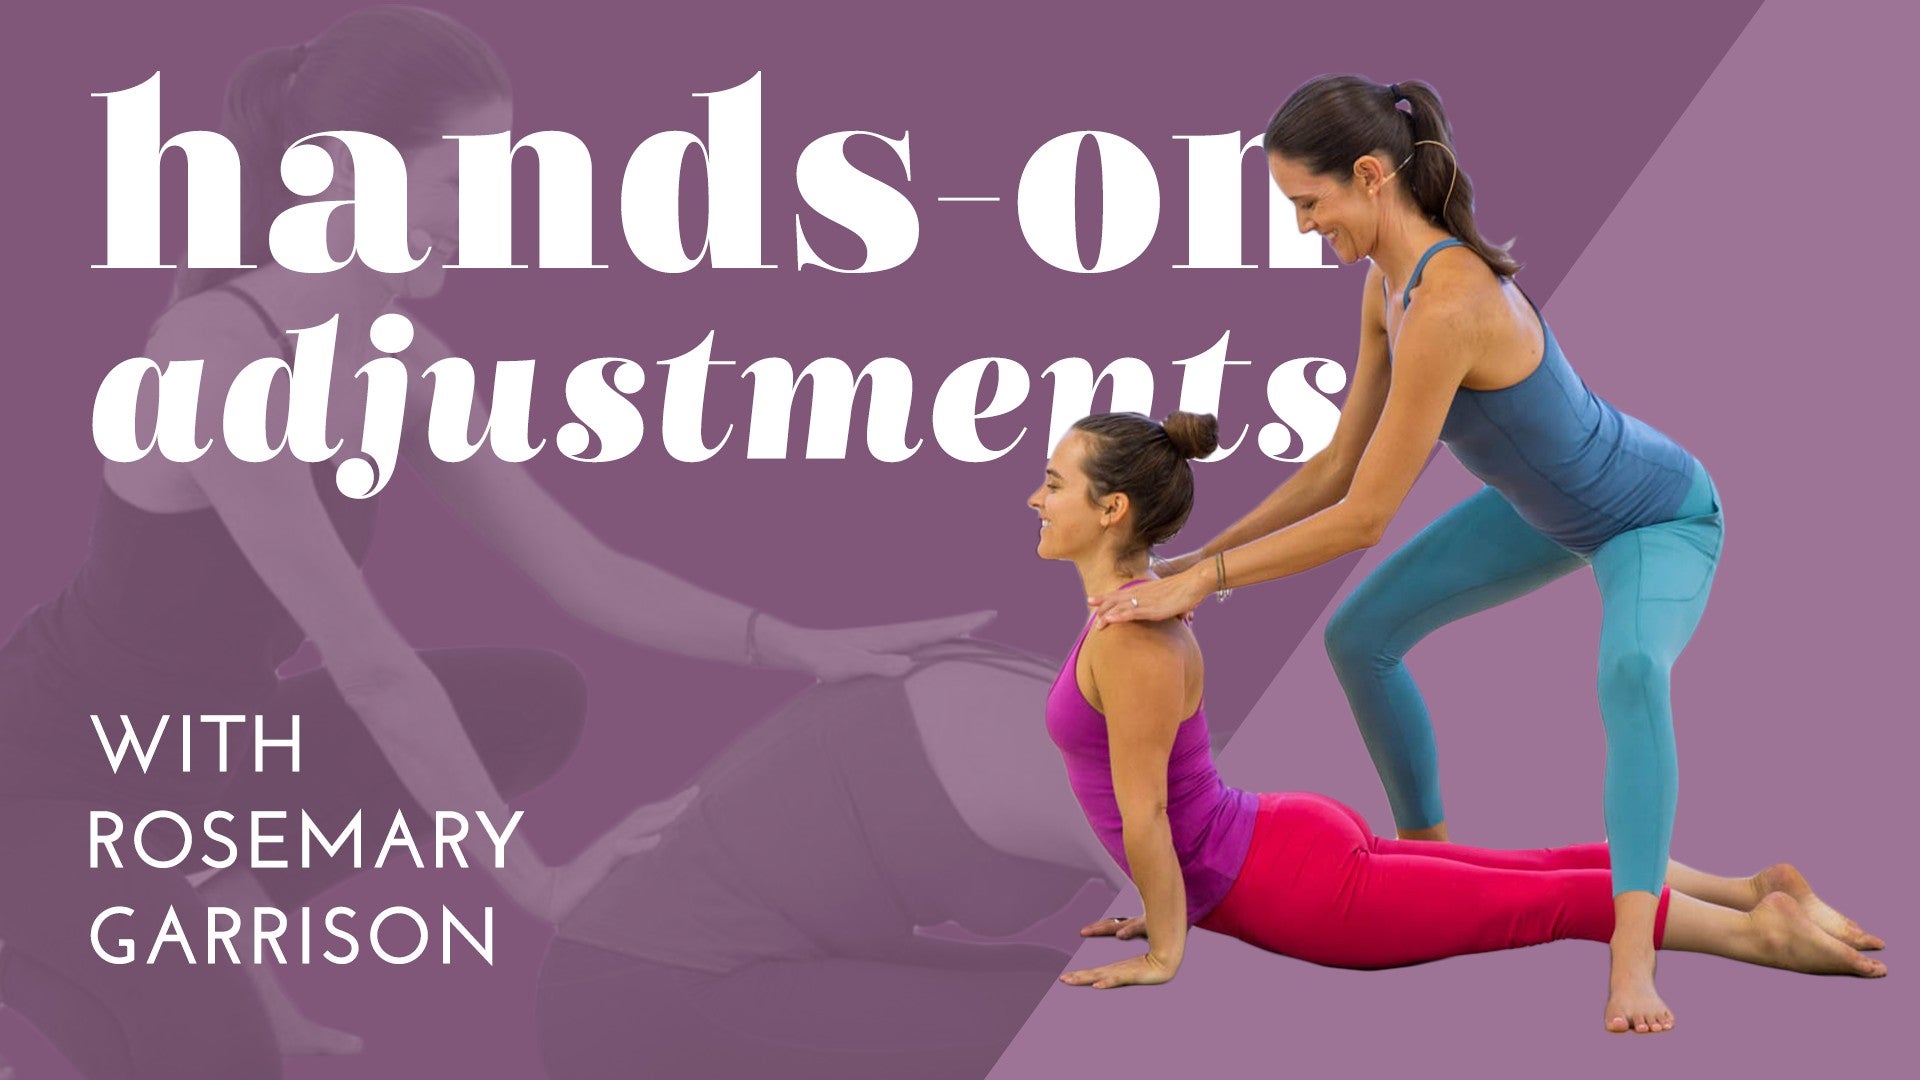
Description
About This Video
Transcript
Read Full Transcript
Welcome. We are going to look at Downward Facing Dog, again with my dear friend Alana. Alright, let's dive right in. If you could go ahead and take the pose. First we'll look at the essential alignment cues and then we'll move into the adjustments. We want to make sure the hands are firmly rooted, especially through base of thumb and first finger. We want the shoulders rolling away from the ears.
We're looking for really long spine, sit bones reaching up and back. If it's challenging for your student to work with a straight spine, please always encourage or invite a soft bend in the knees. Over time the legs will be able to lengthen, but far more important to create the length through the spine. And then in general the heels are descending towards the earth. They do not have to touch. You're just moving in that direction.
Alright, let's look at some adjustments. The most classic and straightforward is to plant one foot between the student's hands and then have one hand on the back of the heart, one hand on the sacrum. And that hand on the sacrum is pressing up and back to help facilitate the lengthening of the spine. Also, if you notice any spots through the back that are a little bit rounded or contracted in any way, you can take a couple fingers and offer just a little extra lift there. Okay, backing up just a bit. If the hands are rising, you can take your own hands here on top, essentially base the thumb and first finger, and just gently root them down. Not much force there at all, just a reminder to root there.
And if the shoulders are rolling in, you can take your thumbs inside, fingers just gently wrapping around, and do an opening here, rolling out of the shoulders to create space here through the back of the neck and across the upper back. Okay, and coming to the back, these are adjustments that I wouldn't necessarily offer with a brand new student, but if I'm comfortable with someone and I know that they're comfortable with my adjustments, they can be really helpful. The first, you'll interlace your own fingers and use the strength of your forearms, one foot rooting just outside. Take those forearms outside and to the top of the hips, right, and check out my own body. I'm squatting and keeping my spine long so that I'm really stable.
And then once I get that connection, I'm drawing up and back, and you can see how that creates an incredible lengthening through Alana's back. Okay, release this gently because you're bearing a fair amount of their weight, and then just release a little, okay? The next one, a foot between their feet, your wrists are crossed, and I encourage you to draw the hands in right around the knees, not too high up their inner thighs, okay? And then once you're in, you can slide up a little bit, get a nice, firm hold of their thighs, their quad muscles, and then sink your own weight back, drawing them back with you, okay? And then just gently ease the hands out and release a little, okay?
And then one last simple one, taking the space between your own thumb and first finger, right at the back of the ankles, and then gently pressing down to help facilitate the lengthening of the legs and the grounding energy of the feet, okay? All right, Alana, you can go ahead and rest. Thank you so much. All right, so there's a lot to work with there. You can play with all of them and see which ones you respond to. Just keep exploring and enjoy.
Namaste.
Hands On Adjustments: The Postures of Sun Salutations
Comments
You need to be a subscriber to post a comment.
Please Log In or Create an Account to start your free trial.


