Description
About This Video
Transcript
Read Full Transcript
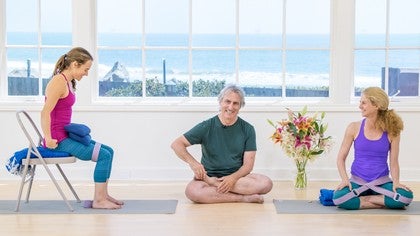
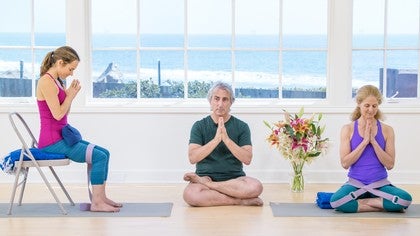
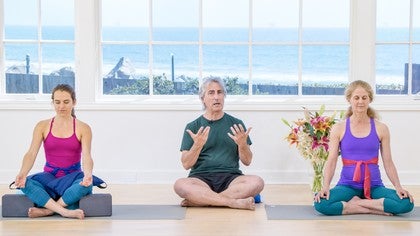
Hi, we're back with Alana and Betsy and as you can see they're already sitting. If you've missed the previous clip you need to go back then and see what we did to put them in these positions or you can just find a comfortable sitting position. You need to be sure though when you do that that your pelvis is in a neutral position. If you sit on a chair that's a little bit easier to do if you're not used to sitting for this kind of exercise. If you sit on the floor it's highly recommended that you sit on something because most westerners who are used to sitting in chairs are not really adept at sitting on the floor very well and you want to be sure that your pelvis is in a neutral position as I explained previously.
Without that the spine can't extend properly and without that the diaphragm can't work properly and without that there's no breathing. So this is a simple sitting awareness exercise which is sort of a precursor to pranayama and what I want them to do is to close their eyes and if possible turn their eyes down and let the breath come into the foreground of the awareness. And as always when we start a practice like this it's very important not to do anything. In fact what you really want to do is to try to discover what it is you're already doing unconsciously. Usually that interferes with breathing.
It's very important to just step back figuratively speaking from your breathing and just observe it as as Krishna Murti would say with choiceless awareness. That is without judging or making any kind of criticisms of how you're breathing or attempting at all to change in any way what you're doing. Now for the more beginning student what I usually have him or her do is simply observe the movement of the sternum bone which is the breast bone if you prefer and Ilana will just watch the rise and fall of the bone at first. You just want to get in contact with the movement of the bone before you start to do anything with any more detail. For the sitter will be a little bit more of a challenge for the observation.
We're going to ask Bessie to observe the movement of her spine. Now the spine physically moves during breathing it gets longer as you inhale and then it gets shorter as you exhale so it's like a spring stretching and contracting or compressing. So on the inhale Bessie will feel herself getting a little bit taller, a little bit. And her head will move up toward the ceiling as her groins press down into the floor. On the exhalation she'll feel just the opposite so it gets a little bit shorter.
Now for Ilana what I want her to do is to take, I'll take that word back. I want her to receive the inhalation so that she's sure that she's not pulling at the breath. Be sure that when you inhale in these early stages of the practice that your nostrils stay soft. If your nostrils flare it's a pretty good indication that you're pulling at the breath. One thing that I was taught to do to make sure the breath stays soft is to channel the breath across the inner lining of the nostrils on either side of the septum.
And with Ilana I'm going to ask her to watch the sternum bone lifting away from the spine on the inhale. And on the exhalation I'll ask her to lower the sternum bone very slowly and smoothly. So she wants to maintain as much of the lift that she's created during the inhale as she's exhalate, as she's exhaling. And then for Betsy we'll do the sort of the same thing with the spine. She'll watch the spine elongate on the inhalation.
And then as she nears the inhale she'll activate the scapula a little bit more, press them into the back, draw the base of the skull a little bit more actively away from the back of the neck and support the lift of the chest as she exhales and try to again maintain as much of the space that she's created during the inhale, during the exhalation. So again the less experienced student is working with the sternum bone. It's a very easy, it's a very easy movement to follow. The more experienced student is working with the spine which is a little subtler. And then I'll ask both of them when they come to the ends of the exhalations to stop and rest.
And again I want to emphasize that it's not a retention, it's not what we call a kumbaka in Hatha yoga. It's simply a period of quiescence of rest. And you pay very close attention to the quality of the brain during that time. Now early on it's appropriate to practice for eight to ten minutes or so, but after a sitting practice like these you want to lie down and do a few minutes in Shavasana at the end. And again I want to emphasize that it's absolutely essential that if you start a breathing practice that you do it regularly.
If you do it irregularly there's not much opportunity to develop the sensitivity that you need to follow the breath. So if you start a breathing practice make up your mind that you're going to try to do it pretty much every day. And when you're ready to come out you take a nice deep inhalation and you can wiggle around a little bit. I'm going to draw my shoulders up into my ears and squeeze up and then not sort of pull the shoulders down but just drop them into gravity. Try that again, pull the shoulders up and don't lower them, drop them.
We'll work on that later. Thank you.
Pranayama & Meditation: Meet Your Breath
Comments
You need to be a subscriber to post a comment.
Please Log In or Create an Account to start your free trial.


