Description
About This Video
Transcript
Read Full Transcript
Welcome back. Today's practice is for learning to re-engage the core. So this is what I struggled with the most as most women do after having a baby. My first practice back I literally was like, I don't even know how to engage my core. So plank pose was really helpful and we'll move in and out of plank pose and we'll do a few other things. Be very gentle with yourself, not hard on yourself. It takes a while to rebuild these muscles. They were just stretched apart from carrying a child. So it makes sense that it's going to be hard to find them again. So let's get started. We're going to come on to all fours, hands and knees. So if from carrying your baby, you're winding up with sore wrists, it may be a good idea to take this on four arms. It's still possible. It's not going to be as much work. Another option, which for hands to knees will probably be better, is just to elevate by either lifting your wrist onto a blanket or you can fold over your mat and that'll give you a little bit more support for your wrists. So we'll take hands shoulder distance apart, knees hip distance apart and toes can point back, lower belly pulled in so that we're supporting the low back sternum reaching forward and we'll gaze just slightly forward so that the neck isn't collapsing and we also don't want to crank the head and neck back. Pull the belly in and we're just going to raise the right arm up out to the front and we'll hold there. And you're welcome to just stay with the right arm raised up to the front or you can add the left leg flexing the left foot. Do your best to press the inner left hand down and keep the lower belly pulled in. We're going to hold a few more breaths here. Continue to lengthen the sternum forward and breathe and then we'll take the right elbow to the left knee and then we'll reach it back out again and two once again reach it back out again keep pressing the top of the right ankle three four and five. Reach the arm and leg straight and then we'll set the right hand down left knee down and we'll change sides so we'll press the right hand down reach the left arm forward welcome to just stay here or raise the right leg back flex the right foot pull the belly in press the inner right hand hold and breathe keep supporting the low back by pulling your lower belly in and then we're going to take the left elbow to the right knee it's one two three four five again straighten arm and leg and then exhale release the hand release the right knee down to the floor curl the back toes the toes behind you lift your hips up and back take a downward facing dog and then from downward facing dog we're going to come forward to plank so that the shoulders are over top of the wrists keep reaching back through your heels knees lifted tailbone lengthening down shoulders are right over the wrists so the hips and the shoulders are more or less the same height the hips are not going to be sticking up higher than the shoulders so drop them down take a couple breaths here lower belly pulling in three four push the hands just lift a little more between the shoulder blades and five exhale release back to downward facing dog and we'll find that shape again in plank inhale and this time we're going to take the right knee up to your nose one two three try to lift the heel up four keep the hips the height of the shoulders or lower and five press it back downward facing dog come back to plank press the floor left side one heel lifted two knee lifting to the chest or nose three four and five press it back downward facing dog to the outside of the right arm right knee come forward to plank right knee to right shoulder that's one two three four and five press it back back left side shoulders forward left knee to left elbow or shoulder it's one two three four and five press it back of course you can come to child's pose at any time one more of these will take the right knee to the left elbow one two three four and five downward dog last one left knee to right elbow it's one two three four and five press it back downward dog let's just take a moment in child's pose bring your knees to the floor feet together sit back to your hips either keep the arms forward or bring them alongside your body and lift the hips up curl the toes under and we'll take the right foot forward inside the right hand if you need to you bring your hand to your ankle and you use your hand to help bring your foot to place press back through your left heel push down into your right heel pull your belly in and we're going to come up into a modified crescent just taking the arms down alongside the body and staying leaned forward over your right leg and hold here for five breaths it's one two three keep pulling the belly in four five inhale come up one breath into crescent pose and exhale hands down step back to plank you have the option to go to downward dog here or shift forward lower down inhale cobra or up dog your choice and exhale back downward facing dog step the left foot forward inside the left hand keep the right heel lifted press out through your right heel sink your hips down so your left knee is over your ankle push down into your left heel pull your belly in and then take the arms alongside the body we'll hold here for five breaths one two try to keep the head and neck in line with the rest of your spine three four and five one inhale to come up into crescent and then exhale release set the hands down to the floor step back to plank or down dog if you'd like and shift forward lower down inhale cobra or up dog and exhale downward facing dog take a couple breaths here if you'd like you can pedal the feet out end of your next exhale look forward and step or jump your feet to your hands inhale to look up and lengthen hands can come to the shins exhale and fold hold inhale come all the way up to the top and exhale arms down alongside the body inhale arms reach exhale and fold inhale look up and lengthen exhale step back you can step to down dog or shift forward and lower down inhale cobra or up dog and exhale back to downward facing dog side plank pose so you inhale come forward to plank some of you will want to bring your right knee down to the floor and roll on to the inner edge of your left foot and then take the left arm down alongside your body and this will be your side plank pose maybe you'll take the arm up otherwise the other option is inhale come forward to plank exhale roll onto the outer edge of the right foot inner edge of the left take the left arm alongside the body or up maybe stack left foot on top of right let's hold for five breaths it's one two three four and five release the left hand down to the floor everyone come to plank or down dog if you're coming to plank exhale will be the chaturanga inhale cobra or up dog and exhale downward facing dog left side inhale coming forward to plank maybe bringing the left knee down and coming on to the inner edge of the right foot or taking straight legs arm up if you'd like stack your feet it's one two three four and five release the right hand down to the floor either come to downward dog or take chaturanga inhale to up dog and exhale to downward facing dog so we'll do that once again if you're if you took the modification the first time repeat the modification or you can go into the straight-legged version inhale we'll come forward to plank exhale roll onto the outer edge of the right foot raise the left arm up and then we're just going to take the left arm and bring it through and behind the right arm and inhale raise it back up exhale thread it through like you're starting to aim your shoulders to the floor raise it up two more times inhale up last one inhale up and then exhale release set the hand down to the floor downward dog or chaturanga inhale cobra or up dog and exhale down dog and then left side either taking the modification or not raise the right arm up and exhale right hand threads through inhale raise it up exhale inhale up exhale one more exhale inhale raise it up and exhale release right hand to the floor lower down inhale up dog or cobra and exhale downward facing dog from downward dog we're going to jump through to seated and then lie down on our backs so look forward and step or jump through and then lie down on your backs a couple options for arm position one is just to keep the arms down alongside the body another is to hold on to your sticky mat or some of you might find it more supportive for your low back to make a diamond shape with your hands and bring the hands underneath your sacrum we'll raise both legs up to the ceiling if you need to you can bend them a little bit but if you have the option to keep them straight then point the toes really straight in the legs pull the lower belly in and then we're just going to lower the right leg and inhale raise it up exhale lower the left inhale raise it up exhale right inhale exhale left inhale exhale inhale exhale inhale exhale inhale exhale inhale exhale inhale you can stay with that variation or on an exhalation we're going to raise the shoulders up reach the fingertips forward and do your best to keep your shoulder blades lifted off the floor just relax your neck shake your head yes and no make sure there's no tension in the neck and then we'll do the same thing raise lower the right leg down inhale lift it up exhale lower left leg down inhale raise it up exhale right inhale up exhale left inhale up exhale right inhale exhale left inhale one more time exhale right inhale lift it up exhale left inhale up then raise your fingertips to the ceiling feet to the ceiling maybe try to lift the sacrum up off the floor five four three two and one release it and lie down on your back just bring your hands to your belly for a moment take a couple breaths here and then take the hands behind the knees rock up to seated for navasana set the tips of your toes to the floor lift the chest pull the shoulders back just tip the head back so that your head and neck are in line with the rest of your spine and then you can either stay here with your toes on the floor you can lift your shins to parallel to the floor or you can straighten the legs and possibly take the arms up five breaths here that's one two three four five stay with it take your hands together on the right side of your knees if you're holding behind the knees you'll just hold to the outside of your right leg knees can be bent or even with the toes on the floor all our options and you can either stay here just taking little pulses for five or you can lower the left leg that's one two keep lifting the chest three four five come back to center if you need to take a break in between go ahead and do so otherwise we'll go right to the left side lower the right leg down that's one two three four and five come back to center and relax and lower down to your back bring the knees into your chest for a moment and then let's rock up to seated again so we'll take Navasana to Ardha Navasana you can either stay with the hands behind the knees pull the belly in and then you can use the support of your hands behind your knees as you lower down and inhale up or take it with the legs straight arms alongside and you can exhale lower down inhale lift the chest come up and we'll do a hold at the bottom this time so exhale lower down and we'll hold for five four relax your neck three two one inhale up Navasana exhale release cross the ankles set your hands down inhale lift it up maybe lift your feet exhale release and we'll do that again inhale Navasana your variation exhale lower down Ardha Navasana one two three four five inhale Navasana exhale release cross the ankles set the hands inhale lift it up maybe lift the feet exhale release bring the knees together Navasana down to the floor exhale Ardha Navasana take the hands together or behind the head and we'll just bring the right knee in and left shoulder or elbow to the knee the hands are together you'll just reach them beyond the right knee one two three you can always set the left foot on the floor if you need to four five come back to center straighten the right leg bring the left knee in that's one two three four and five come back to center bring the knees into your chest and exhale release straighten your legs out and just take the shoulders underneath your back turn the palms open to the ceiling close the eyes for Shavasana take a few deep breaths into the belly really letting the belly expand and exhaling let it relax and contract and we'll be here for about five minutes so you worked really hard now it's time to really relax give yourself this time in silence if your mind is racing full of thoughts just focus it on the sound of the breath scan the entire body looking for any tension and see if you can guide breath to that area of the body so that it relax so so so so so so so slowly start to deepen the breath and with the inhale you'll stretch through the fingers and toes and exhale let everything relax again feel like you can reach the arms up overhead take a deep breath in stretching both directions through your hands through your feet and when you're ready you'll exhale bend your knees roll over to your side rest here a few moments and then we'll press the hand to the floor coming up to seated cross the ankles bring the hands to prayer position relax your shoulders take a deep breath in exhale it out thank you and namaste
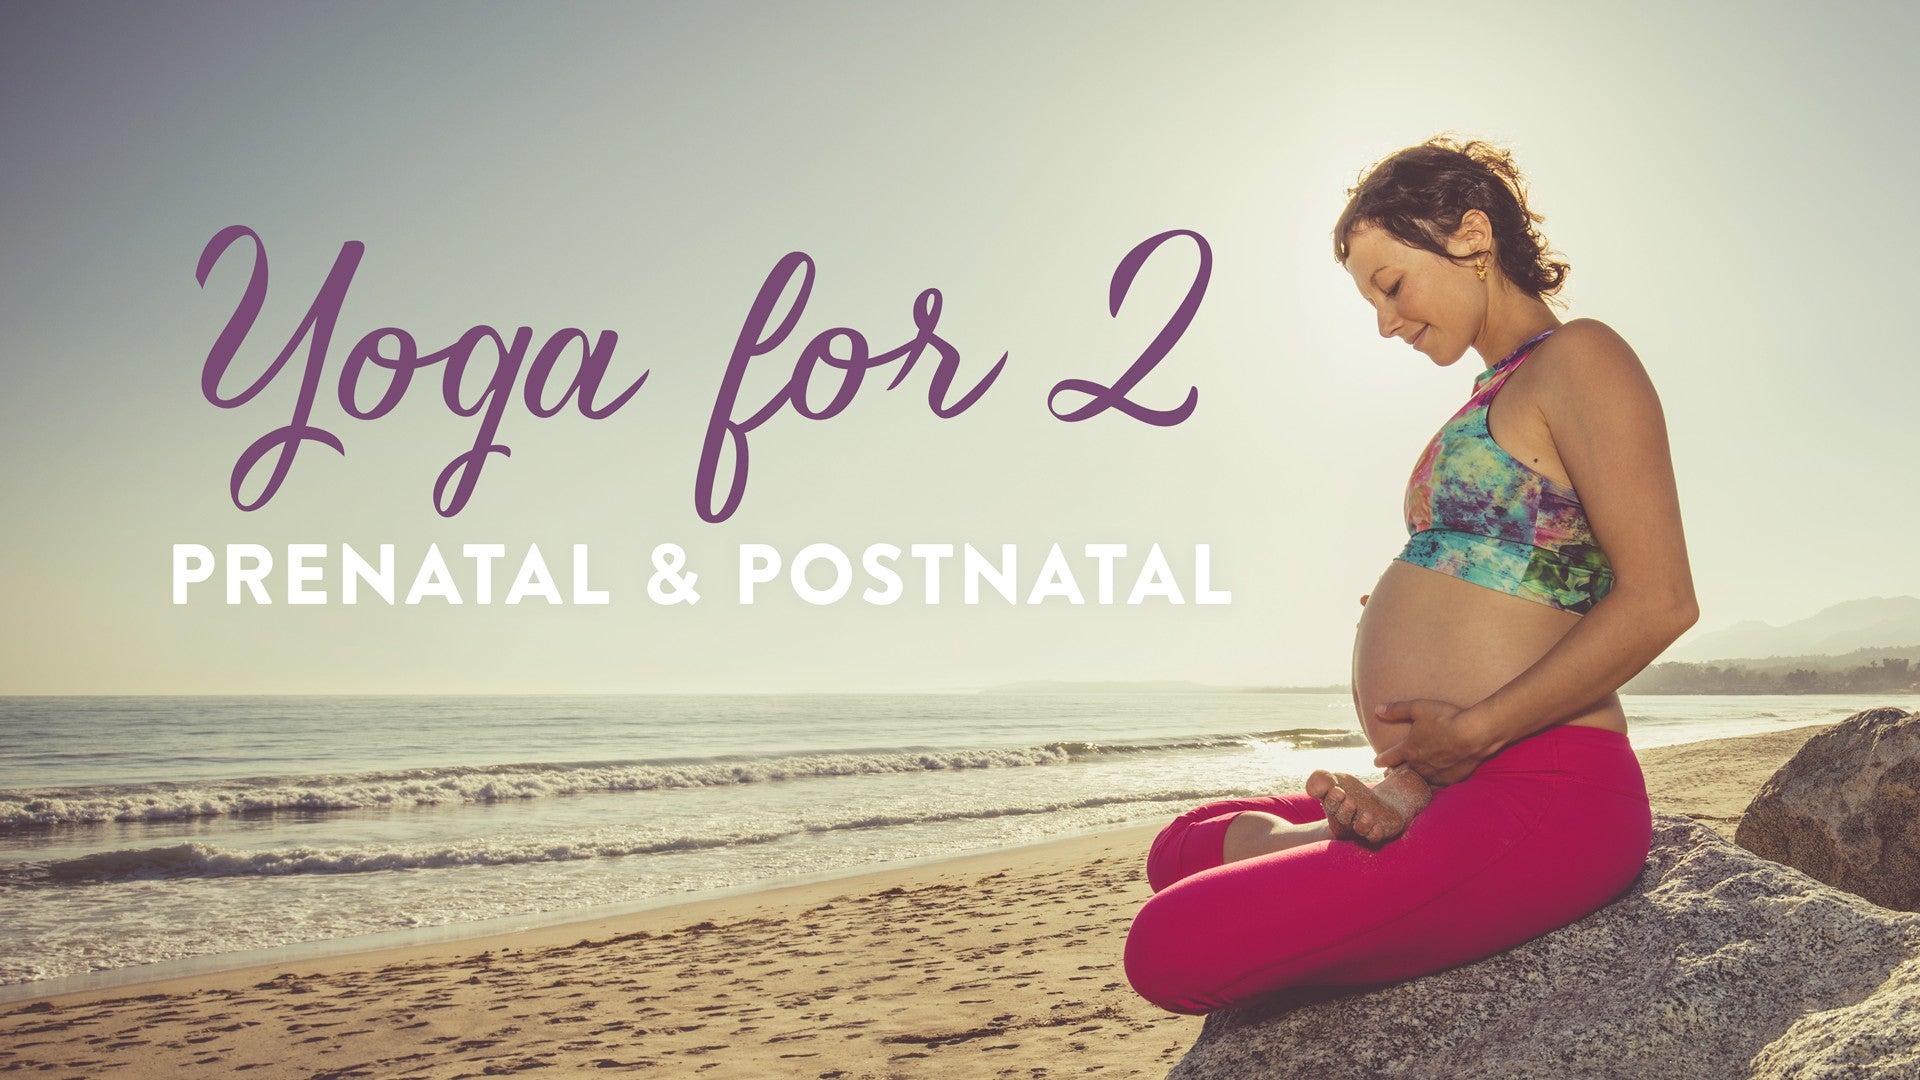
Yoga for 2: Prenatal and Postnatal: Active Postnatal
Comments
You need to be a subscriber to post a comment.
Please Log In or Create an Account to start your free trial.


